Summary
Modpacks contain numerous mods, each contributing unique features, mechanics, or content to the game. When players install a personalized modpack, they can immerse themselves in a distinct and customized Minecraft adventure on the server. It's advisable to generate a fresh world to mitigate potential complications. Ensure the modpack also aligns with the server's version to maintain compatibility.
| Requirement |
| A mod loader is required to install mods on a Minecraft server: Forge guide | Fabric guide | NeoForge guide | Quilt guide |
| Note | Minecraft directory location will vary depending on the type of launcher used. For the official launcher, it can be found in %appdata%\.minecraft\ . |
How to Install a Custom Modpack on a Minecraft Server (Local)
1. Open the Run menu by pressing Windows Key + R.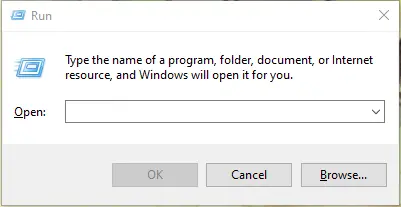
2. Input %appdata%\.minecraft and click OK. 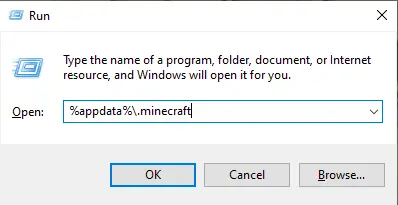
3. Take note of all the folders inside. These will vary based on the installed mods.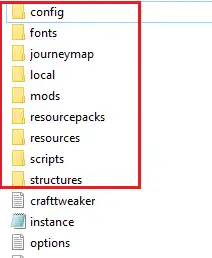
4. Minimize the folder to use later in the tutorial.
5. Log in to the BisectHosting Starbase panel.
6. Stop the server.![]()
7. Log in to the Minecraft server using an SFTP client. Learn how to here.
8. Drag and drop the folders in step 3.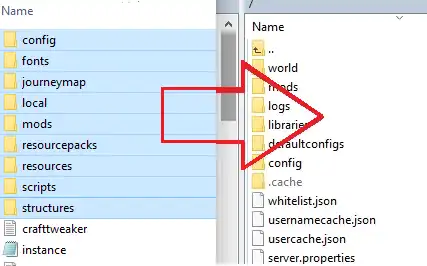
| Note | Remove any client mods to avoid server issues. Check the mod description to verify. |
9. On the Level Name field, change the name to generate a new world.
10. Press Save.![]()
| Note | To upload a custom world, see here. |
11. Start the server.![]()
How to Install a Custom Modpack on a Minecraft Server (Download)
1. Download the server pack .zip for the modpack. The Pixelmon Modpack for Minecraft 1.16 is used in this example.
2. Extract the .zip file to a folder.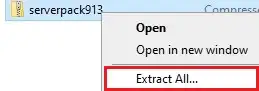
3. Take note of all the folders inside. These will vary based on the modpack.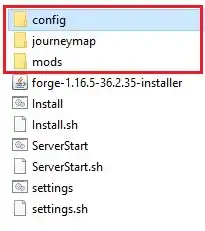
4. Minimize the folder to use later in the tutorial.
5. Log in to the BisectHosting Starbase panel.
6. Stop the server.![]()
7. Log in to the Minecraft server using an SFTP client. Learn how to here.
8. Drag and drop the folders in step 4.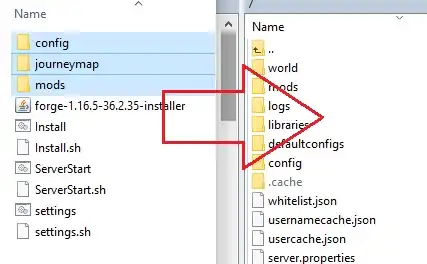
9. On the Level Name field, change the name to generate a new world.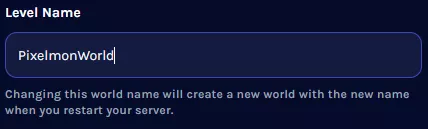
10. Press Save.![]()
11. Start the server.![]()

