Summary
Canceling a BisectHosting server follows a straightforward process. It's essential to be aware that server cancellation leads to the permanent deletion of all connected data. It is advisable to create backups for crucial data beforehand. Assess needs and consider whether an alternative solution might fit personal requirements before canceling the server. If server issues arise, the BisectHosting support team can help resolve the problem instead of canceling the server entirely. Start a conversation with support here.
| Important |
| If a PayPal subscription is set up on the server, make sure to cancel it on PayPal. See here. |
| Note | Please get in touch with our support first if you're considering canceling due to issues or pricing concerns. We're confident we can find a solution together. |
About Refunds
Per BisectHosting's TOS, if cancellation is desired within three days of placing an order, start a conversation with support to request a refund. If it has been more than three days, BisectHosting will not issue a refund. For this reason, selecting the End of Billing Period cancellation type is encouraged to prevent any loss of paid time.
How to Cancel a Server
1. Log in to the BisectHosting Billing panel.
2. Select Services. 
3. Choose an active server to cancel.![]()
4. Click Cancel. 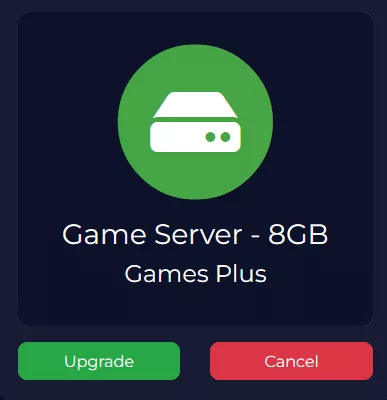
5. Select a reason for cancellation.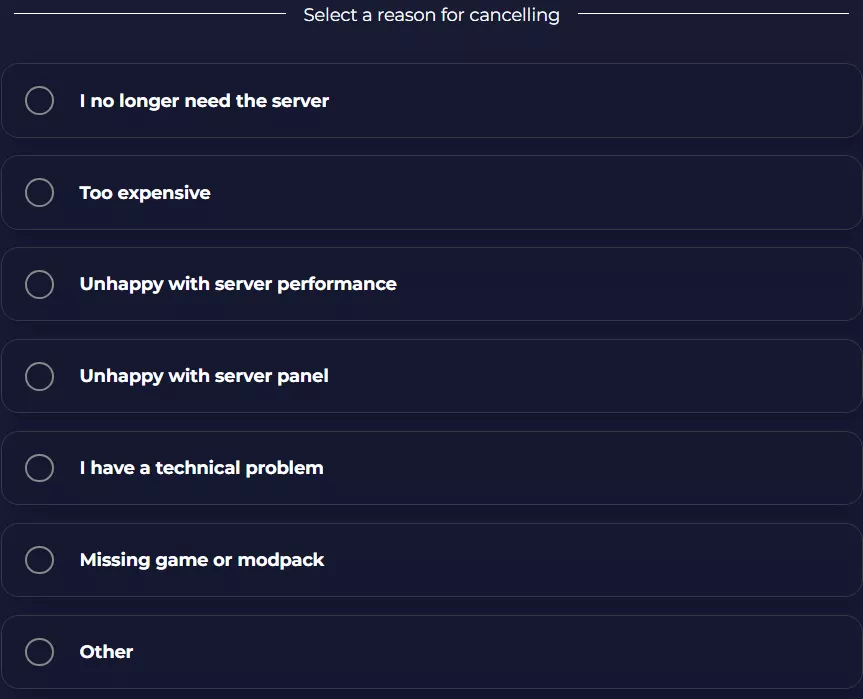
6. Choose a Cancellation Type:
End of Billing Period - The server will be canceled after the current period is over.Immediate - The server will be canceled within 24 hours of the request.

7. Press the Continue to Cancel button. 
8. A confirmation page will appear and an email will be sent.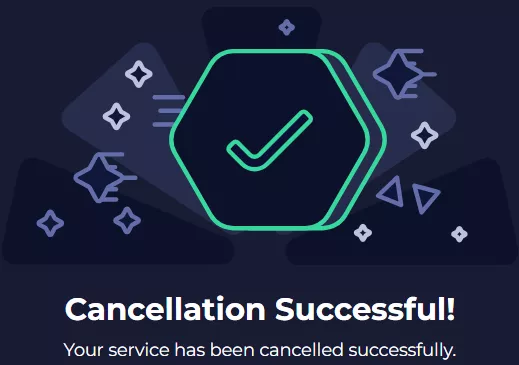
| Note | To resume a server after a cancellation request, learn how here. |

