Summary
OptiFine is a popular Minecraft optimization and graphics enhancement mod that significantly improves the game's performance and visual quality. It provides a range of customizable settings, allowing players to fine-tune graphics options and enhance details like textures, lighting, and shadows. Additionally, OptiFine introduces advanced features such as dynamic lighting, improved fog effects, and the ability to use high-definition resource packs, enhancing the overall client experience for players with various hardware configurations.
| Requirements |
| Minecraft Java is required to install shaders. Minecraft must be launched once to ensure all files are installed. |
| Note | This guide is for older versions of Minecraft. For versions 1.16.5 and newer, learn how to add shaders here. |
How to Install OptiFine on Minecraft
1. Download the desired Minecraft version for OptiFine here.
2. Open the downloaded installer from Step 1.![]()
3. Click Install.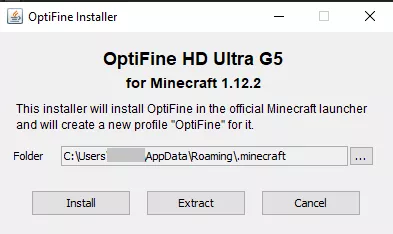
4. Launch the Minecraft launcher.
5. From the Play tab, choose OptiFine from the menu.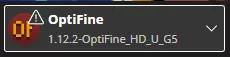
6. Press the Play button.
7. Mark the checkbox and click Play.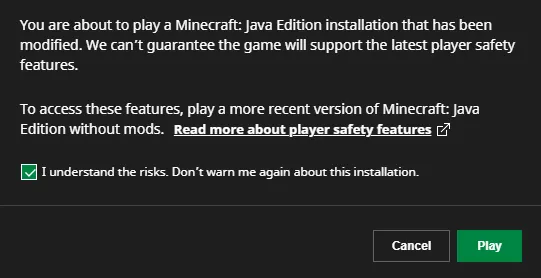
How to Install Shaders on Minecraft with OptiFine
1. Download a shader with the matching Minecraft version from websites such as Curseforge or Modrinth.
| Note | Shaders will impact performance depending on the player's hardware. |
2. Launch the Minecraft launcher.
3. From the Play tab, choose OptiFine from the menu.
4. Press the Play button.
5. Mark the checkbox and click Play.
6. From the main menu, click Options.![]()
7. Select Video Settings.![]()
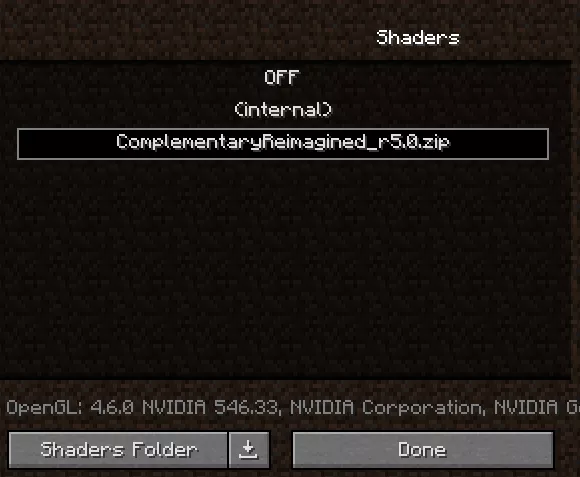
8. Choose Shaders.![]()
9. Open the Shaders Folder.![]()
10. Place the downloaded shader from Step 1.
11. From Minecraft, select the desired shader and click Done.