
Summary
Shaders in Minecraft refer to graphical enhancements that dramatically improve the game's visual aesthetics by introducing advanced lighting, shadows, reflections, and other effects. These custom shader packs modify the game's rendering pipeline, allowing players to experience more realistic and visually stunning landscapes. While shaders add a layer of beauty to Minecraft, they often require a robust graphics card and may impact performance on less powerful systems.
| Requirement |
| Minecraft must be launched once to ensure all files are installed. |
| Note | This guide is for Minecraft versions 1.16.5 and above. For older versions, view the Optifine guide here. |
How to Install Shaders on Minecraft Java
| Minecraft Type |
| Minecraft Vanilla |
| Minecraft Fabric/Quilt |
| Minecraft Forge/NeoForge |
How to Install Shaders on Minecraft Vanilla
1. From the Iris Shaders website, choose Download Universal Jar.
2. Launch the Iris-Installer-[version].jar file.![]()
3. Under Select game version:, select the desired version.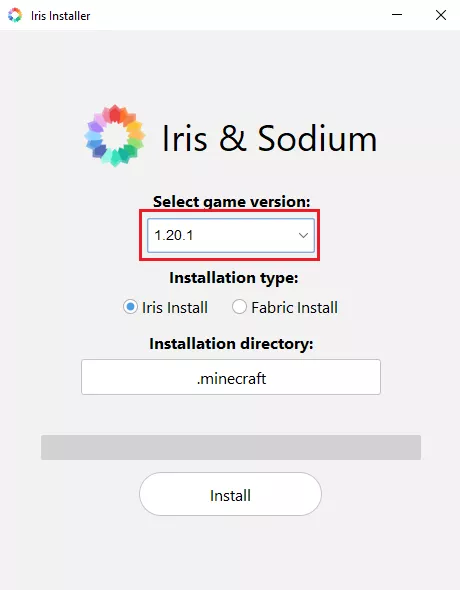
4. Under Installation type:, select Iris Install.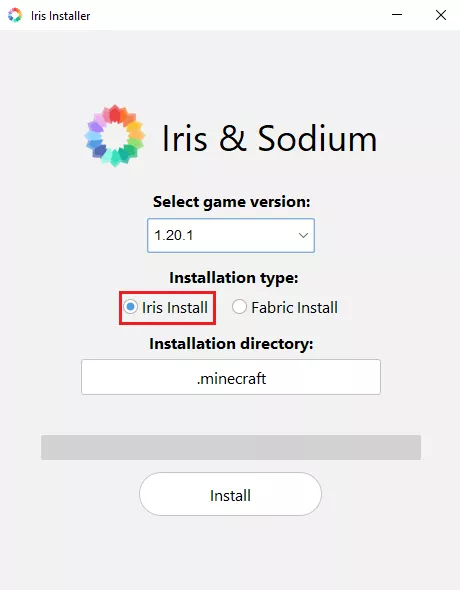
5. Click the Install button.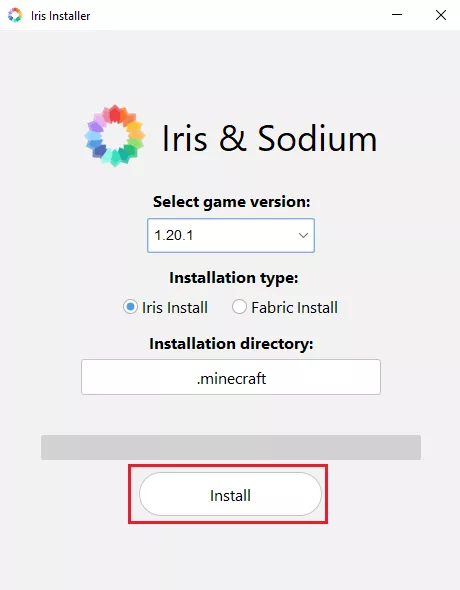
6. Download a desired shader that matches the Minecraft version from websites such as Curseforge or Modrinth.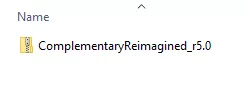
7. Launch the Minecraft launcher.
8. From the Play tab, choose Iris & Sodium for [version] from the menu.
9. Press the Play button.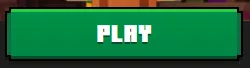
10. Mark the checkbox and select Play.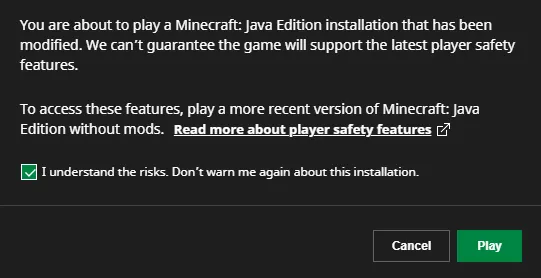
11. From the main menu, click Options.![]()
12. Select the Video Settings options.![]()
13. Open the Shader Packs tab.![]()
14. Click Open Shader Pack Folder.![]()
15. Move the downloaded shader from Step 6 here.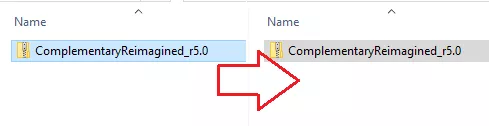
16. Return to Minecraft, choose the desired shader and press Apply. 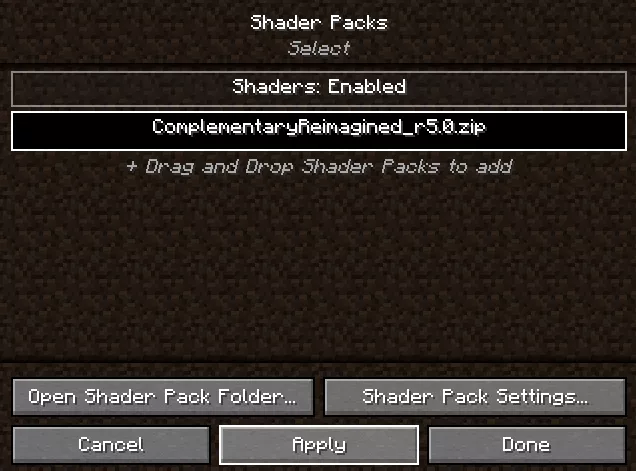
How to Install Shaders on Minecraft Fabric/Quilt
1. Download Iris and Sodium below with the matching Minecraft version.
2. Navigate to the Minecraft installation directory.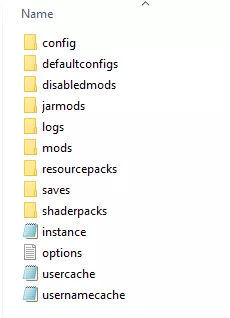
| Note | Launchers like CurseForge and Modrinth will have different installation directories for each Minecraft instance. |
3. Open the mods folder.![]()
4. Move the downloaded files from Step 1 here.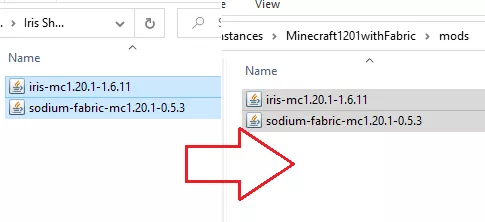
5. Download a desired shader with the matching Minecraft version from websites such as Curseforge or Modrinth.
6. Open Minecraft.
7. From the main menu, click Options.![]()
8. Select the Video Settings options.![]()
9. Open the Shader Packs tab.![]()
10. Click Open Shader Pack Folder.![]()
11. Move the downloaded shader from Step 5 here.
12. Return to Minecraft, choose the shader and press Apply.
How to Install Shaders on Minecraft Forge/NeoForge
1. Download Oculus and Rubidium below with the matching Minecraft version.
2. Navigate to the Minecraft installation directory.
| Note | Launchers like CurseForge and Modrinth will have different installation directories for each Minecraft instance. |
3. Open the mods folder.![]()
4. Move the downloaded files from Step 1 here.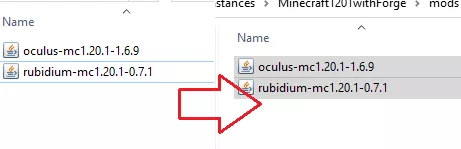
5. Download a desired shader with the matching Minecraft version from websites such as Curseforge or Modrinth.
6. Open Minecraft.
7. From the main menu, click Options.![]()
8. Select the Video Settings options.![]()
9. Open the Shader Packs tab.![]()
10. Click Open Shader Pack Folder.![]()
11. Move the downloaded shader from Step 5 here.
12. Return to Minecraft, choose the shader and press Apply. 
