Summary
A Vote Listener is a valuable tool for Minecraft server administrators, providing a mechanism to detect and respond to player votes on server listing websites. This plugin listens for incoming vote notifications from platforms like server lists, allowing server owners to implement custom rewards or acknowledgments for players who actively participate in voting. By integrating a Vote Listener, server administrators can foster community engagement, incentivize player involvement, and create a more interactive and rewarding experience for those who contribute to the server's growth through voting.
| Requirement |
| Nuvotifer must be installed on the server. Learn how to here. |
How to Install a Vote Listener on a Minecraft Server
1. Download the desired vote listener. SuperbVote is used in this example.![]()
2. Log in to the BisectHosting Starbase panel.
3. Stop the server.![]()
4. Go to the Files tab.![]()
5. Open the plugins folder.![]()
6. Upload the downloaded file from Step 1.
7. Start the server.![]()
8. After a complete start, stop the server.![]()
9. Go to the Files tab.![]()
10. Find the following directory: home/container/plugins/SuperbVote .![]()
11. Open the config.yml file.![]()
12. Enter the desired changes.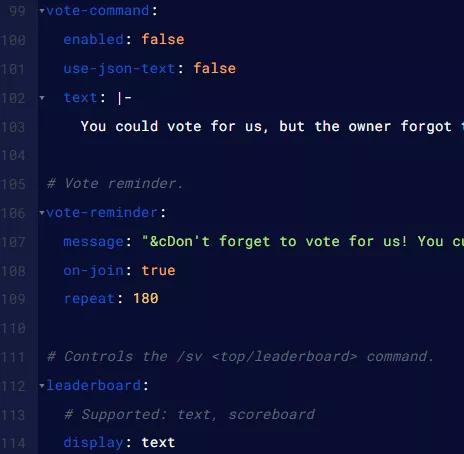
| Note | Each vote listener has different configuration options. Check the plugin description for more information. |
13. Press the Save button.
14. Start the server. ![]()
15. Go to the Console tab.![]()
16. Enter the following command to make a test vote: testvote [Username] .![]()

