Summary
Geyser and Floodgate are plugins that allow players to join a Minecraft Java Edition server using a Bedrock Edition client. Geyser is a bridge between the Java and Bedrock Editions of Minecraft. It translates the protocols the two game versions used, allowing Bedrock players to connect to Java servers. Floodgate is a plugin that works with Geyser, providing an authentication system allowing Bedrock players to log into Java servers using their Microsoft or Xbox Live accounts.
| Requirements |
| Installing Geyser and Floodgate on a server requires Premium or Budget with a dedicated IP addon. For current Budget servers, contact support here to request the addon. PaperMC or SpigotMC must be installed on the server. Learn how to here. |
How to Install Geyser and FloodGate on a Minecraft Java Server
1. Log in to the BisectHosting Games panel.
2. Stop the server.![]()
3. Download both geyser-spigot.jar and floodgate-spigot.jar here.
4. Go to the Files tab.![]()
5. Open the plugins folder.![]()
6. Upload both .jar files from step 3.
7. Start the server.![]()
8. After a complete start, stop the server.![]()
9. Go to the Network tab.![]()
10. Depending on the server type, take note of an available port.
Budget Servers: Choose a port not in use by other mods.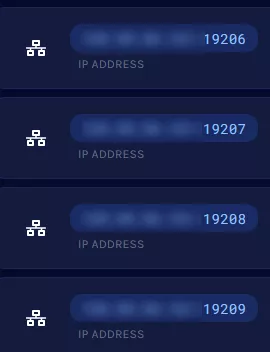
Premium Servers/Dedicated IP: Create a port to be used by the mod.
11. Go to the Files tab.![]()
12. Find the following directory: /home/container/plugins/Geyser-Spigot .![]()
13. Open the config.yml file.![]()
14. Next to port, change the value to a port from Step 10.![]()
15. Press the Save Content button.
16. If the server is on version 1.19.1+: Go to the Config Files tab and choose Server Properties.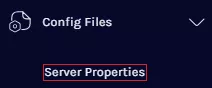
17. On the enforce-secure-profile field, choose false from the dropdown. 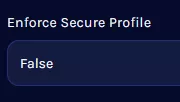
18. Start the server.![]()

