Summary
Nuvotifier is a crucial plugin for Minecraft servers that enhances communication by enabling external applications to receive real-time notifications for in-game events. It operates through a notification system that utilizes a secure protocol, ensuring data integrity and reliability. Server administrators commonly use Nuvotifier to integrate features like voting rewards, chat alerts, and other custom notifications, enhancing the overall engagement and functionality of Minecraft multiplayer experiences.
| Requirements |
| Bukkit or Spigot is required to install NuVotifier on the server. Nuvotifier is used with vote listeners. Learn how to install a vote listener here. |
How to Install NuVotifier on a Minecraft Server
1. Download NuVotifier here.
2. Log in to the BisectHosting Starbase panel.
3. Stop the server.![]()
4. Go to the Files tab.![]()
5. Open the plugins folder.![]()
6. Upload the downloaded file from Step 1.
7. Start the server.![]()
8. After a complete start, stop the server.![]()
9. Go to the Network tab.
10. Depending on the server type, take note of an available port.
Budget Servers: Choose a port not in use by other mods.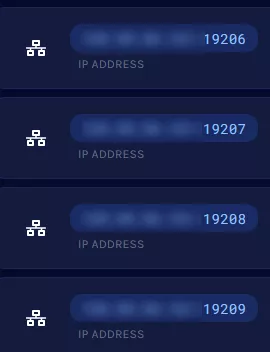
Premium Servers/Dedicated IP: Create a port to be used by the mod.
11. Go to the Files tab.![]()
12. Find the following directory: /home/container/plugins/Votifier .![]()
13. Open the config.yml file.![]()
14. On the port: line, edit the value to a number from Step 10.![]()
15. Press the Save button.
16. Start the server.![]()
17. Go to the Console tab.![]()
18. Confirm that NuVotifier is working by entering the following: testvote [Username] . If Nuvotifier does not work, try a different port on Step 14.![]()

