Summary
Discord Bots using Red have over five hundred custom 'cogs' made by the community that are pre-approved and safe to use. A cog is typically an add-on to the Red bot that can add many features. From random games to Music Bots, Discord Red has one of the largest selections when creating a bot. In addition, most cogs can be installed instantly through text channels in Discord, making an extremely easy-to-use interface with a custom command prefix.
| Note | Red requires a large amount of RAM; having at least 1GB (Package 3) is recommended to run Red. If Red bot is already in a Discord server, navigate to the 'Installing Community Cogs' section. |
How to Install Discord Red with Community Cogs
1. Generate a bot token on the Discord Dev Portal. This may prompt a login.
2. Press New Application from the top right.
3. Pick a name for the app; this can be anything and will not affect its name on servers.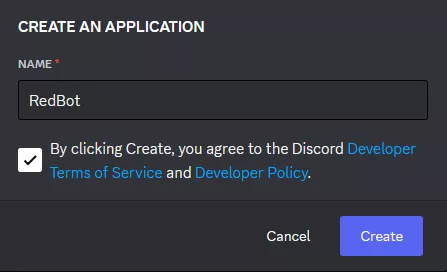
4. Set any desired descriptors, images, or details for the app.
5. Once finished editing, click Save Changes from the bottom right.![]()
6. Navigate to the Bots tab and enter a username for the bot. This is what the name will appear as on servers.![]()

7. Untoggle the Public Bot setting and toggle on the Message Content Intent and Server Members Intents settings.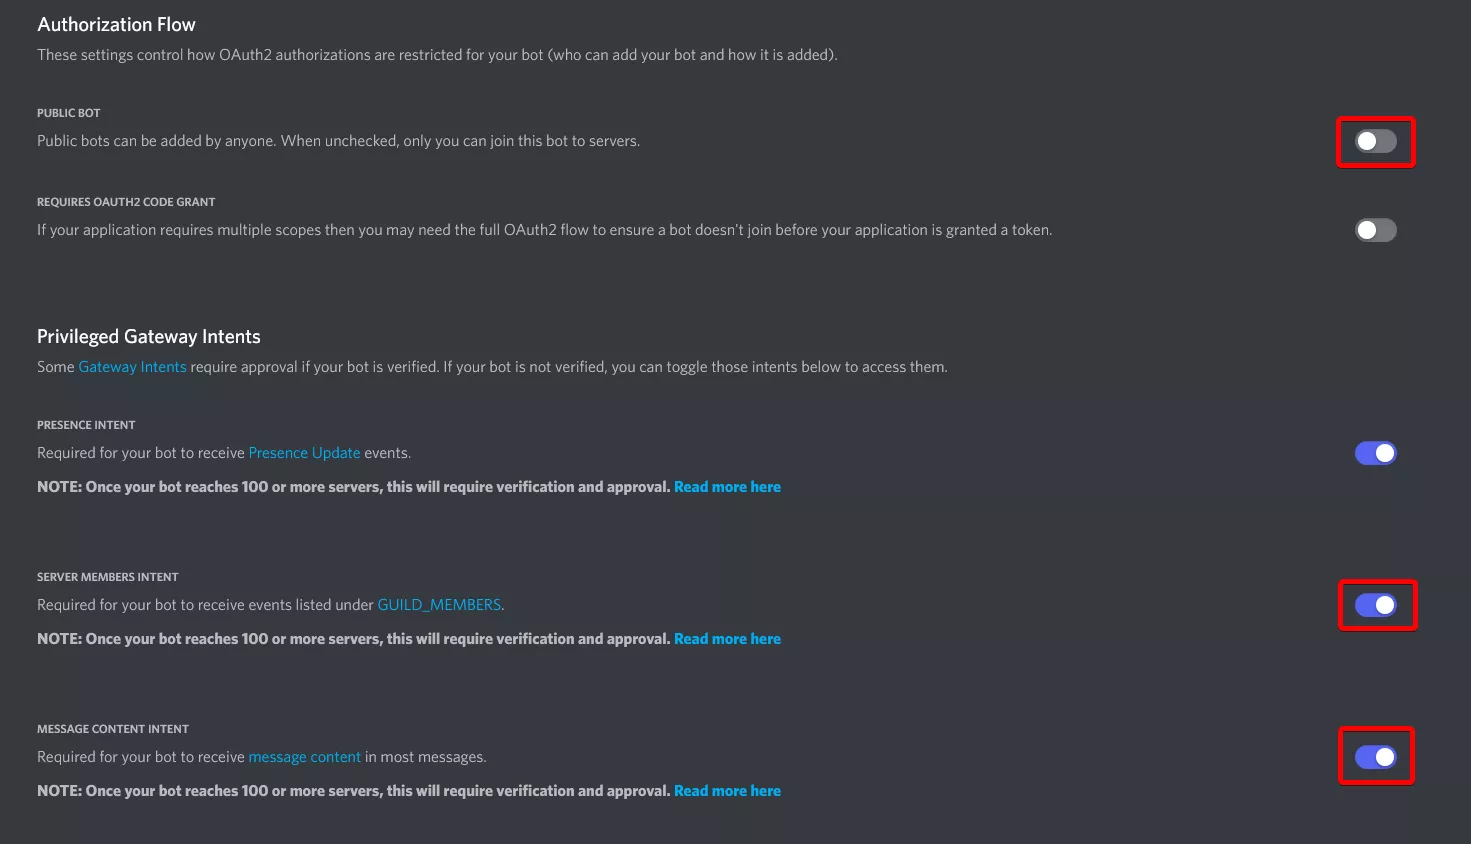
8. Once finished editing, choose Save Changes.
9. From the Token section, choose Copy. If no token is present, then select the Reset Token button.![]()
10. Log in to the BisectHosting Starbase panel.
11. Swap the current installation to Discord Red.
12. Wait for the server to install, then go to the Startup tab.![]()
13. Paste the Discord Bot Token from Step 9.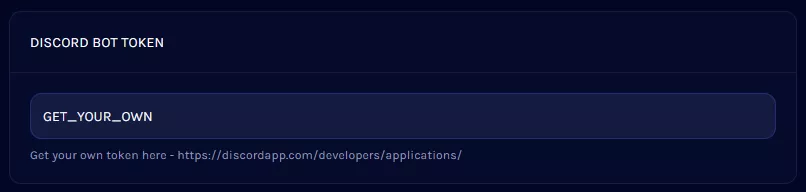
14. Customize the prefix the bot will respond to. By default, it will react to .<command> .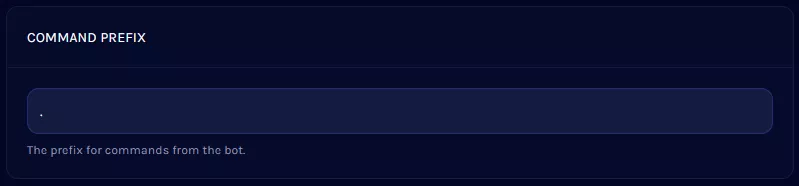
| Note | Do not use / as the prefix for Red commands, this will cause them to stop functioning. |
15. Go to the Console tab.![]()
16. Choose Start.![]()
17. After the bot has been started, it will paste a link into the Console.
18. Click the link and select the desired server. Adding a bot requires having Manage Server permissions on that server.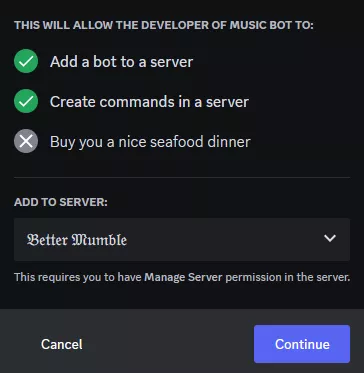
19. The bot will now join the server.
Installing Community Cogs
1. Run the command [p]load downloader to download the required files for adding community cogs.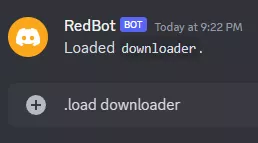
| Note | "[p]" is short for "Prefix" and is replaced by the prefix we assigned earlier, such as . or ! . |
2. Go to the Cog Index for Discord Red and locate any desired cogs. To view only safe-to-use cogs, leave Include Unapproved unchecked.
3. Once ready to install, copy the first of the Installation Commands.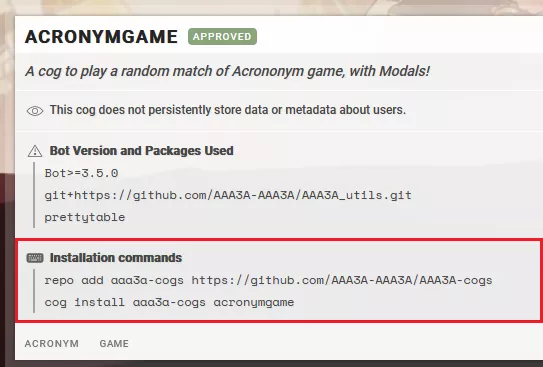
4. Run the copied [p]repo command.
| Note | Some git repositories may require specifying a branch; to do so, add the branch name after the link. Example: https://github.com main |
5. Enter I agree to consent to downloading a third-party repository.
6. Next, use [p]cog install by pasting the second command from the index page.
7. Now that the cog has been installed, it must be loaded by using [p]load [CogName] .
8. The cog is now installed and functional. For more commands, enter [p]help [CogName] .

