Summary
Discord Bots have many possible configurations only limited to the developer's imagination. While Preconfigured Bots are available for users to install, a custom bot can include any available bots that may be missing or can be entirely made from scratch by the user. The possibilities are endless when installing a custom bot, and the pip installer makes those possibilities easily realized by allowing users to instantly install packages and modules directly from the startup panel.
| Note | The built-in pip installer is an alternative method to using a 'requirements.txt' file. |
How to Install a Custom Discord Bot with the Pip Installer
1. Log in to the BisectHosting Starbase panel.
2. Go to the Files tab.![]()
3. Upload the custom bot and any additional files to the server.
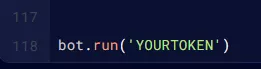
4. Open the bot.py file and navigate to the Token section.![]()
5. To generate a token, go to the Discord Dev Portal.
6. After creating an app, go to the Bot tab.
7. Untoggle the Public Bot setting and toggle on the Privileged Gateway Intents.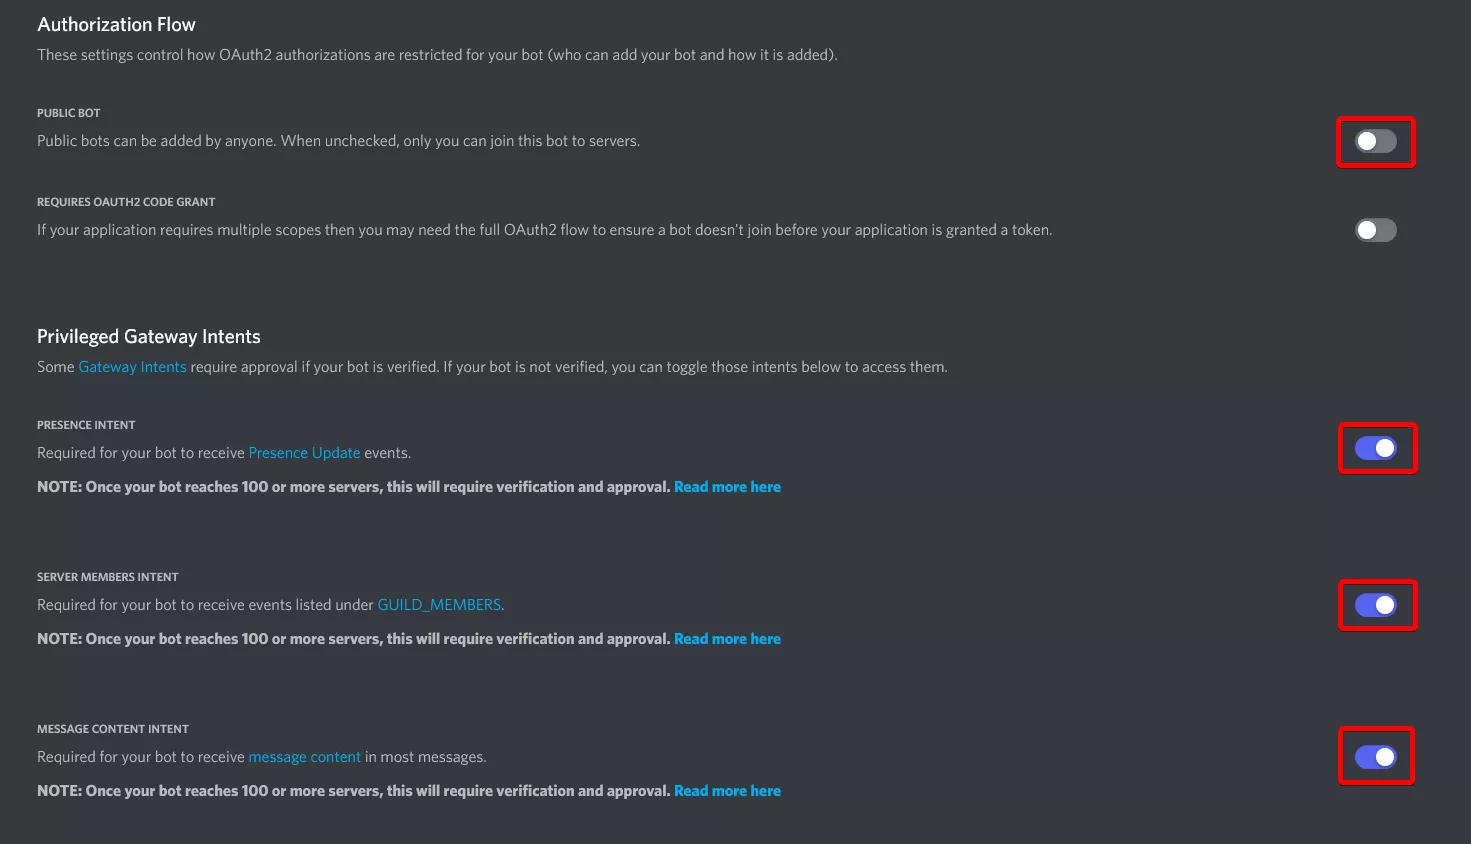
8. From the Token section, choose Copy. If no token is present, then select the Reset Token button.![]()
9. Return to the bot.py file and Paste the token.![]()
10. Once finished editing, choose Save.
11. Go to the Startup tab.![]()
12. In the BotStartFile section, set the name to the uploaded bot file.
13. Under Additional Python Packages, enter any modules to be installed when the bot runs, separated by a Space.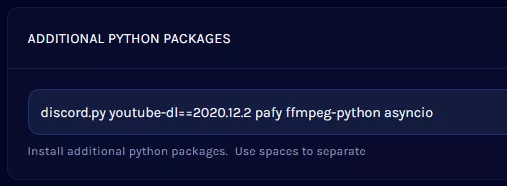
14. Once finished, return to the Home tab and Start the bot.![]()
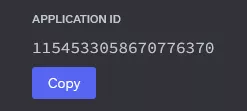
15. After the bot starts, invite it to the server by entering the following link with the Bots App ID.https://discord.com/oauth2/authorize?client_id=INSERT_APP_ID_HERE&scope=bot&permissions=8.![]()
16. Find the App ID on the Discord Dev Portal from the General Information tab.