Summary
Vintage Story servers have a large selection of roles available by default, and these roles come preconfigured with standard settings and privileges. However, users looking to customize their permissions systems and roles can do so by entering the server config and manually adjusting any desired settings for specific roles. In addition to adjusting their permissions, users can change how they appear in chat and what the role name is; this will also allow them to change the default starting role for players as they join.
| Note | Make backups locally to save any necessary files. |
How to Change Role Settings and Privileges on a Vintage Story Server
1. Log in to the BisectHosting Starbase panel.
2. Stop the server.![]()
3. Go to the Files tab.
4. Choose the data folder.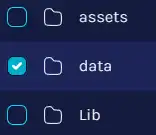
5. Open the serverconfig.json file.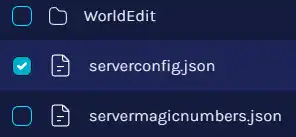
6. Navigate to the Roles section and make any desired adjustments using the table below.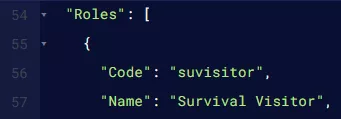
| Config Setting | Description |
"Code": "[RoleID]", |
Displays the designated Role ID to define and assign default roles via commands. |
"Name": "[Displayed Name]", |
Sets the displayed name for the role. |
"Description": "[Text]", |
Sets the description of the role shown in-game. |
"DefaultSpawn": null, |
Sets a unique spawn point for the role, leave as null for default spawn. |
"DefaultGameMode": 1, |
Sets the default game mode for the role. 0 - Guest, 1 - Survival, 2 - Creative, 3 - Spectator. |
"Color": "[RGB]", |
Sets the name color for the role in chat. |
"DefaultRoleCode": "[RoleID]", |
Sets the default role players are assigned when first joining the server. |
7. Ensure the DefaultRoleCode is set to the desired RoleID.
8. Once finished editing, choose Save.![]()
9. Start the server.![]()