Summary
Sandbox presets on a Project Zomboid server dictate the game's parameters, providing server administrators with control over various aspects of the gameplay experience. These allow for setting scenarios based on zombie population density, the rate of loot availability, weather conditions, and other survival-related factors. The preset list ranges from the initial infection up to six months later. By utilizing the sandbox presets, server operators can tailor the Project Zomboid server to suit the desired difficulty level or realism, creating a unique and engaging environment for players.
| Requirement |
| Admin permissions are required to access the admin panel. Learn how to log in to the server admin account or add admins. |
| Note | Learn how to upload custom sandbox settings here. |
| Note | Some sandbox settings may require a server restart. |
How to Apply a Sandbox Preset on a Project Zomboid Server
1. Join the server as an admin.
2. Click the Admin icon to open the Admin Panel.![]()
3. Select Sandbox Options.![]()
4. On the Presets tab, choose the desired preset and hit Apply Preset.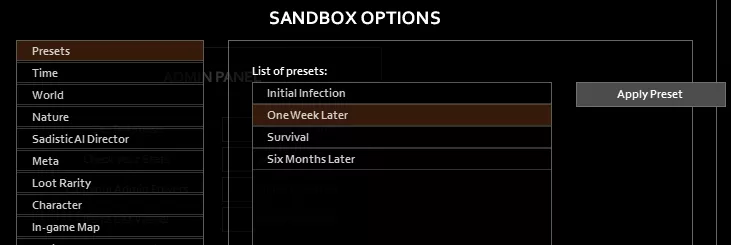
5. Click Apply Changes.![]()
How to Edit a Sandbox Preset on a Project Zomboid Server
1. Join the server as an admin.
2. Click the Admin icon to open the Admin Panel.![]()
3. Select Sandbox Options.![]()
4. On the Presets tab, choose the desired preset and hit Apply Preset.
5. Go through the tabs and edit the desired settings.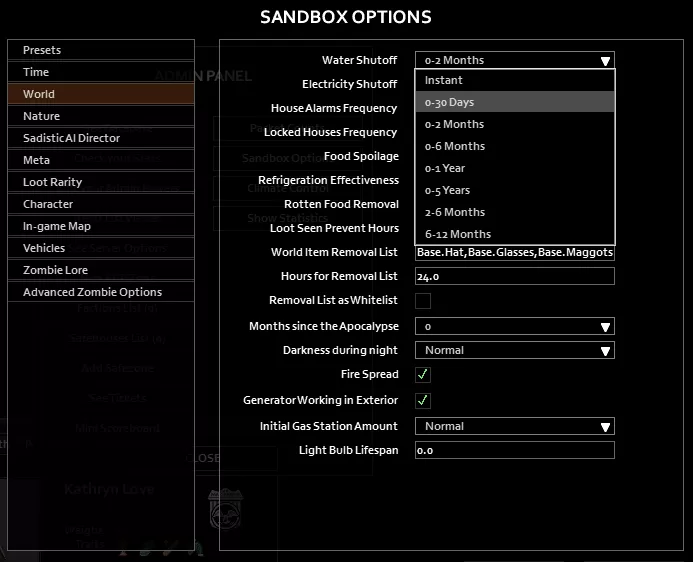
6. Click Apply Changes.![]()
| Note | This will not overwrite the values of the preset. If desired, consider creating custom sandbox settings to have a saved copy instead. |

