Summary
7 Days to Die has many custom prefabs for players to customize their games. Prefabs add random tilesets or places of interests for the world to generate naturally. For example, in this guide, a custom-made castle dungeon adds as a place of interest, which could appear in any area of the world. These custom prefabs add an extra layer of flavor to the adventuring aspect of 7 Days to Die and can go a long way when looking to add variety for playthroughs.
How to Install Custom Prefabs on a 7 Days to Die Server
1. Download a custom prefab from Nexus Mods, or generate a prefab using the in-game editor.
2. To find locally saved prefabs, open the Run menu my pressing the Windows + R Key.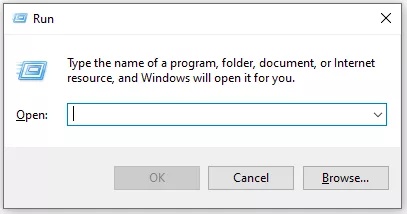
3. Paste the following line: %appdata%/7DaystoDie/LocalPrefabs then press enter.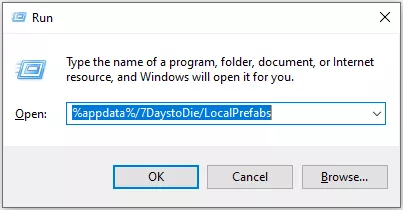
4. Log in to the BisectHosting Starbase panel.
5. Stop the server.![]()
6. Go to the Files tab.![]()
7. Find the following directory: /home/container/Data/Prefabs .![]()
8. Upload the prefab to the appropriate directory.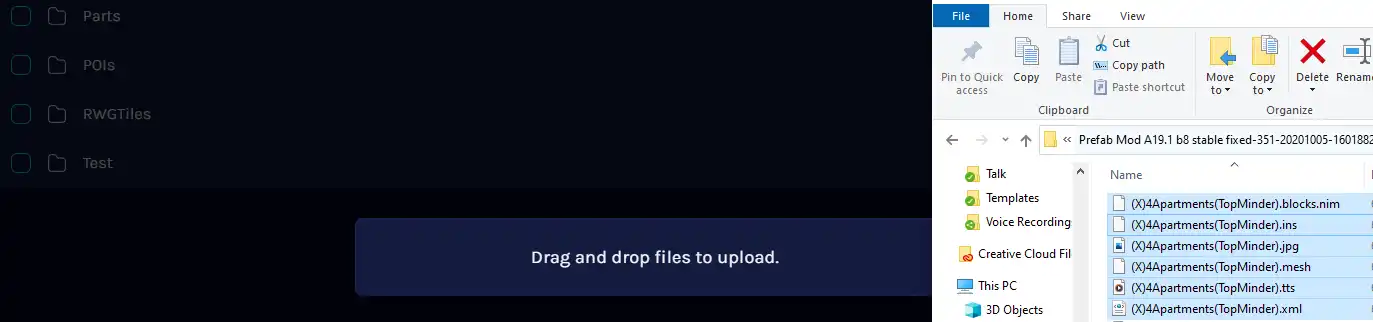
9. Start the server. ![]()