Summary
Installing mods on a 7 Days to Die server can be a great way to add new content, features, and gameplay mechanics to the game. Mods can range from simple tweaks to new items, enemies, and overhauls. Some mods may require a different game version. Learn how to change the game version of a 7 Days to Die server here.
| Note | Adding mods can potentially corrupt existing save files. Check the mod description to verify save compatibility. |
How to Install Mods on a 7 Days to Die Server (Server Side)
1. Download a mod from 7daystodiemods.com. It must match the server version.
2. Extract the .zip or .rar file to a folder.
3. Minimize the folder to use later in the tutorial.
| Note | Some mods may not be compatible with Easy Anti Cheat. Learn how to disable it here. |
4. Log in to the BisectHosting Starbase panel.
5. Stop the server.![]()
6. Log in to the 7 Days to Die server using an SFTP client. Learn how to use SFTP here.![]()
7. Right-click on the server side root and choose New Directory (or folder).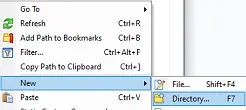
8. Name the directory Mods. The M in Mods must be capitalized.
9. Drag and drop the folder from step 3. 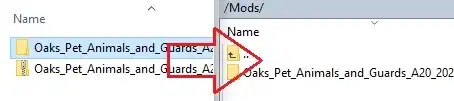
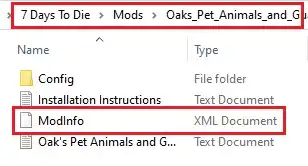
10. The directory will read /Mods/[Installed mod]/ and have a .xml file.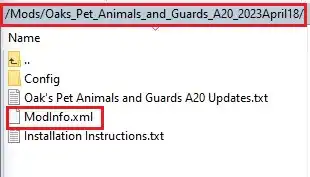
11. Start the server.![]()
How to Install Mods on a 7 Days to Die (Client Side)
1. Download a mod from 7daystodiemods.com. It must match the server version.
2. Extract the .zip or .rar file to a folder.
3. Minimize the folder to use later in the tutorial.
4. Right-click 7 Days to Die on Steam, hover Manage and select Browse Local Files.
5. Right-click, create New Folder, and name it Mods. The M in Mods must be capitalized.
6. Drag and drop the folder from step 3. 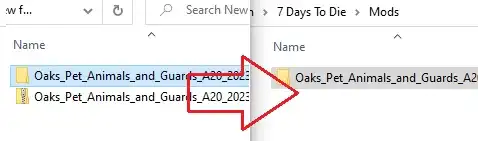
7. The directory will read 7 Days To Die/Mods/[Installed mod]/ and have a .xml file.