
Summary
Restarting a 7 Days to Die map allows users to start over on the same server while using the same or new maps. Users can reset their maps independently of their player data, allowing users to save their progress on skills and keep their gear even on different maps. Player data can transfer to any map, meaning users can even transfer singleplayer data to their server by uploading the same files found in this guide.
| Note | Changing maps will reset player data. To keep the same characters, follow our guide on Restarting a Map. |
How to Change the Map on a 7 Days to Die Server
1. Log in to the BisectHosting Starbase panel.
2. Stop the server.![]()
3. Go to Config Files > Server Config from the left sidebar. 
4. Go to the GameWorld line. It's recommended to make RWG maps in singleplayer and then Transfer them to the Server.
5. Change the text inside Value to one of the following:
Navezgane - The default map, hand-crafted by the developers, it's widely recommended to start on this map.RWG - Randomly generates a new map according to the WorldGenSeed. New players download the map when joining.PREGEN6k - A small pre-generated random world. PREGEN8k - A medium pre-generated random world.PREGEN10k - A large pre-generated random world.
![]()
| Note | Pre-generated worlds don't require new players to download them, allowing faster load times. |
6. Change the GameName and GameMode lines according to preference.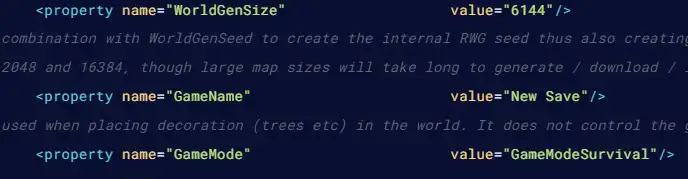
7. Press the Save button.
8. Start the server. The new world will be generated with the chosen game name.![]()