Summary
CurseForge is a popular modpack management tool for Minecraft. In addition to offering numerous modpacks for download, users can create custom modpacks by creating a profile and manually adding mods. These profiles can be imported or shared with others, greatly enhancing the accessibility of packs. Custom modpacks allow users to pick and choose their desired mods, which is helpful for those who wish to take elements from other modpacks without including undesired mods.
How to Create a Custom Modpack in the CurseForge Launcher
1. Open the CurseForge launcher.
2. Go to the Minecraft tab.
3. Select Create Custom Profile from the top-right.![]()
4. Enter a Profile Name.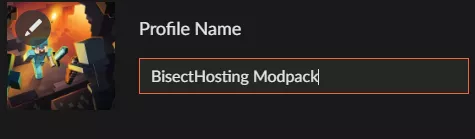
5. Select the desired Minecraft version. This will affect mod availability.
6. Choose the Game Type and Modloader Version. The differences between them are listed here.
7. Once finished editing, press Create.![]()
8. After the profile installs, open the Context Menu (three dots) and choose Add More Content.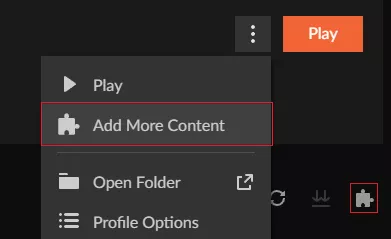
9. Search for any desired mods compatible with the chosen game type.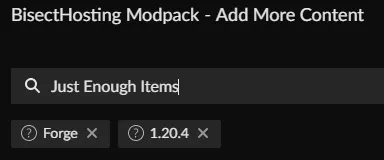
10. Choose Install next to the chosen mod on the browser.
![]()
11. Once all mods are added, close the menu with the X button in the top right.
12. Launch the modpack by pressing Play after the mods finish installing.