Summary
Installing Fabric on a Minecraft server provides a lightweight and flexible modding platform that enhances the game with a various mods without significantly impacting performance. Fabric's modular and efficient design allows for quick updates and compatibility with the latest Minecraft versions, ensuring a smooth gaming experience. Additionally, its active community and extensive library of mods enable server administrators to customize gameplay, adding new features and mechanics to suit their preferences.
| Note | The server must fully start once to generate config files and folders. |
How to Install Fabric on a Minecraft Server
1. Log in to the Bisecthosting Starbase panel.
2. Stop the server.![]()
3. From the Minecraft Tools tab, choose Minecraft Jar.
4. Select Fabric on the left.
5. Next to the desired Fabric Version, click Install.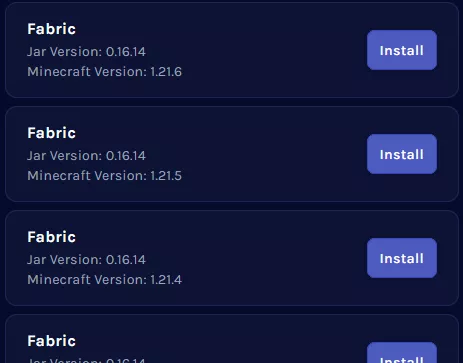
6. Confirm the Game Version and choose Next.![]()
7. Choose what to do with the existing server files and click Next.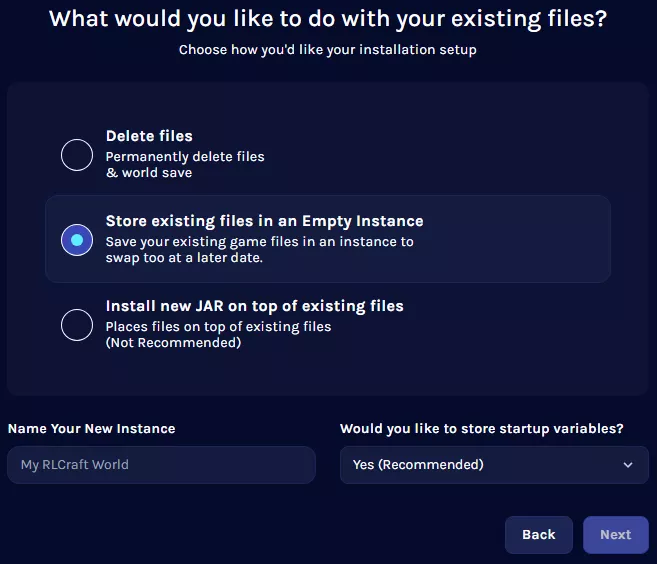
8. Press the Confirm button.![]()
9. Start the server. ![]()
How to Install Fabric on a Minecraft Server (Manual)
1. Download Fabric.
2. Launch the Fabric installer and select the Server tab.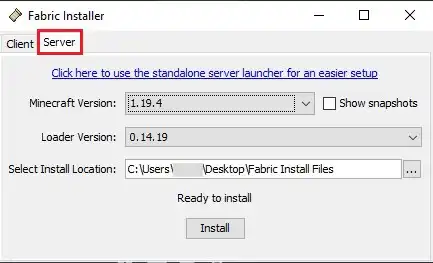
3. Choose a Minecraft version.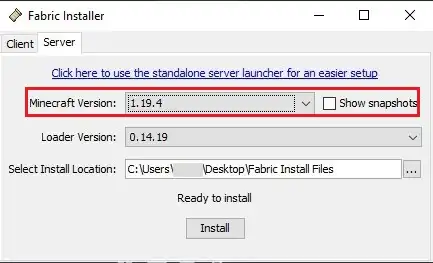
4. Change the install location to a folder.
5. Click Install.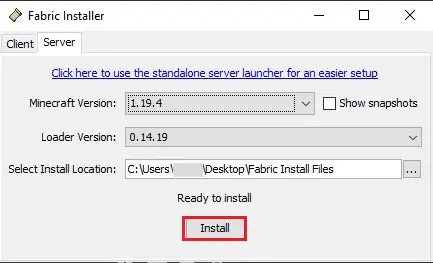
6. Select Download server jar.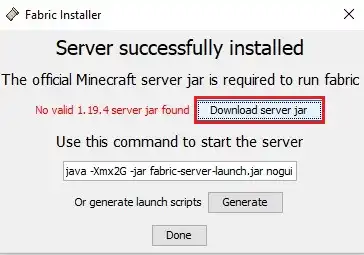
7. Once finished, navigate to the folder.![]()
8. Select all files. Right-click and choose Send to>Compressed (zipped) folder. 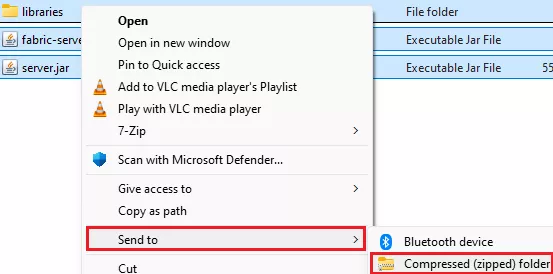
9. Minimize the .zip file to use later in the tutorial.
10. Log in to the Bisecthosting Starbase panel.
11. Stop the server.![]()
12. From the Minecraft Tools tab, choose Minecraft Jar.
13. Select Custom on the left.![]()
14. Next to Custom JAR (Non-NeoForge/Forge 1.17-1.20.1), click Install. 
15. Confirm the Game Version and click Next.![]()
16. Choose what to do with the existing server files and click Next.
17. Press the Confirm button.![]()
18. Wait for the installation to finish.![]()
19. Go to the Files tab.![]()
20. Upload the .zip file from step 9.
21. Right-click on the .zip file and choose Unarchive.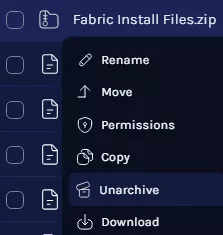
22. Go to the Startup tab.![]()
23. On the Server Jar File table, input fabric-server-launch.jar.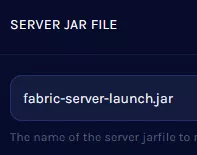
24. Go to the Home tab.![]()
25. On the Java Version table, choose the appropriate version.
| Minecraft Version | Java Version |
| 1.16 and below | Java 8 |
| 1.17 to 1.20.4 | Java 17 |
| 1.20.5 and above | Java 21 |
| Note | Java Adoptium is the default option, although some modpacks may perform better on other versions. |
26. Start the server.![]()

