Summary
Dynmap is a powerful plugin for Minecraft that creates dynamic, real-time maps of a server's world, allowing players to view the terrain, structures, and player locations through a web browser. This map updates in real-time, offering a live overview of the server landscape and player positions, making it a valuable tool for server administrators and players alike. With customizable settings, players can control the level of detail and information displayed on the map, providing an interactive and informative experience for those exploring the Minecraft world.
| Requirement |
| Dynmap requires PaperMC or Spigot. Learn how to install PaperMC or Spigot here. |
| Note | Learn how to setup Dynmap here. |
How to Install Dynmap on a Minecraft Server
1. Download Dynmap here. It must match the Minecraft version.
2. Log in to the BisectHosting Starbase panel.
3. Stop the server.![]()
4. Go to the Files tab.![]()
5. Open the plugins folder.![]()
6. Upload the .jar file from Step 1.
7. Start the server.![]()
How to Setup Dynmap on a Minecraft Server
1. Log in to the BisectHosting Starbase panel.
2. Stop the server.![]()
3. Go to the Network tab.
4. Depending on the server type, take note of an available port.
Budget Servers: Choose a port not in use by other mods.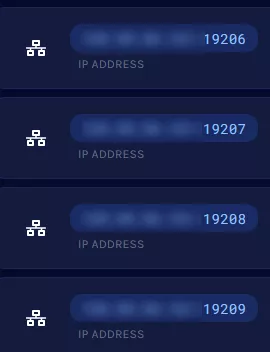
Premium Servers/Dedicated IP: Create a port to be used by the mod.
5. Go to the Files tab.![]()
6. Find the following directory: /plugins/dynmap .![]()
7. Open the configuration.txt file.![]()
8. Change the following settings:![]()
![]()
| Setting | Change |
deftemplatesuffix |
Enter lowres or vlowres |
webserver-port |
Enter a port from Step 4 |
| Note | Enter a different port if Dynmap is not showing. Do not set a port lower than 1024 or higher than 64999, as it will not work. |
9. Press the Save button.
10. Start the server.![]()
11. From the Home tab, copy the IP Address.![]()
12. View the Dynmap by visiting http://SERVERIP:PORT with the IP from Step 12 and port from Step 9.
