Summary
Installing beta branches on a Project Zomboid server offers administrators and their communities flexible access to game versions beyond the current stable release. This allows for early testing of upcoming experimental features, such as new map areas, items, or core mechanics. Conversely, beta branches can grant access to older, archived game versions, which might be preferred for specific mod compatibility, to continue a save that isn't compatible with the latest update, or to revisit a previous game iteration.
How to Install Beta Branches on a Project Zomboid Server
1. Log in to the BisectHosting Starbase panel.
2. Stop the server. ![]()
3. Go to the Startup tab.![]()
4. On the Steam Beta Branch table, input the desired branch name. View the list here.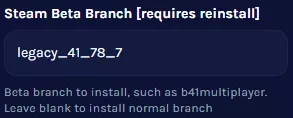
5. Go to the Home tab.![]()
6. Under the Reinstall Server table, select Reinstall Server.![]()
7. Choose the desired option and confirm Reinstall. This may take a few minutes.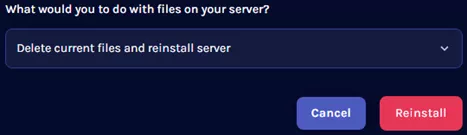
8. Start the server.![]()
How to Install Beta Branches on Project Zomboid
1. From Steam, right-click Project Zomboid and choose Properties.
2. Go to the Betas tab.![]()
3. Next to Beta Participation, select the desired version from the dropdown.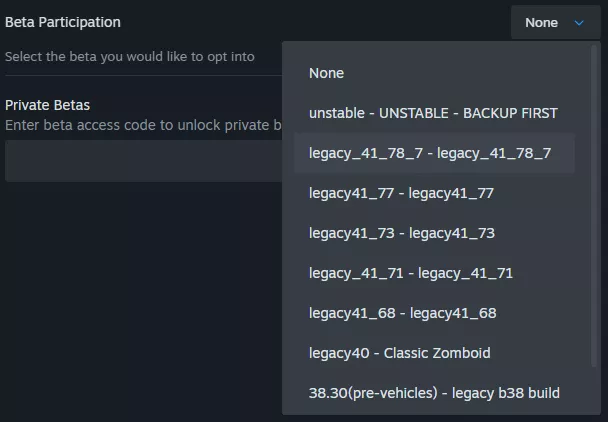
4. Wait for the installation to finish.