Summary
Don't Starve Together servers typically generate the world when the server is first started, applying default options or anything set in the worldgen override. While the override is an option for worldgen settings, it's recommended to host a multiplayer world instead, configure the settings, and then upload the settings to a dedicated server. This applies mostly to settings done before world creation, however some settings do not require new worlds to work.
How to Configure World Generation on a Don't Starve Together Server
1. Launch Don't Starve Together.
2. Choose Host Game.
3. Take note of the Save Slot the new world will be in.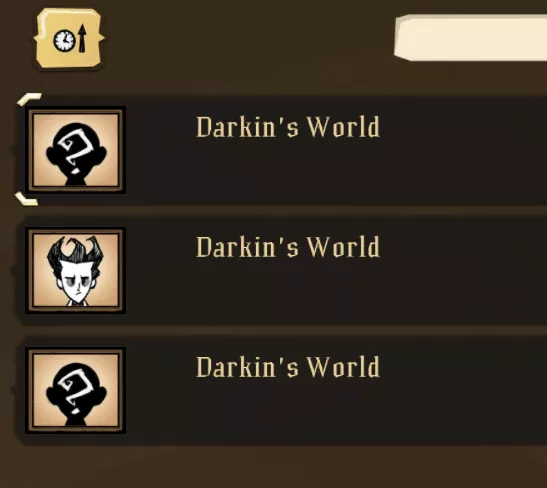
4. Select Create New World.
5. After selecting the game mode, make any desired changes to the World/Worldgen settings.
6. Once finished editing, choose Generate World.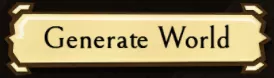
7. After generating, return to the main menu and select Data.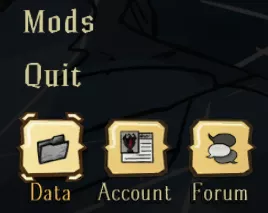
8. Open the Cluster_X folder; the number will be based on the Save Slot.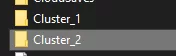
9. Open the Master folder.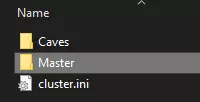
10. Locate the leveldataoverride.lua file.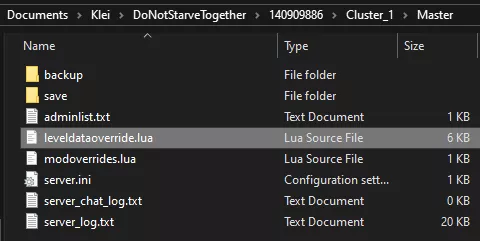
11. Log in to the BisectHosting Starbase panel.
12. Stop the server.![]()
13. Go to the Files tab.![]()
14. Find the following directory: /home/container/DoNotStarveTogether/config/server/Master .
15. Upload the leveldataoverride.lua file to the server.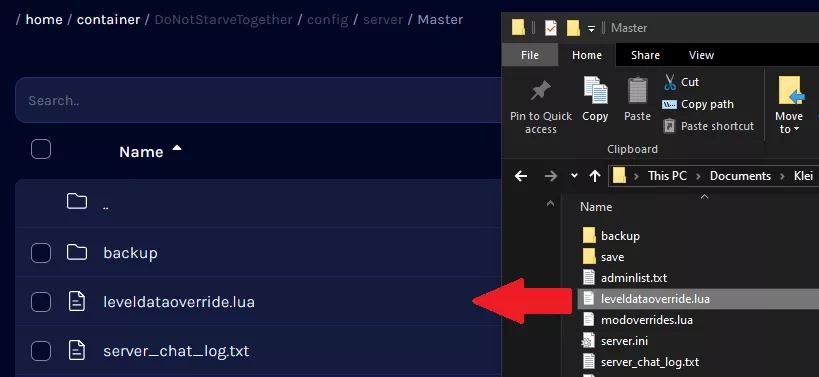
16. Delete any existing save folders if generating a new world.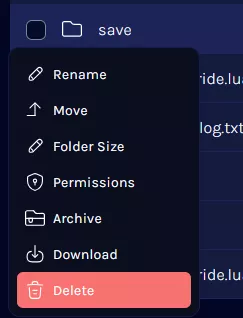
17. Repeat steps 9-16 for the Caves folder if caves are enabled.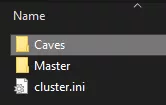
18. Start the server.![]()