Summary
Arma 3 mods are user-created modifications or additions to the popular military simulation game Arma 3. These mods can range from new maps, weapons, vehicles, and gameplay mechanics to total conversion mods that transform the game into entirely different experiences. The Arma 3 modding community is known for its creativity and dedication. It provides players with an extensive library of content that enhances and expands upon the game's vast sandbox environment, offering players an endless variety of gameplay options and experiences.
| Requirement |
| An FTP client is recommended to transfer files onto the server manually. Follow this tutorial to learn how to use an FTP client. |
| Note | Mods should not have numbers at the beginning of the name or any spaces in between. Some mods have dependencies that should be subscribed to first to work properly. |
How to Manually Install Mods on an Arma 3 Server
1. Under the Steam Library, Select Arma 3.
2. Choose Workshop.![]()
3. Subscribe to the desired mod.![]()
4. After the Arma 3 update, Launch Arma 3 and choose Mods.![]()
5. Select a mod and open More Options to Open folder.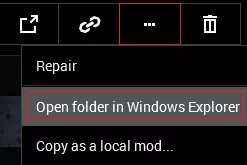
6. Choose the I Understand button.![]()
7. Compress the desired mods to a .zip folder.![]()
8. Log in to the BisectHosting Starbase panel.
9. Stop the server.![]()
10. Go to the Files tab.![]()
11. Upload the .zip folder from Step 7.
12. Unarchive the .zip folder from Step 11.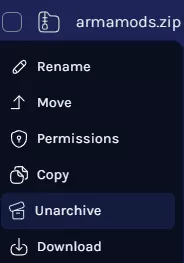
13. Open the desired mod folder's Keys folder.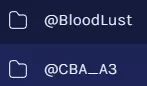
![]()
14. Download all .bikey files.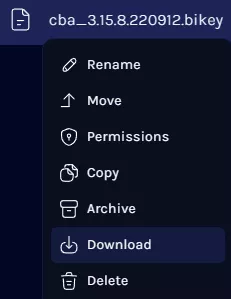
15. Find the following directory: /home/container/keys .![]()
16. Upload the downloaded .bikey files from Step 14.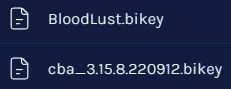
17. Go to the Startup tab.![]()
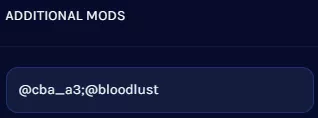
18. Under Additional Mods, enter the desired mod names separated by ; .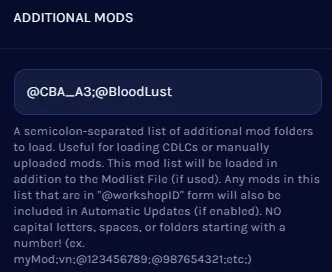
19. Under [Repair] Make Mod Files Lowercase, enter 1 .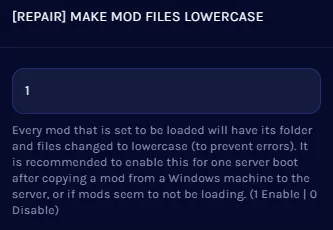
20. Start the server.![]()
21. After the server has run once, Stop the server.![]()
22. Go to the Startup tab.![]()
23. Under [Repair] Make Mod Files Lowercase, enter 0 .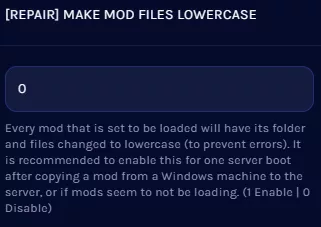
24. Under Additional Mods, match the folder name from the Files tab and the listed name in the Startup tab.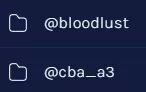
25. Start the server.![]()
How to Manually Install Mods on an Arma 3 Server using an FTP
1. Under the Steam Library, Select Arma 3.
2. Choose Workshop.![]()
3. Subscribe to the desired mod.![]()
4. After the Arma 3 update, Launch Arma 3 and choose Mods.![]()
5. Select a mod and open More Options to Open folder.
6. Choose the I Understand button.![]()
7. Minimize the folder to use later in the tutorial.
8. Log in to the BisectHosting Starbase panel.
9. Stop the server.![]()
10. Go to the Files tab.![]()
11. Click SFTP Credentials.![]()
12. Press the Launch SFTP button.![]()
13. Upload the desired mod folders from Step 7 to the root directory.
14. From the FTP client, open the keys folder.
15. Upload the .bikey files of the desired mod folder's Keys folder from Step 7.
16. Go to the Startup tab.![]()
17. Under Additional Mods, enter the desired mod names separated by ; .
18. Under [Repair] Make Mod Files Lowercase, enter 1 .
19. Start the server.![]()
20. After the server has run once, Stop the server.![]()
21. Go to the Startup tab.![]()
22. Under [Repair] Make Mod Files Lowercase, enter 0 .
23. Under Additional Mods, match the folder name from the Files tab and the listed name in the Startup tab.
24. Start the server.![]()