Summary
Sons of the Forest has released an update allowing for dedicated servers; however, players may want to continue playing on their local saves when moving to a dedicated server. Unfortunately, this process does not retain inventory data, so make sure to place any desired items into storage before transferring.
| Note | Make backups locally to save any necessary files. |
| Note | Only Multiplayer saves can be transferred to Dedicated Servers. Also, player inventory data will not be kept after transferring. |
How to Transfer a Local Save to a Sons of the Forest Server
1. Open the Run menu by pressing the Windows + R Key.
2. Enter %localappdata%low\Endnight\SonsOfTheForest\Saves and choose OK.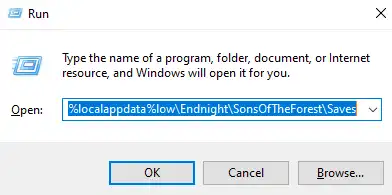
3. Find and open the Multiplayer folder.![]()
4. Right-click on the save folder to be transferred and choose Send to > Compressed (zipped) folder.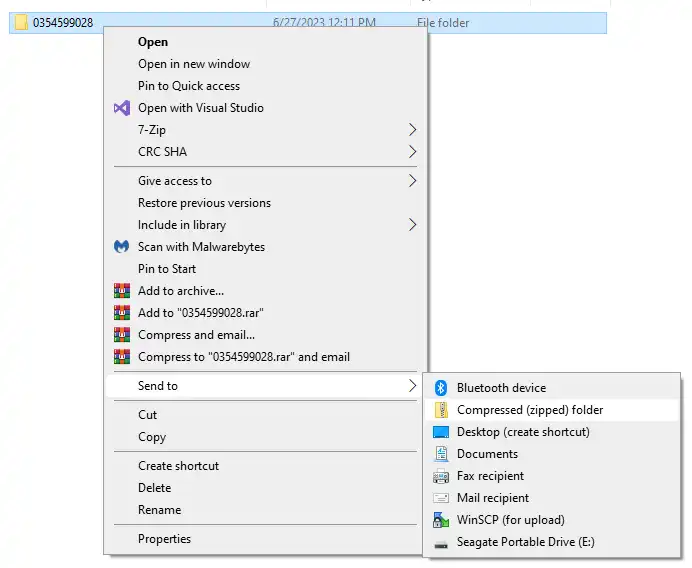
5. Minimize the file to use later in the tutorial.
6. Log in to the BisectHosting Games panel.
7. Stop the server.![]()
8. Go to the Files tab.![]()
9. Find the following directory: /home/container/serverconfig/Saves/DedicatedServer/Multiplayer .![]()
10. Drag and drop the .zip file from step 5.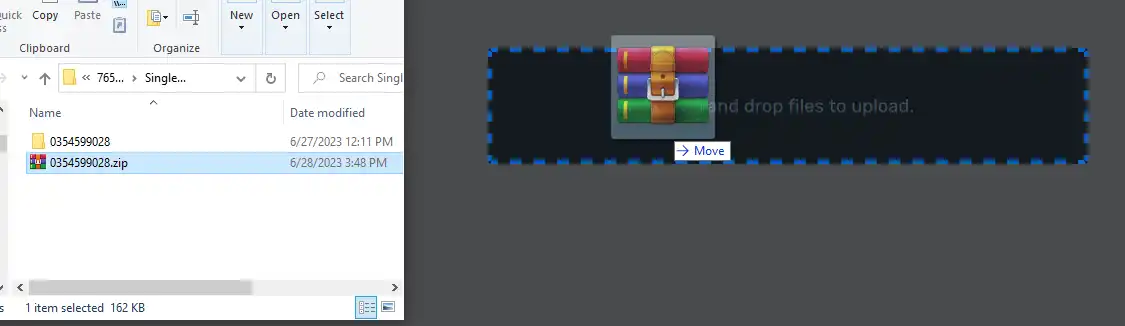
11. Right-click the .zip file and choose Unarchive.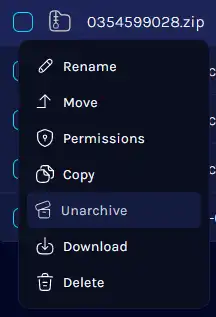
12. Next, right-click the unzipped file and choose Rename.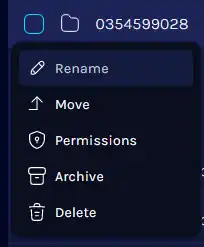
13. Rename the file to 000000000X, replacing X with another number.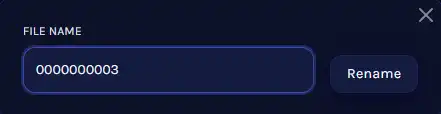
14. Go to the /home/container/serverconfig directory and open the dedicatedserver.cfg file.![]()
![]()
15. Next to the SaveSlot line, enter the number we replaced X with.
16. Once finished editing, choose the Save Content button.
17. Start the server. The world will retain any previously placed structures or items.![]()