Summary
BungeeCord is a popular Minecraft server proxy software that allows players to connect to multiple Minecraft servers from a single IP address. BungeeCord operates as a middleman between Minecraft servers, intercepting and redirecting player connections. It allows players to move seamlessly between different servers, even running different game modes. BungeeCord is also highly customizable, with many plugins and configuration options available.
| Note | BungeeCord requires a minimum of three servers. One server will run BungeeCord, while two or more servers will be connected to the network. |
How to Set Up a BungeeCord Server Network
1. Log in to the BisectHosting Starbase panel.
2. Stop all servers to be used for the BungeeCord server network.![]()
3. On the main BungeeCord server, copy the IP Address.![]()
4. Under the Minecraft Tools tab, choose Minecraft Jar.
5. Select Network on the left.![]()
6. Click Install next to BungeeCord. Java 17 Version 1.8+ is used in this example.
7. Confirm the Game Version and choose Next.![]()
8. Choose what to do with the existing server files and click Next.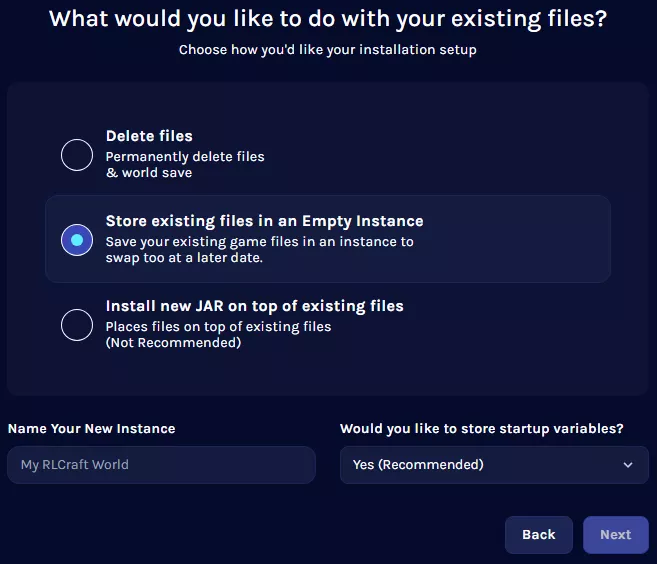
9. Press the Confirm button.![]()
10. Start the server.![]()
11. Once it has fully launched, stop the server.![]()
12. Go to the Files tab.![]()
13. Open the config.yml file.![]()
14. Under listeners:, change the host: port to the BungeeCord server Port from Step 3.![]()
![]()
15. Change ip_forward: from false to true.![]()
16. Under servers:, edit lobby to the desired main server name and replace localhost with the main server IP. Repeat with each server connecting to the BungeeCord server network.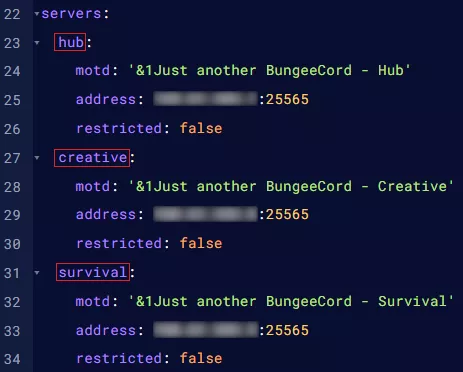
17. Under listeners:, locate the priorities: line.![]()
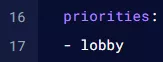
18. Add the matching names of the Minecraft servers in the BungeeCord server network from Step 16. Players will always enter the first server listed.
19. Press the Save button.
20. Return to My Servers and select the next BungeeCord server.
| Note | These are example servers for this guide. The game servers are running Spigot for 1.19.4. BungeeCord Server: 1.1.1.1:25565 Hub Server: 2.2.2.2:25565Creative Server: 3.3.3.3:25565Survival Server: 4.4.4.4:25565 |
21. Go to the Config Files tab and choose Server Properties.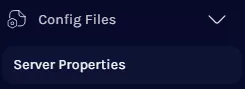
22. Locate Online Mode and choose False from the dropdown menu.
23. Go to the Files tab.![]()
24. Open the spigot.yml file.![]()
25. Under settings:, change bungeecord: from false to true.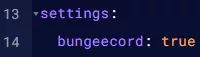
26. Press the Save button.
27. Open the bukkit.yml file.![]()
28. Under settings:, change connection-throttle: from 4000 to -1.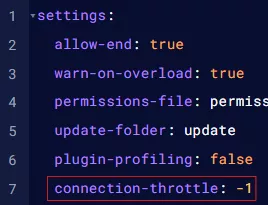
29. Press the Save button.
30. Repeat steps 20 to 29 for each Minecraft game server connecting to the BungeeCord server network.
31. Start all servers.![]()
| Note | Installing BungeeGuard to protect BungeeCord servers from malicious attacks is highly recommended. |

