
Summary
Transferring a Valheim single-player world to a multiplayer server is a great way to start playing with friends without losing progress. This can also improve the overall gameplay, allowing mods and customizations that add more content, features, and challenges to the game, making it even more fun and engaging to explore the world with friends. Uploading saves is a straightforward process, by simply uploading the local save files, players can pick up straight from where they left off.
How to Upload a Singleplayer World to a Valheim Server
1. Launch Valheim.
2. From the character selection screen, choose Manage Saves.
3. Select the desired save, then press Move to local if it's saved to the cloud.![]()
4. Open the Run menu by pressing the Windows + R Key.
5. In the Open field, enter the following file path: %USERPROFILE%/AppData/LocalLow and choose OK.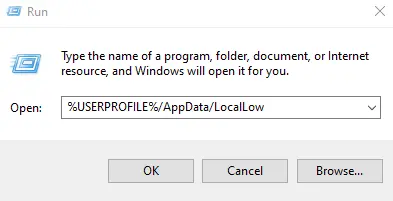
6. Go to the IronGate>Valheim>Worlds folder.
7. Select all the files for the world, right-click, and send to a compressed zipped folder.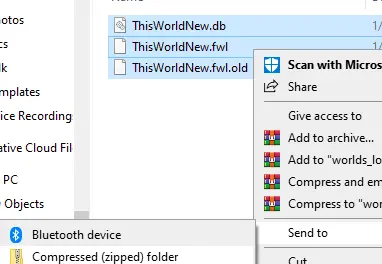
8. Log in to the BisectHosting Starbase panel.
9. Stop the server.![]()
10. Go to the Files tab.
11. Find the following directory: home/container/.config/unity3d/IronGate/Valheim/worlds_local/ .
12. Choose Upload and select the .zip folder from step 6.
13. Right-click the .zip folder and choose Unarchive.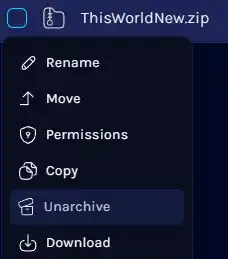
14. From the Startup tab, change the World Name to be the same as the uploaded world. 
15. Start the server.![]()