Summary
Valheim mods are typically managed by a mod launcher such as R2Modman or Thunderstore. These launchers include an extremely appealing user interface that makes installing mods quick and easy. Some users may have larger servers on which they wish to try mods. Fortunately, there is a straightforward way to share mod profiles for both mod launchers, which users can utilize individually and on dedicated servers using our built-in modpack installer.
| Note | Users who already have an export file can skip to the Installation steps. |
How to Install a Modpack on a Valheim Server
1. Launch Thunderstore Mod Manager and select the desired profile.![]()
2. Open the Settings menu, and choose Export profile as a file.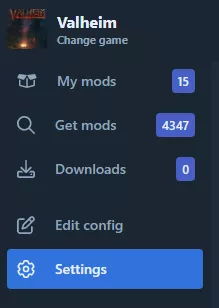

3. Log in to the BisectHosting Starbase panel.
4. Stop the server.![]()
5. Go to the Files tab.
6. Upload the mod profile to the main directory.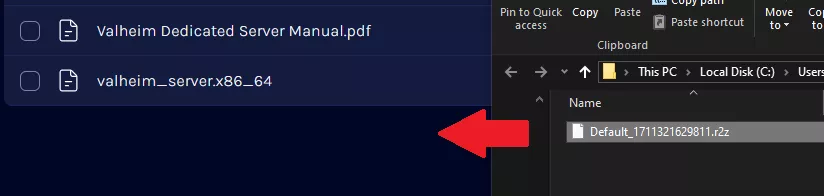
7. Copy the file name, excluding the .r2z extension, by pressing Right-click > Rename.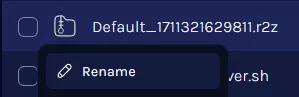

8. Go to the Startup tab.
9. Ensure that BepinEx is set to Enabled.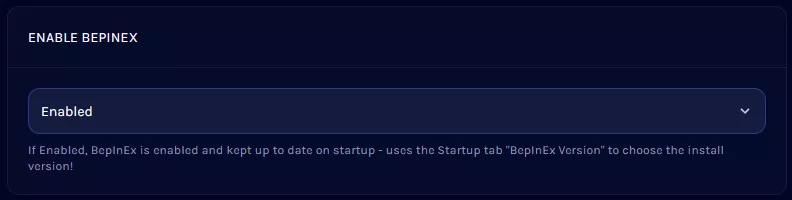
10. Navigate to the R2Z Export section.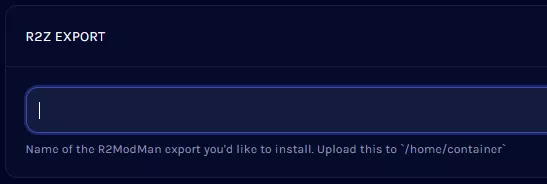
11. Paste the file name for the export.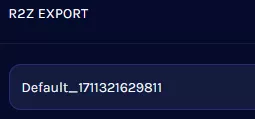
12. Start the server.![]()
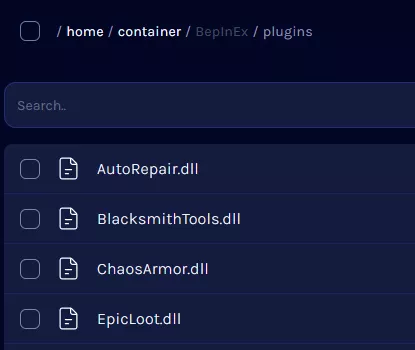
13. Once finished, all installed mods can be viewed in the BepInEx/plugins folder.