
Summary
All BisectHosting game servers allow users to create separate instances of servers using the Instance Manager. This powerful tool will keep a server in its entirety in tact in another "instance," allowing server owners to switch between games and saves at a moment's notice. Switching between these saves can be done with a click of a button!
Where to Find the Instance Manager
1. Log in to the BisectHosting Starbase panel.
2. Stop the server.![]()
3. From the Home tab, edit the current Instance name or click Swap Instance.
4. The Instance Manager will open. Save and swap instances here.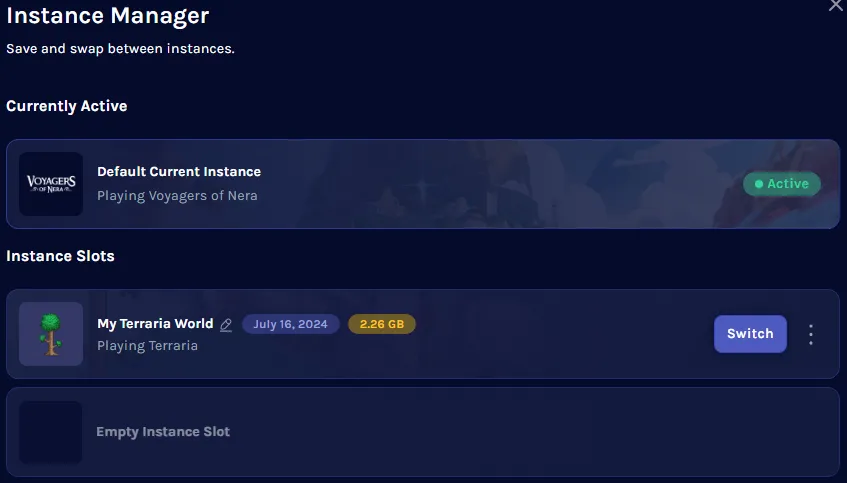
5. Start the server. ![]()
How to Use the Instance Manager on the BisectHosting Starbase Panel
1. Log in to the BisectHosting Starbase panel.
2. Stop the server. ![]()
3. Under the Installed table, select Swap Game.
4. Pick the desired game.
5. Choose what to do with the current instance: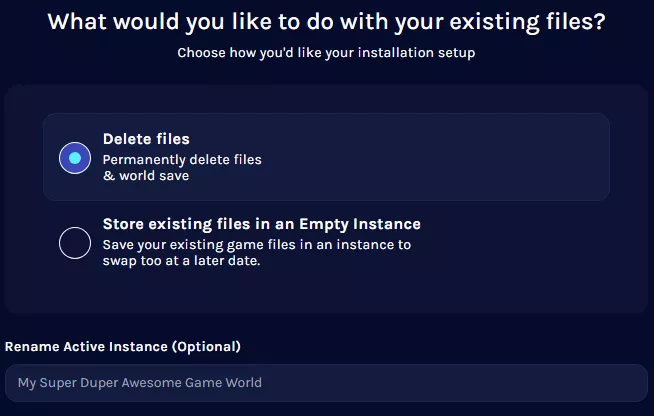
a. Delete Files
Replaces and deletes the current files and replaces them with the new instance.
b. Store existing files in an Empty Instance
Creates a new instance and saves the current files in a separate instance for later use.
| Note | The Instance Manager has a 15GB limit per game instance. If the game files exceed this limit (e.g., Ark servers), it is recommended to back up saves and create a new install instead. |
6. For creating a new instance, name the instance and choose the desired startup variables setting.
7. Once finished, press the Next button.![]()
8. Click Confirm. ![]()
9. Wait for the installation to finish. This may take a few minutes.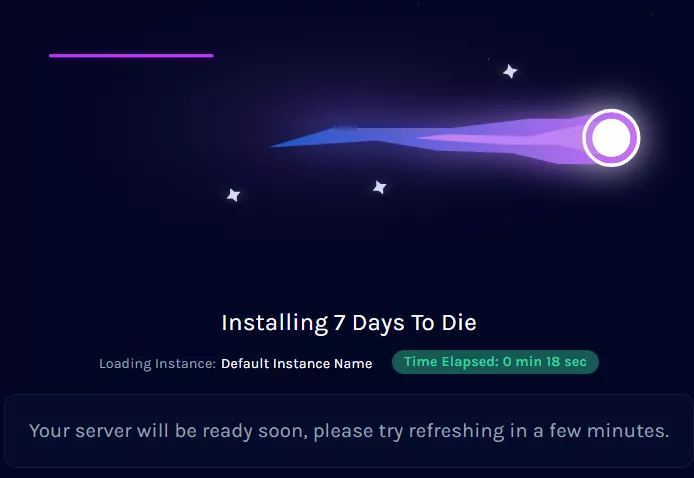
10. Start the server.![]()
11. To change the current instance, go to the Home tab. ![]()
12. Under Current Instance, choose Swap Instance.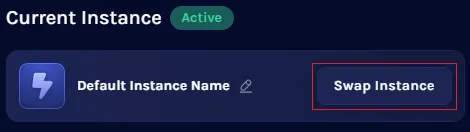
13. From the desired Instance, press the Switch button.![]()
Download or Delete an Instance using the ellipsis next to the Switch button.
14. Click Confirm. ![]()
15. Start the server. ![]()

