Summary
Minecraft server icons help to add character and customization to a server; all server icons are displayed to users through the server browser screen, making the server icon an excellent opportunity to make a lasting impression. Server icons must be a specific size before being set, which can be done using any image editing tool such as Microsoft Paint. In tandem with Messages of the Day (MOTD), the server icon plays a vital role in setting the tone for a server, so make sure to choose something eye-catching and memorable.
| Requirement |
Server icons must be 64x64 pixels and saved as a PNG file. |
How to Add a Server Icon on a Minecraft Server
1. Prepare the desired server icon image by ensuring the dimensions are 64x64. 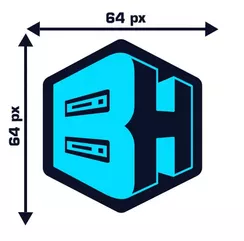
2. Rename the image to server-icon.png. If Windows File Extensions is disabled, rename it to just server-icon.
3. Minimize the file to use later in the tutorial.
4. Log in to the BisectHosting Starbase panel.
5. Stop the server.![]()
6. Go to the Files tab.![]()
7. Upload the .png file from Step 3.
| Note | Server icons support partial image transparency. |
8. Start the server.![]()
How to Resize a Server Icon for a Minecraft Server
1. Open the server icon image in Paint.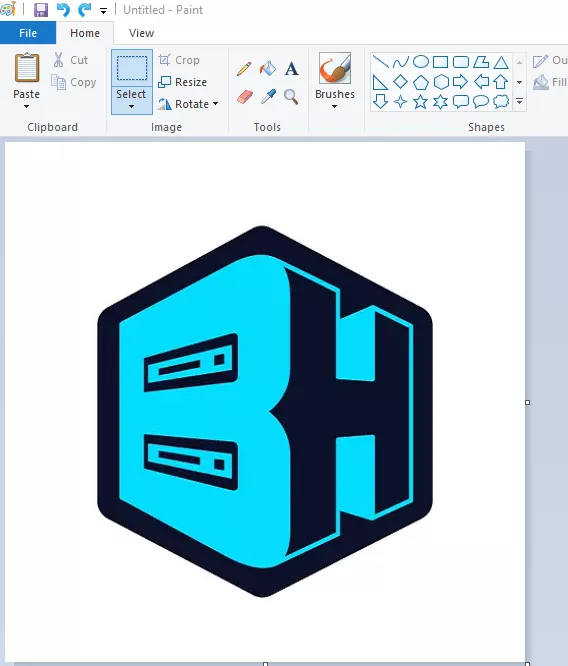
2. Under the Home tab, select Resize.![]()
3. Choose the Pixels option.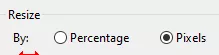
4. On both Horizontal and Vertical fields, input 64.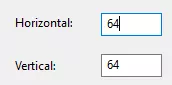
5. If the pixel sizes do not match, uncheck Maintain aspect ratio.![]()
| Note | The image may stretch if the pixel sizes do not match. Consider cropping the image borders until the desired result. |
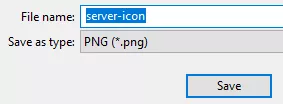
6. From the top-left, go to File > Save as > PNG picture.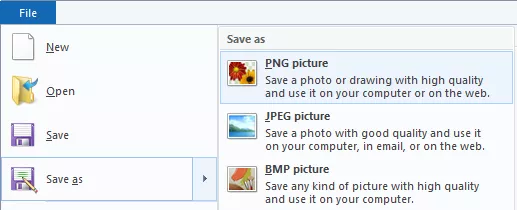
7. Change the File Name to server-icon and hit Save.