Summary
The Beacon client for Ark is a tool used to fine-tune server settings accurately through a convenient interface. Users can utilize the tool with or without logging in with SFTP by manually exporting the game settings and applying them to a server; however, connecting through SFTP allows the tool to make changes on the server directly. This is useful for making quick changes that typically require editing config files and only require the user to log in through the Beacon client.
How to Use Beacon to Configure an Ark Server
1. Go to the Beacon Homepage and download the latest Windows version.
2. Either log in or continue anonymously. 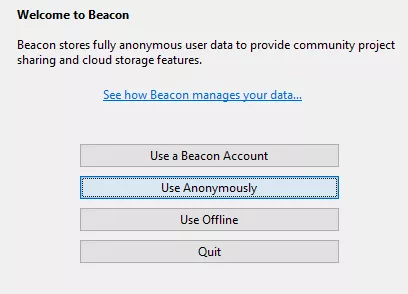
3. Choose New Project.
4. Pick Ark: Survival Evolved and continue with Ok.
5. Select Import from the toolbar.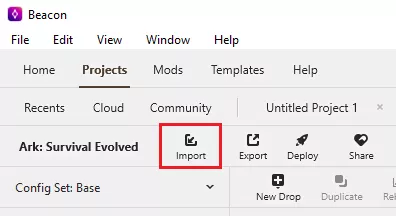
6. Pick Server with FTP Access and choose Continue.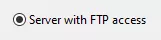
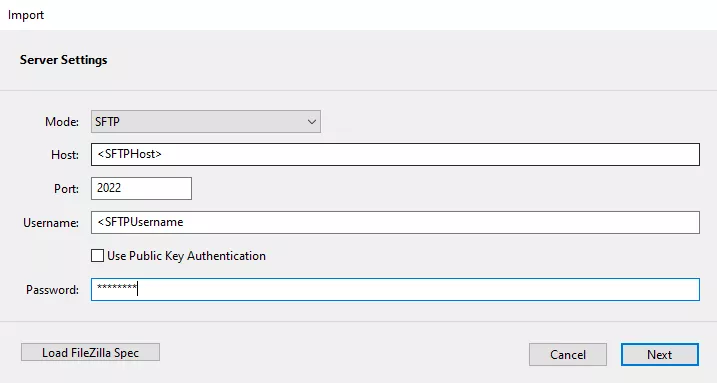
7. Set the mode to SFTP.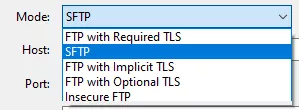
8. To find the SFTP info, log in to the BisectHosting Starbase panel.
9. Stop the server.![]()
10. Go to the Files tab.![]()
11. Choose SFTP Credentials.![]()
12. Return to the Beacon client and fill out the SFTP details.![]()
| Note | SFTP details are not stored by the Beacon team. The details are not required. However, the user must choose Export instead of Deploy when connecting this way. |
13. Once the import has been completed, choose OK.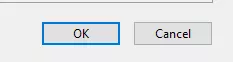
14. Adjust any desired server settings from the left menu.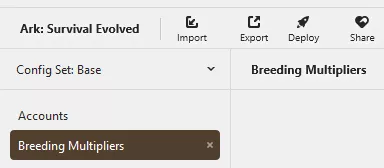
15. Once finished editing, choose Deploy.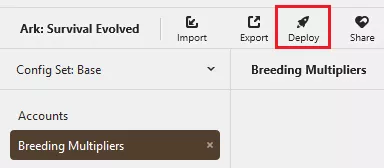
16. Select the connected server and click Begin.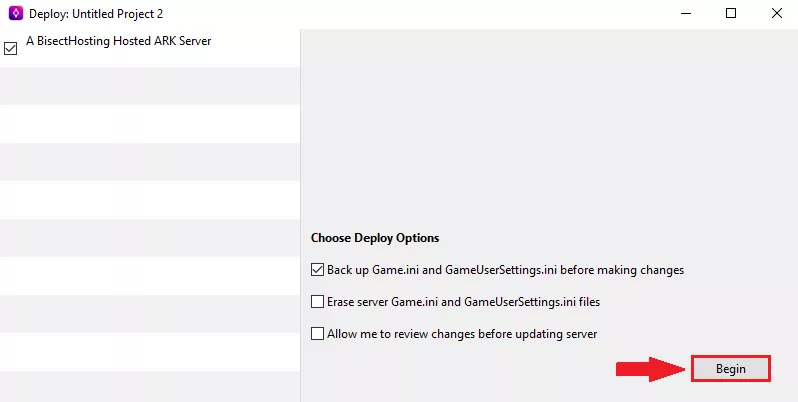
17. After the import is complete, start the server. ![]()