Summary
Valheim is a procedurally generated open-world survival game developed by Iron Gate Studios. Valheim is available on multiple platforms, including Steam and Xbox, and allows users to play with each other cross-platform. Players can add admins to a Valheim server no matter the platform they play on and can use admin commands with a few extra steps.
How to Add and Remove Xbox/Gamepass Admins on a Valheim Server
1. Log in to the BisectHosting Starbase panel.
2. The server must have Crossplay Enabled first for Xbox/Gamepass users to join.
3. After the Xbox User joins, look in the Console for a line similar to the following: 04/17/2023 12:23:12: PlayFab socket with remote ID playfab/4DF3F393E8685110 received local Platform ID Xbox_2535416401464117
4. Copy the XboxID from the console (Xbox_XXXXXXXXXXXXXXXX).![]()
5. Stop the server.![]()
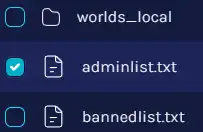
6. Go to the Files tab.![]()
7. Find the following directory: /home/container/.config/unity3d/IronGate/Valheim .![]()
8. Open the adminlist.txt file. 
9. Paste the XboxID (per line) and click Save File.
10. Start the server.![]()
How to Enable the In-game Console on Xbox/Gamepass
1. Navigate to where the game is installed. The default path is C:\XboxGames\Valheim\Content\ .![]()
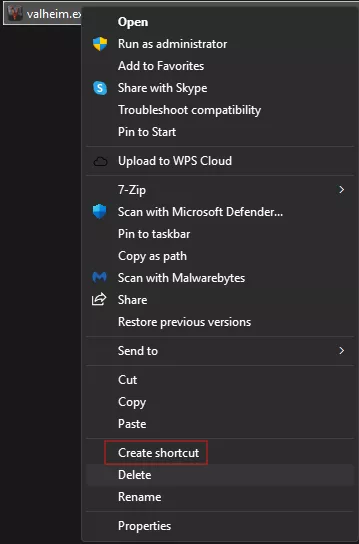
2. Right-click on the valheim.exe file and choose the Create Shortcut option.
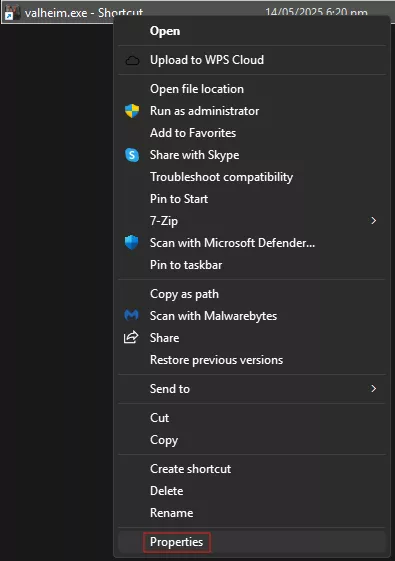
3. Right-click on the shortcut and click on Properties.
4. Find the Target option in the Shortcut tab.![]()
5. Add -console to the end of the line. Make sure there is a space between valheime.exe and -console.![]()
6. Choose the Okay button.![]()
7. Launch the game using the shortcut. To open the console, press F5.

