Summary
Uploading a save to a server on The Forest can enable players to share their progress with others, allowing for collaboration and exploration together. Moving the save to a server can offer additional benefits such as increased reliability and faster load times. It can provide more control over saves, allowing management of backups and restoring previous versions.
| Requirement |
| An FTP client is required to transfer files onto The Forest server. Follow this tutorial to learn how to use an FTP client. |
| Note | Make backups locally to save any necessary files. |
| Note | - Some saves may cause errors when used in multiplayer. - Characters will reset when transferring a save over to a server. - Console log spam is common. |
How To Upload a Save to The Forest Server
1. On the desktop, launch the Run app. (Shortcut: Windows Key + R)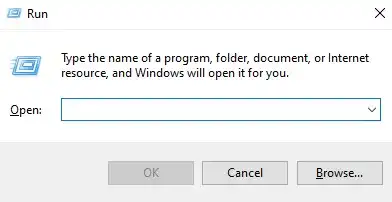
2. Enter %userprofile%\appdata\locallow\SKS\TheForest and press OK.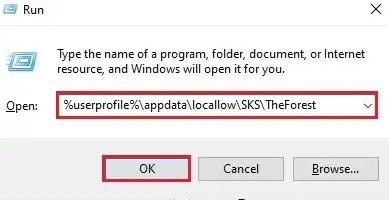
3. Find the following directory: appdata\locallow\SKS\TheForest\[SteamID64]\[SinglePlayer or Multiplayer] .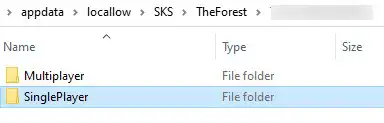
4. Make a note of the chosen slot number. 
5. Minimize the folder to use later in the tutorial.
6. Log in to the BisectHosting Games panel.
7. Stop the server.
8. Log in to The Forest server using an FTP client.
9. Find the following directory: /TheForestDedicatedServer_DataMultiplayer .![]()
| Note | If a player has not joined the server, the folder will not exist. Create the folder manually if so. |
10. Drag and drop the chosen save slot folder from the local folder in step 5.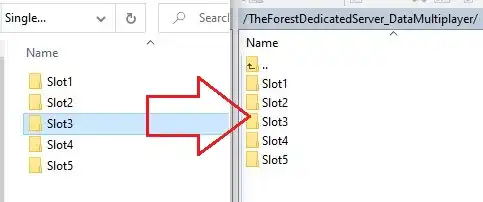
11. When asked to overwrite, click Yes.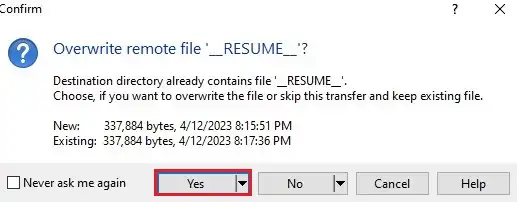
12. Return to the BisectHosting Games panel.
13. Under the Config Files tab, select Server Config.
14. On line 29, change the slot number to the chosen slot from step 4.![]()
15. Choose the Save Content button on the lower right.
16. Start the server.