
Summary
MultiMC launcher is a versatile and user-friendly platform designed to manage multiple Minecraft instances easily. It offers convenient features such as modpack installation, profile management, and instance customization, making it popular among Minecraft players and modders. With its intuitive interface and extensive customization options, MultiMC provides a seamless experience for players to effortlessly explore various mods, modpacks, and Minecraft versions.
| Requirement |
| The maximum allocated RAM must be at least 4096MB (4GB) or higher when playing with modpacks. Learn how to allocate more RAM here. |
How to Install the MultiMC Launcher
1. Download MultiMC here.
2. Extract the downloaded file and launch MultiMC.
3. Select the desired language then press Next.![]()
4. Choose the desired Java version.![]()
5. Enter the desired Memory Allocation then press Next.
![]()
6. After confirming the details, click Finish.![]()
How to Install Modpacks on the MultiMC Launcher
1. From the MultiMC launcher, press the Add Instance button.![]()
2. Choose the desired instance.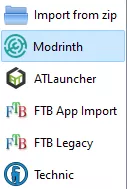
3. Input any desired details and select the desired modpack and version.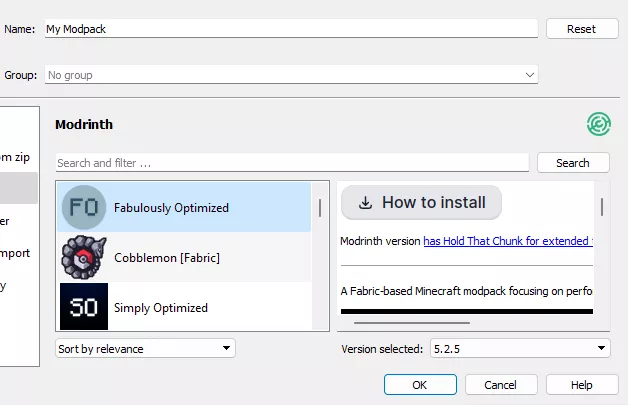
4. Once finished, press the OK button.![]()
5. Wait for the installation to finish.
6. Select the desired instance and click Launch.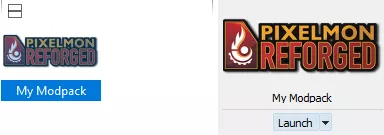
How to Add a Minecraft Account to the MultiMC Launcher
1. From the MultiMC launcher, go to the Profiles drop-down menu and select Manage Accounts.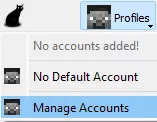
2. Choose Add Microsoft or Add Mojang to log in with the desired Minecraft account.![]()

