
Summary
Schedule 1 servers can upload previous saves even if their version does not match. Since Schedule 1 servers use the alternate Steam branch, saves can be transferred and automatically converted as soon as the server starts. This means players can continue singleplayer or co-op save progress but with the benefits of a dedicated server. Additionally, users can set up a Whitelist to only allow specific players to join and play.
How to Upload a Save to a Schedule 1 Server
1. Open the Run menu by pressing the Windows + R Keys.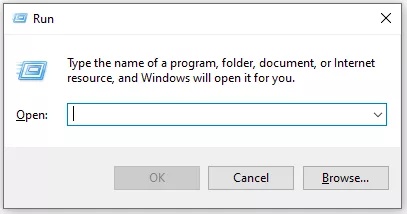
2. Enter the following: %localappdata%low\TVGS\Schedule I\saves And choose OK.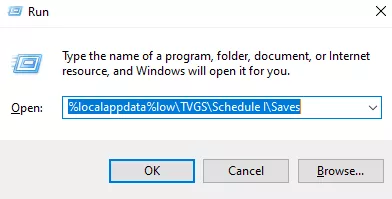
3. Open the folder with your SteamID.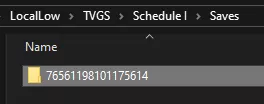
4. Locate the desired local save. Take note of the folder name.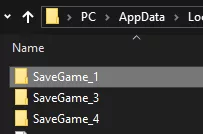
5. Log in to the BisectHosting Games panel.
6. Stop the server.![]()
7. Go to the Files tab.![]()
8. Open the saves folder.
9. If there is a SaveGame with the same number as the desired save on the server, Delete it.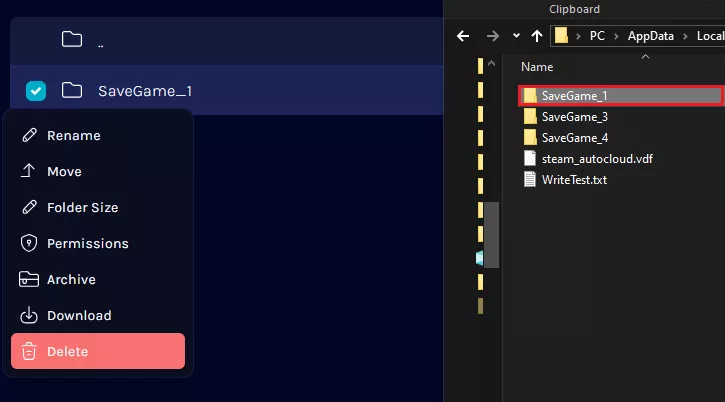
10. Upload the local save by dragging and dropping.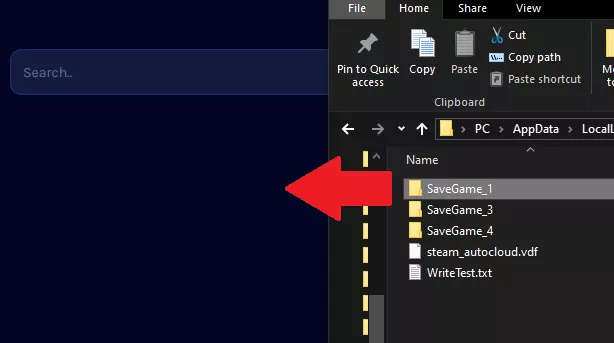
11. Go to Config Files > Schedule 1 Server Config.
12. Set the Save Slot to the number of the uploaded save.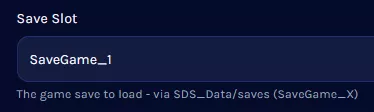
13. Start the server.![]()