Summary
Activating a whitelist restricts access to a Schedule 1 server, allowing only pre-approved players to join. This often creates a private, controlled environment for a specific community, group of friends, or content creators, ensuring only known individuals can connect. Whitelisting significantly enhances security by preventing random players, potentially including cheaters or griefers, from joining, thereby reducing the need for constant active moderation.
| Note | Learn how to find the SteamID here. |
How to Whitelist a Schedule 1 Server
1. Log in to the BisectHosting Games panel.
2. Stop the server.![]()
3. Under the Config Files tab, select Schedule 1 Server Config.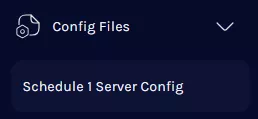
4. On the Enable Whitelist table, select Enabled.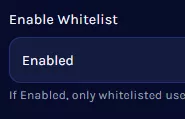
5. Start the server.![]()
6. Go to the Console tab.![]()
7. Run the following command to add a player to the whitelist:
whitelist add [SteamID]
![]()
8. Run the following command to remove a player from the whitelist:
whitelist remove [SteamID]
![]()