Summary
In Counter-Strike: Source, custom maps are player-created or third-party maps that offer unique and diverse gaming experiences beyond the standard maps provided by the game. Server administrators can install and configure these maps to add variety and keep gameplay fresh for their players. Custom maps can range from competitive arenas to fun and innovative scenarios, providing many options for creating exciting and tailored gameplay experiences on servers.
| Requirements |
| An FTP client is required to transfer files onto the server. Learn how to here. Custom map files larger than the source limit (16mb) require FastDL. Learn how to setup FastDL here. |
How to Add Custom Maps on a Counter-Strike: Source Server
1. Download a custom map here.
2. Extract the downloaded file if it is a zipped folder.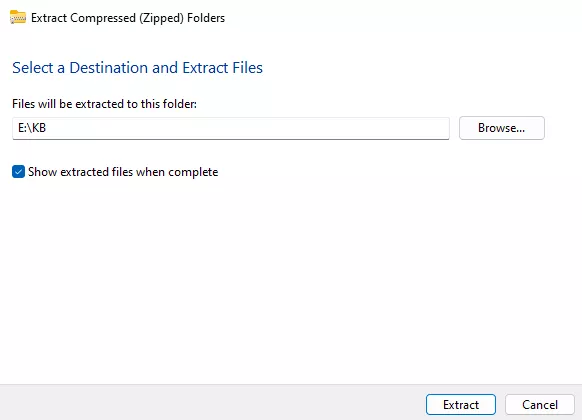
3. Minimize the folder to use later in this tutorial.
4. Log in to the BisectHosting Games panel.
5. Stop the server.![]()
6. Log in to the Game FTP server.
7. Upload the respective custom map folders from Step 3 in the cstrike directory.![]()
| Note | Check the mod description for special instructions. It is important that the .bsp file is uploaded to the maps folder. |
8. Start the server.![]()
9. Go to the Console tab.![]()
10. Enter the following in the console: changelevel <custom map name> .![]()