Rust Raiding Guide: Tips, Tricks, Efficiency Stats, & Strategies
Posted on by
Share:
Share on X
Share on Facebook
Share on Threads
Share on Bluesky
Copy to Clipboard
Share via email
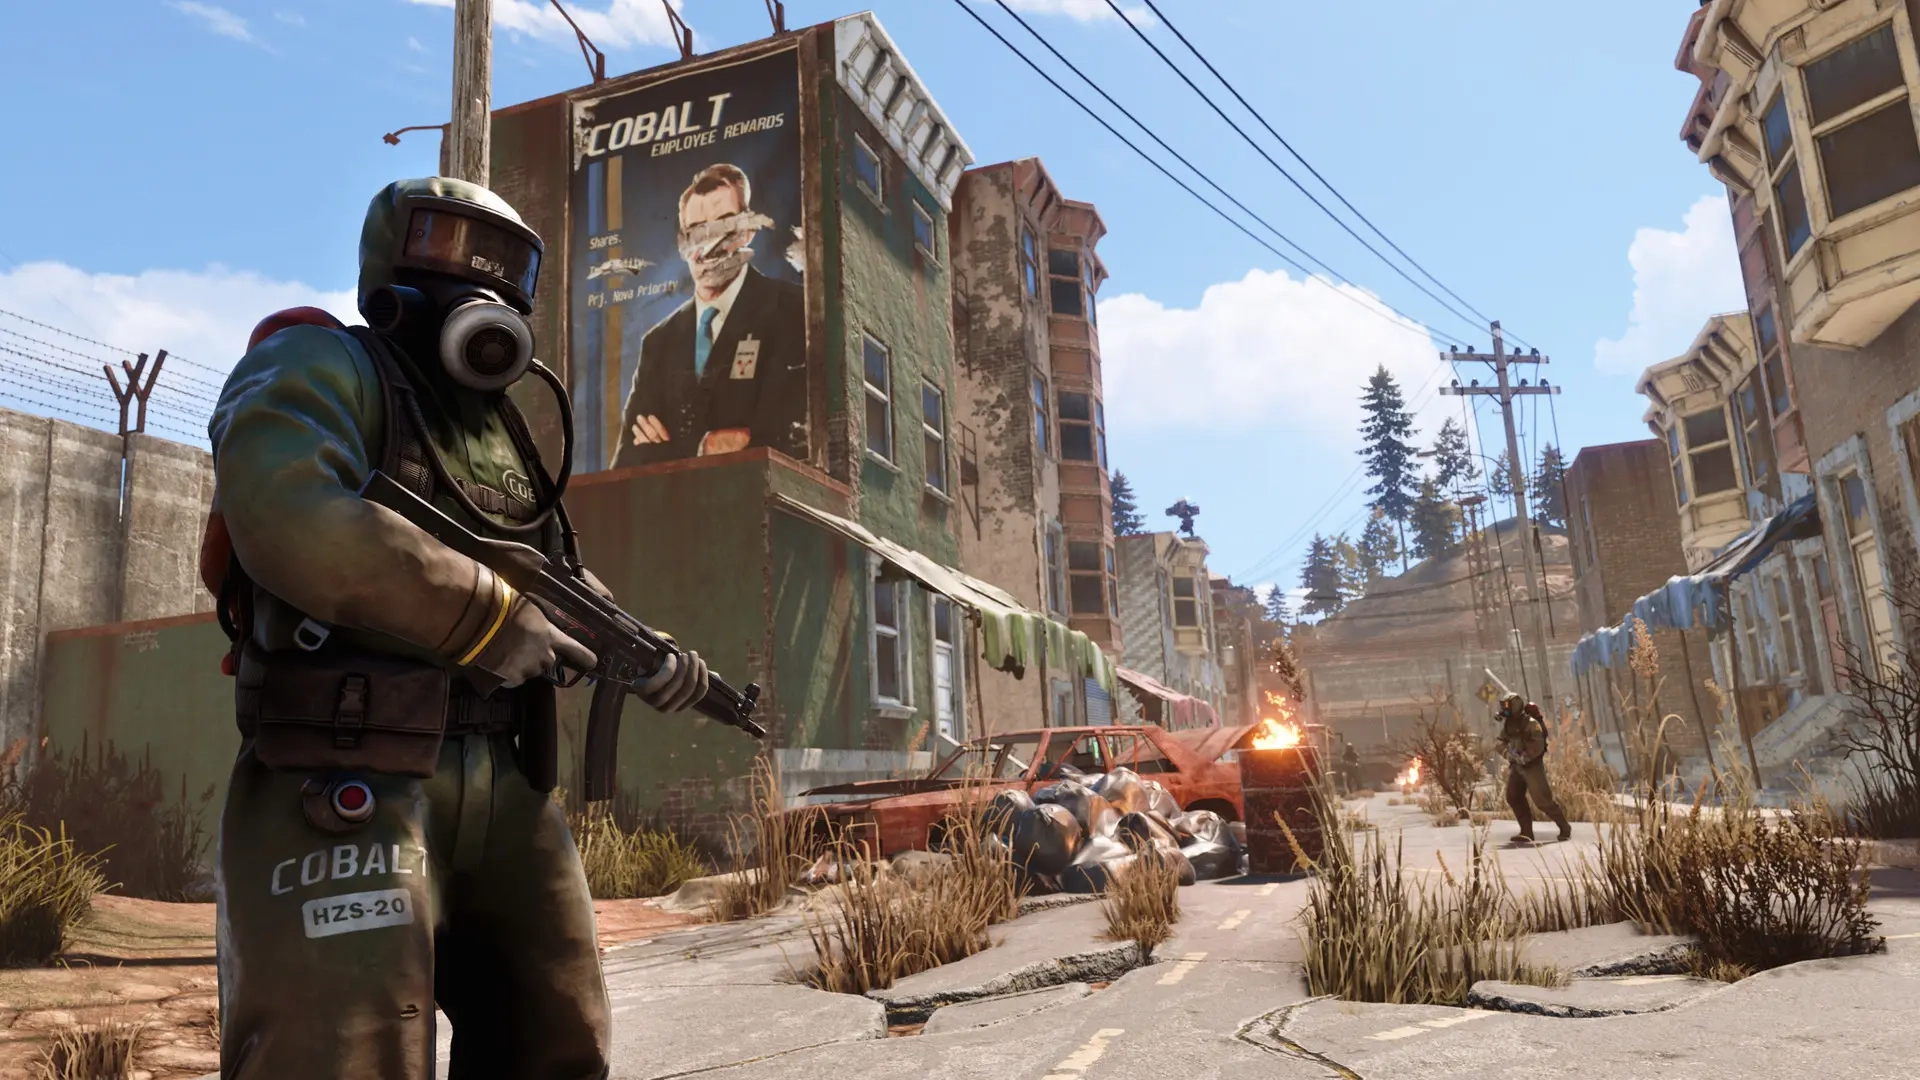
PvP is a large part of Rust, but raiding an enemy camp without a strategy and guns blazing is a surefire way of getting killed. Instead, be smart about how you deal with your opponents’ bases, so you’ll stand out on top instead of being six feet under the ground. So, keep reading to learn various strategies, tips, and tricks about raiding in Rust.
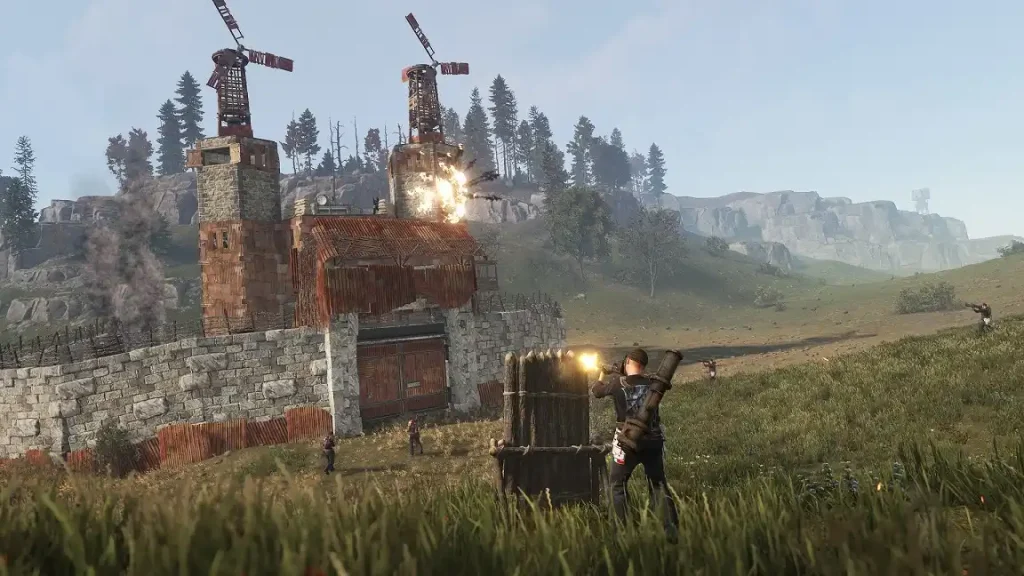 Remember, raiding in Rust can be seen as more intricate than other PvP-enabled titles. Some games would have you battle other players in direct combat. On the other hand, attacking other Rust players typically requires finesse, attention to detail, and a clever strategy.
So, here are some helpful techniques to help you get the most out of your raiding excursions in Rust:
Remember, raiding in Rust can be seen as more intricate than other PvP-enabled titles. Some games would have you battle other players in direct combat. On the other hand, attacking other Rust players typically requires finesse, attention to detail, and a clever strategy.
So, here are some helpful techniques to help you get the most out of your raiding excursions in Rust:
 Offensive raiders typically can't bring storage boxes to their targets. So, proper preparation, along with efficient use of ammunition and explosives, can help win battles. You'll find some fairly common structures used to build bases in Rust and the rough amount of ammunition and explosives to destroy them. That way, you'll know how much of these resources you must bring when raiding an enemy base in Rust.
Rust Raiding Guide: Raid Efficiency, Structure Health, Item Damage, & More
Remember, raiding in Rust can be seen as more intricate than other PvP-enabled titles. Some games would have you battle other players in direct combat. On the other hand, attacking other Rust players typically requires finesse, attention to detail, and a clever strategy.
So, here are some helpful techniques to help you get the most out of your raiding excursions in Rust:
The Pre-Raid Reconnaissance
Many Rust players would pick out permanent base locations and never plan on transferring. Use this concept to your advantage by scouting the area before initiating the raid. Remember, never raid blind, especially in Rust. Investigate your target’s headquarters over multiple day and night cycles. Then, identify the building’s material tiers to exploit their vulnerabilities. This way, you can identify which weapons to bring during your attack, reducing material costs while improving your chances of victory.Count Your Ammo
A Rust raider that runs out of ammo in the middle of a raid is a dead Rust raider. Also, a dead Hardcore Rust raider generally loses more than the average player. So, part of your pre-raid planning should include the total amount of ammunition to bring. After all, you can’t lug a large storage container with you during the raid. As mentioned earlier, study the building’s materials to know how many bullets to bring for your chosen weapon. For example, a recently built Wooden Wall has 250 HP. If so, you’d have to shoot 50 shells from an M4 Shotgun aimed at the wall’s soft side to destroy it. Alternatively, it only takes 2x Propane Explosive Bombs flung by a Catapult to demolish that structure.Stealth Raiding
Sometimes, raiding in Rust is a numbers game. In other words, a party of 10 can generally beat a 2-man attacking team. However, it’s still possible for a party of fewer players to decimate their opponents. In particular, staying hidden and working in the shadows can work in your favor in particular raids. Note that this strategy may not work for every raid. However, consider attacking encampments that frequently tend to have incomplete members if you don’t have enough allies to join you in your offensive excursion. If so, consider using silenced weapons, such as rifles and shotguns. Although shots from these firearms can still be heard from medium distance, enemies from afar would often find it too late to retaliate after you’ve damaged their base and defeated some of their teammates. However, remember to bring a secondary weapon for when the combat intensifies. After all, silencers typically reduce bullet damage by 25%.Aim for the Tool Cupboard (TC)
Scout the Tool Cupboard (TC) while investigating an enemy base. Remember, the TC prevents other players from accessing a building’s features and building upon that land. However, destroying the TC and replacing it with your own can let you capture the base without needing to raze the establishment to the ground. So, if you’re with allies in the same Rust server, let you or another party member find and secure the enemy TC. Doing so prevents the opposing team from building additional defenses that would otherwise turn the tide of battle in their favor. Also, don’t forget to immediately loot the containers after capturing an enemy base. Note that the loot inside boxes despawns after a certain period. So, have a designated looter in your raid party. If it’s you, then prioritize high-value items, such as explosives and Tier 3 components.Take Advantage of the High Ground
Some players like to build massive walls to prevent raiders from easily entering their bases. If so, search for cliffs and other locations with good vantage points. Shoot from these advantageous places, and watch as your enemies squirm, trying to find your exact location. Another way to take advantage of the high ground is by letting your teammates wait for the right moment to strike. For example, use a sniper rifle and shoot enemies from a distance one by one. Once your opponents leave their "nest," trying to find your location, signal the strike team to advance. Doing so should reduce casualties and reduce the use of resources while improving the chances of victory.Bring Ladders
If high ground isn't within reach of an enemy base, bring ladders for easy infiltration. One Wooden Ladder requires 300x Wood and 3 ft. Rope at the Engineering Workbench or Workbench Lv. 1. Ladders can be your best friend during raids, as these structures help you get in and get out quickly. A well-placed Ladder can be your escape route if things don’t go your way.Use Console Commands
Certain Rust beginners may often find themselves walking next to enemy establishments to check structural health. Instead, use certain console commands to scout bases from a distance. In particular, the “combatlog” command (without the quotes) can give you important information on a structure’s health. Hover the mouse over the structure to inspect and press the F1 key (by default) to open the command console. Then, type the combatlog command to view the necessary details. Doing so should help you take advantage of weak spots in enemy defenses. Then, exploit these weaknesses for an easier time raiding than expected. Other useful console commands when raiding include the following:- perf 4: Displays the FPS, latency, RAM, and ping
- input.holdtime 0.1: Disables interaction wheel delay
- inventory.quickcraftdelay 0: Disables inventory open craft delay
Train Your Aim
It’s not enough to “spray and pray” while raiding in Rust. Make every shot count. Remember, you don’t have infinite bullets. Try to practice your aim using online accuracy trainers. Spend some time doing various exercises, such as clicking efficiency, clicking reaction, and flicking speed. Additionally, it’s a good idea to learn about your chosen weapon’s stats and features. For instance, a shotgun generally requires less accuracy than a sniper rifle. However, you should still learn how to manage a shotgun’s strong recoil.Rust Raid Costs and Efficiency (Item Damage, Structure Health)
Offensive raiders typically can't bring storage boxes to their targets. So, proper preparation, along with efficient use of ammunition and explosives, can help win battles. You'll find some fairly common structures used to build bases in Rust and the rough amount of ammunition and explosives to destroy them. That way, you'll know how much of these resources you must bring when raiding an enemy base in Rust.
Wood Wall (Health: 250)
- Firebomb: 1
- Incendiary Rocket: 1
- Explosive 5.56 Rifle Ammo: 44
- Satchel Charge: 3
- Beancan Grenade: 13
- Propane Explosive Bomb: 2
- High Velocity Rocket: 8
- Timed Explosive Charge: 1
- Rocket: 2
- F1 Grenade: 59
- MLRS Rocket: 1
- 40mm HE Grenade: 8
- Bee Grenade: 114
- Fire Arrow: 125
- Flame Thrower: 206
- Military Flame Thrower: 255
- Molotov Cocktail: 4
Stone Wall (Health: 500)
- Explosive 5.56 Rifle Ammo: 173
- Timed Explosive Charge: 2
- Satchel Charge: 10
- Beancan Grenade: 46
- Rocket: 4
- High Velocity Rocket: 31
- Propane Explosive Bomb: 7
- F1 Grenade: 182
- MLRS Rocket: 3
- 40mm HE Grenade: 27
- Bee Grenade: 1,250
Metal Wall (Health: 1,000)
- Timed Explosive Charge: 4
- Explosive 5.56 Rifle Ammo: 399
- Satchel Charge: 23
- Rocket: 8
- Propane Explosive Bomb: 14
- High Velocity Rocket: 67
- Beancan Grenade: 112
- F1 Grenade: 993
- MLRS Rocket: 6
- 40mm HE Grenade: 56
- Bee Grenade: 5,000
Armored Wall (Health: 2,000)
- Timed Explosive Charge: 8
- Explosive 5.56 Rifle Ammo: 798
- Rocket: 15
- Satchel Charge: 46
- Propane Explosive Bomb: 27
- Beancan Grenade: 223
- High Velocity Rocket: 134
- F1 Grenade: 1,986
- MLRS Rocket: 12
- 40mm HE Grenade: 111
- Bee Grenade: 10,000
Wooden Door (Health: 200)
- Firebomb: 1
- Incendiary Rocket: 1
- Explosive 5.56 Rifle Ammo: 19
- Beancan Grenade: 6
- High Velocity Rocket: 5
- Propane Explosive Bomb: 1
- Satchel Charge: 2
- F1 Grenade: 23
- Rocket: 1
- Timed Explosive Charge: 1
- MLRS Rocket: 1
- 40mm HE Grenade: 3
- Bee Grenade: 100
- Fire Arrow: 50
- Flame Thrower: 83
- Military Flame Thrower: 102
- Molotov Cocktail: 2
Sheet Metal Door (Health: 250)
- Explosive 5.56 Rifle Ammo: 63
- Satchel Charge: 4
- Beancan Grenade: 18
- High Velocity Rocket: 11
- Timed Explosive Charge: 1
- Propane Explosive Bomb: 3
- Rocket: 2
- F1 Grenade: 50
- MLRS Rocket: 1
- 40mm HE Grenade: 9
- Bee Grenade: 500
Armored Door (Health: 1,000)
- Explosive 5.56 Rifle Ammo: 250
- Timed Explosive Charge: 3
- Rocket: 5
- Satchel Charge: 15
- Propane Explosive Bomb: 9
- Beancan Grenade: 69
- High Velocity Rocket: 42
- F1 Grenade: 200
- MLRS Rocket: 4
- 40mm HE Grenade: 36
- Bee Grenade: 2,000
Wooden Barricade (Health: 250)
- Firebomb: 1
- Incendiary Rocket: 1
- F1 Grenade: 5
- Beancan Grenade: 4
- Satchel Charge: 1
- Explosive 5.56 Rifle Ammo: 22
- Propane Explosive Bomb: 1
- High Velocity Rocket: 5
- Rocket: 1
- Timed Explosive Charge: 1
- MLRS Rocket: 1
- 40mm HE Grenade: 4
- Bee Grenade: 25
- Fire Arrow: 8
- Flame Thrower: 42
- Military Flame Thrower: 51
- Molotov Cocktail: 1
Stone Barricade (Health: 100)
- F1 Grenade: 3
- Beancan Grenade: 2
- Explosive 5.56 Rifle Ammo: 11
- High Velocity Rocket: 2
- Satchel Charge: 1
- Propane Explosive Bomb: 1
- Rocket: 1
- Timed Explosive Charge: 1
- MLRS Rocket: 1
- 40mm HE Grenade: 2
- Bee Grenade: 17
Metal Barricade (Health: 600)
- Satchel Charge: 4
- Timed Explosive Charge: 1
- Explosive 5.56 Rifle Ammo: 111
- Propane Explosive Bomb: 4
- High Velocity Rocket: 20
- Rocket: 3
- Beancan Grenade: 38
- F1 Grenade: 343
- MLRS Rocket: 2
- 40mm HE Grenade: 17
- Bee Grenade: 3,000
Concrete Barricade (Health: 500)
- F1 Grenade: 15
- Satchel Charge: 2
- Beancan Grenade: 10
- Explosive 5.56 Rifle Ammo: 53
- High Velocity Rocket: 10
- Timed Explosive Charge: 1
- Propane Explosive Bomb: 3
- Rocket: 2
- MLRS Rocket: 1
- 40mm HE Grenade: 8
- Bee Grenade: 84
Join our Newsletter
Subscribe for the latest updates on all things gaming!
How would you rate this blog?
Share your opinion and help us make our blogs even better!
Didn't like
Neutral
Liked

Need a game server?
Rent a game server where you and your friends can play privately with low latency and custom settings. Choose from 100+ games, invite people from around the globe, and enjoy private matches, or build your own online community with your own rules.

Relevant Blogs


GET THE INSIDE SCOOP!
Join our email for updates on our hosted games, company news and exclusive deals. Stay in the loop!