Unturned California 2 Map Guide: Survival Tips, Fast Travel, Fishing, Item IDs, & Deadzones
Publicado el por
Compartir:
Compartir en X
Compartir en Facebook
Compartir en Threads
Compartir en Bluesky
Copiar al portapapeles
Compartir por correo electrónico
There's no shortage of community-made maps in Unturned, but California 2 is one of the biggest and brightest. This massive post-apocalyptic playground was in development for six years! It's nearly six times the size of the original California map, and, as a result, it's overflowing with points of interest, loot, NPC quests, and plenty more to do. It can feel overwhelming if you don't know what to expect, but our Unturned California 2 map guide will help you get on your way.
 The California 2 map in Unturned is enormous. As briefly mentioned above, it is an officially curated map created as a labor of love by members of the Unturned community. As you explore each of its many nooks and crannies, you'll cross through real-world locations, a variety of biomes, experience more than 100 NPC quests, and encounter high-risk, high-reward locations known as Deadzones.
The most important thing to do when you begin is to complete early-game quests. Completing these will give you loads of valuable early-game loot so that you're not scraping by to survive as you get started.
As you embark upon your quests, you should always keep an eye out for food. In the early game, you can find plenty of carrots and potatoes growing near towns, villages, or alongside the roads in forests. Mushrooms are plentiful, too, but some of them aren't edible. When you're starting out, stick to carrots and potatoes. Additionally, grab an axe and a pickaxe from an NPC or by looting. Taking the time to chop a tree or harvest ore is often worth your time.
The California 2 map in Unturned is enormous. As briefly mentioned above, it is an officially curated map created as a labor of love by members of the Unturned community. As you explore each of its many nooks and crannies, you'll cross through real-world locations, a variety of biomes, experience more than 100 NPC quests, and encounter high-risk, high-reward locations known as Deadzones.
The most important thing to do when you begin is to complete early-game quests. Completing these will give you loads of valuable early-game loot so that you're not scraping by to survive as you get started.
As you embark upon your quests, you should always keep an eye out for food. In the early game, you can find plenty of carrots and potatoes growing near towns, villages, or alongside the roads in forests. Mushrooms are plentiful, too, but some of them aren't edible. When you're starting out, stick to carrots and potatoes. Additionally, grab an axe and a pickaxe from an NPC or by looting. Taking the time to chop a tree or harvest ore is often worth your time.
 This safe zone is the largest and one you ought to visit immediately after starting a new game.
 This location will offer more mid- to late-game quests.
 While these NPCs aren't located in a safe zone, they do offer a variety of new quests. Their little hideaway is located in a cave roughly in the center of the F0 square on your map.
 With such an enormous map to explore, you might be worried about having to walk everywhere. Luckily, the creators of California 2 took this into account and implemented a fast travel system. To use this system, all you need to do is interact with a bus located at any of the bus stops scattered across the map. Find a bus, climb on board, interact with a passenger seat, and you can choose your desired destination. If you're having trouble finding a bus stop, open up your map and look for areas marked with the bus stop symbol.
If that type of fast travel isn't enough for you, you can always try to find a helicopter. These often spawn on helipads around the map in either civilian locations like cities or military bases. While they might take a bit of time and effort to acquire, they're a great way to scour the map from above and zip from one location to another.
As you continue to explore California 2, your map will be your best friend. Refer to it frequently to keep track of where you are, where you've been, and to make mental notes of any interesting areas you might want to return to. In the map image above, circles have been placed around points of interest that the in-game map doesn't highlight. This should make it easier for you to find specific locales and loot.
With such an enormous map to explore, you might be worried about having to walk everywhere. Luckily, the creators of California 2 took this into account and implemented a fast travel system. To use this system, all you need to do is interact with a bus located at any of the bus stops scattered across the map. Find a bus, climb on board, interact with a passenger seat, and you can choose your desired destination. If you're having trouble finding a bus stop, open up your map and look for areas marked with the bus stop symbol.
If that type of fast travel isn't enough for you, you can always try to find a helicopter. These often spawn on helipads around the map in either civilian locations like cities or military bases. While they might take a bit of time and effort to acquire, they're a great way to scour the map from above and zip from one location to another.
As you continue to explore California 2, your map will be your best friend. Refer to it frequently to keep track of where you are, where you've been, and to make mental notes of any interesting areas you might want to return to. In the map image above, circles have been placed around points of interest that the in-game map doesn't highlight. This should make it easier for you to find specific locales and loot.
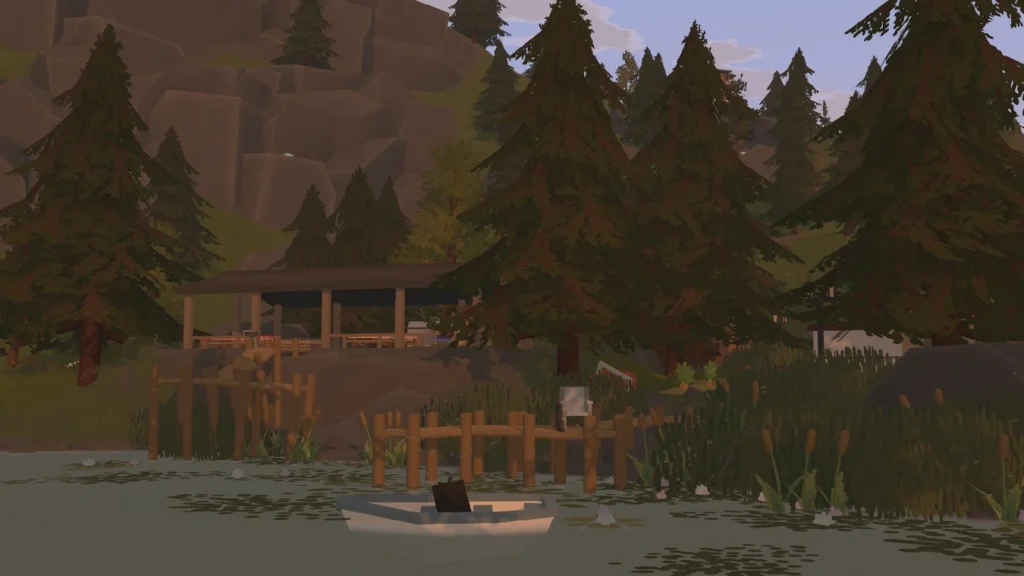
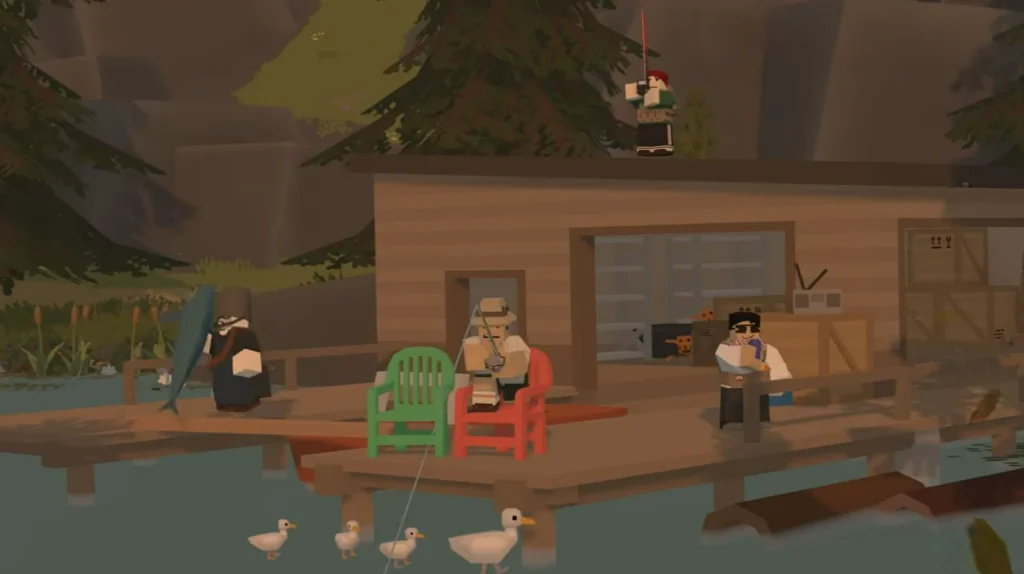 While you can always get food from foraging the forest floor or hunting larger game, fishing is a great way to get loads of food without too much work. Remember the NPC Mateo back at The Oasis? Complete a quest for him, and you'll receive your first fishing rod. Or you can craft your own with five sticks and two pieces of rope.
Once you have a rod, equip it and head to any body of water. Cast your line by holding down the left mouse button for a while, then releasing. Keep an eye on the end of your line for some bubbles. Don't reel in yet! You want to wait until the fish has taken the bait. Once your pole starts to bend a bit, you can click the left mouse button once more to land your catch.
Before you dig in, make sure your fish is cooked. Eat it raw, and it'll weaken your immunity. While a starting fishing rod can't catch the biggest fish, you can still acquire plenty of easy-to-access food this way. Eventually, you may want to consider upgrading your fishing rod by completing additional quests for Mateo or finding superior blueprints in the world. More advanced fishing rods can pull in more valuable fish or even a crate full of rare gear if you're lucky!
While you can always get food from foraging the forest floor or hunting larger game, fishing is a great way to get loads of food without too much work. Remember the NPC Mateo back at The Oasis? Complete a quest for him, and you'll receive your first fishing rod. Or you can craft your own with five sticks and two pieces of rope.
Once you have a rod, equip it and head to any body of water. Cast your line by holding down the left mouse button for a while, then releasing. Keep an eye on the end of your line for some bubbles. Don't reel in yet! You want to wait until the fish has taken the bait. Once your pole starts to bend a bit, you can click the left mouse button once more to land your catch.
Before you dig in, make sure your fish is cooked. Eat it raw, and it'll weaken your immunity. While a starting fishing rod can't catch the biggest fish, you can still acquire plenty of easy-to-access food this way. Eventually, you may want to consider upgrading your fishing rod by completing additional quests for Mateo or finding superior blueprints in the world. More advanced fishing rods can pull in more valuable fish or even a crate full of rare gear if you're lucky!
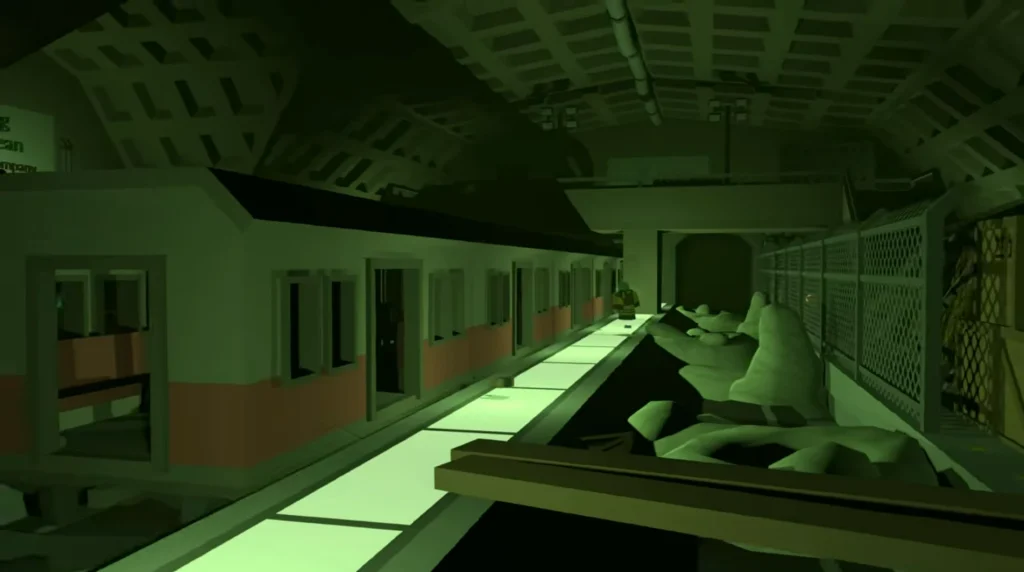 You can do pretty well for yourself in California 2 by completing quests, fishing, and slaying a few zombie hordes. However, if you want to become as strong as possible, you'll eventually need to head into the Deadzones.
These are highly dangerous irradiated zones. In California 2, there are 6 different dead zones, each segmented into tiers of difficulty and lethality. As one might be able to guess, Tier 1 deadzones are the easiest to navigate, and all you need to explore them are gasmasks and plenty of filters. If you're hoping to enter a Tier 2 or Tier 3 Deadzone, you need the required keycards to enter. You'll also need full biohazard equipment unless you want to get fried the moment you step inside.
Assemble all of the gear you need to access and explore a Deadzone, and you'll be met with challenging enemies inside. Be sure you are well-stocked with ammunition, your best weapons, and healing items before you risk entering a Deadzone. If you manage to navigate these areas without dying, congratulations! You'll be rewarded with the highest-tier weapons, resources, and loot that California 2 has to offer.
You can do pretty well for yourself in California 2 by completing quests, fishing, and slaying a few zombie hordes. However, if you want to become as strong as possible, you'll eventually need to head into the Deadzones.
These are highly dangerous irradiated zones. In California 2, there are 6 different dead zones, each segmented into tiers of difficulty and lethality. As one might be able to guess, Tier 1 deadzones are the easiest to navigate, and all you need to explore them are gasmasks and plenty of filters. If you're hoping to enter a Tier 2 or Tier 3 Deadzone, you need the required keycards to enter. You'll also need full biohazard equipment unless you want to get fried the moment you step inside.
Assemble all of the gear you need to access and explore a Deadzone, and you'll be met with challenging enemies inside. Be sure you are well-stocked with ammunition, your best weapons, and healing items before you risk entering a Deadzone. If you manage to navigate these areas without dying, congratulations! You'll be rewarded with the highest-tier weapons, resources, and loot that California 2 has to offer.
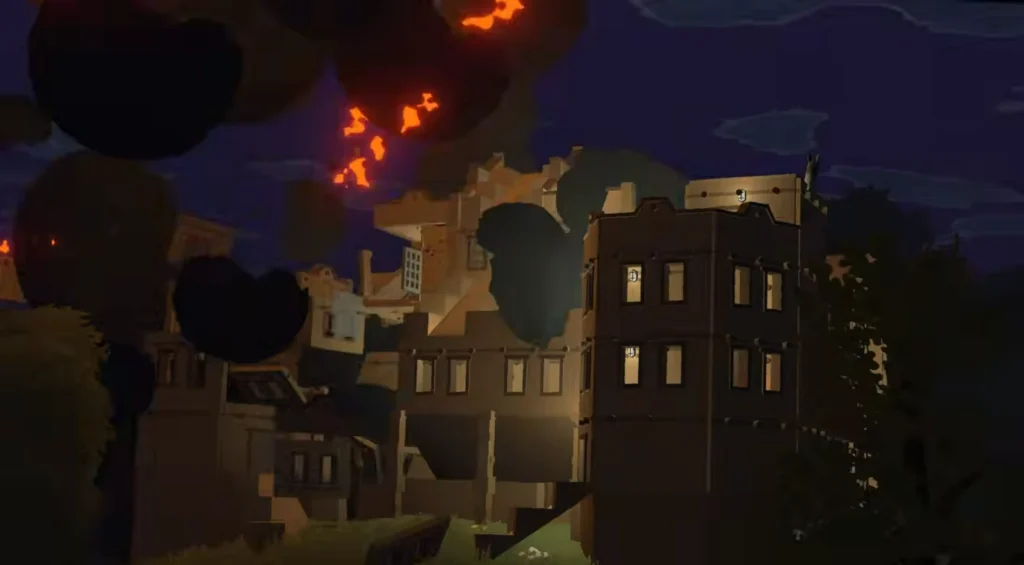 If you're playing on an Unturned dedicated server, you likely have your friends playing alongside you. You may also have some enemy players who have set up a base of operations. What should you do about it? Carry out an enormous raid against them, of course! Yes, with the proper tools and preparation, you can turn any opposing player's home into a pile of rubble and take off with their loot.
To do so, you'll need more than a few guns. Demolition charges and rocket launchers are the tools of the raiding trade. These will cause the most damage to large player-made structures. To find them, you'll have to scrounge Deadzones, military bases, or underground bunkers. These underground bunkers are scattered throughout California 2, but they can hold plenty of valuable military-grade loot.
Of course, if you're planning a raid against players, those same players may be planning to raid you. Do your best to build your base with metal structures for more health. Of course, you will want to think carefully about your base's location. Choosing a cave or an area with natural walls will make it harder for attackers to enter. Finally, if you can find the right materials, building a handful of sentries can give your base an extra oomph in keeping pesky intruders out.
If you're playing on an Unturned dedicated server, you likely have your friends playing alongside you. You may also have some enemy players who have set up a base of operations. What should you do about it? Carry out an enormous raid against them, of course! Yes, with the proper tools and preparation, you can turn any opposing player's home into a pile of rubble and take off with their loot.
To do so, you'll need more than a few guns. Demolition charges and rocket launchers are the tools of the raiding trade. These will cause the most damage to large player-made structures. To find them, you'll have to scrounge Deadzones, military bases, or underground bunkers. These underground bunkers are scattered throughout California 2, but they can hold plenty of valuable military-grade loot.
Of course, if you're planning a raid against players, those same players may be planning to raid you. Do your best to build your base with metal structures for more health. Of course, you will want to think carefully about your base's location. Choosing a cave or an area with natural walls will make it harder for attackers to enter. Finally, if you can find the right materials, building a handful of sentries can give your base an extra oomph in keeping pesky intruders out.
 Running around the enormous world of California 2 can take some time. If you're in a rush or simply don't feel like rooting through every possible location to find the stuff you need, you can always use item IDs to spawn anything on demand.
Of course, before you can use them, you need to ensure you've checked the "Allow Cheats" option when selecting what map you'll be playing on. That's all you need to do if you're playing alone, but if you're on a server, you also need to be a verified admin.
To do that, you'll want to follow these steps:
Running around the enormous world of California 2 can take some time. If you're in a rush or simply don't feel like rooting through every possible location to find the stuff you need, you can always use item IDs to spawn anything on demand.
Of course, before you can use them, you need to ensure you've checked the "Allow Cheats" option when selecting what map you'll be playing on. That's all you need to do if you're playing alone, but if you're on a server, you also need to be a verified admin.
To do that, you'll want to follow these steps:
Unturned California 2 Map Guide: Quests, Survival Tips, Fast Travel, Item IDs, & More
The California 2 map in Unturned is enormous. As briefly mentioned above, it is an officially curated map created as a labor of love by members of the Unturned community. As you explore each of its many nooks and crannies, you'll cross through real-world locations, a variety of biomes, experience more than 100 NPC quests, and encounter high-risk, high-reward locations known as Deadzones.
The most important thing to do when you begin is to complete early-game quests. Completing these will give you loads of valuable early-game loot so that you're not scraping by to survive as you get started.
As you embark upon your quests, you should always keep an eye out for food. In the early game, you can find plenty of carrots and potatoes growing near towns, villages, or alongside the roads in forests. Mushrooms are plentiful, too, but some of them aren't edible. When you're starting out, stick to carrots and potatoes. Additionally, grab an axe and a pickaxe from an NPC or by looting. Taking the time to chop a tree or harvest ore is often worth your time.
Quests & Safe Zones
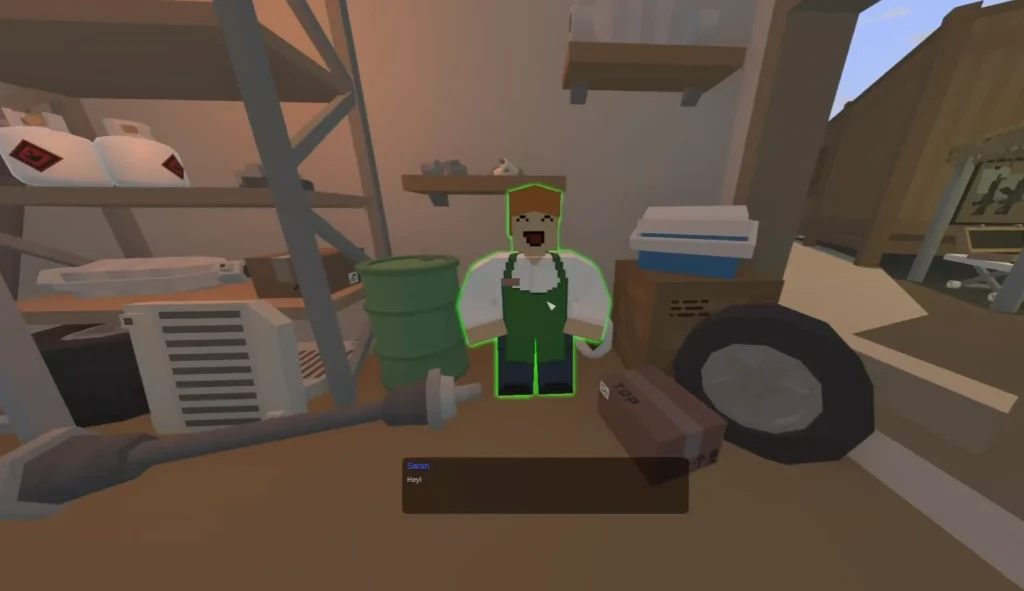
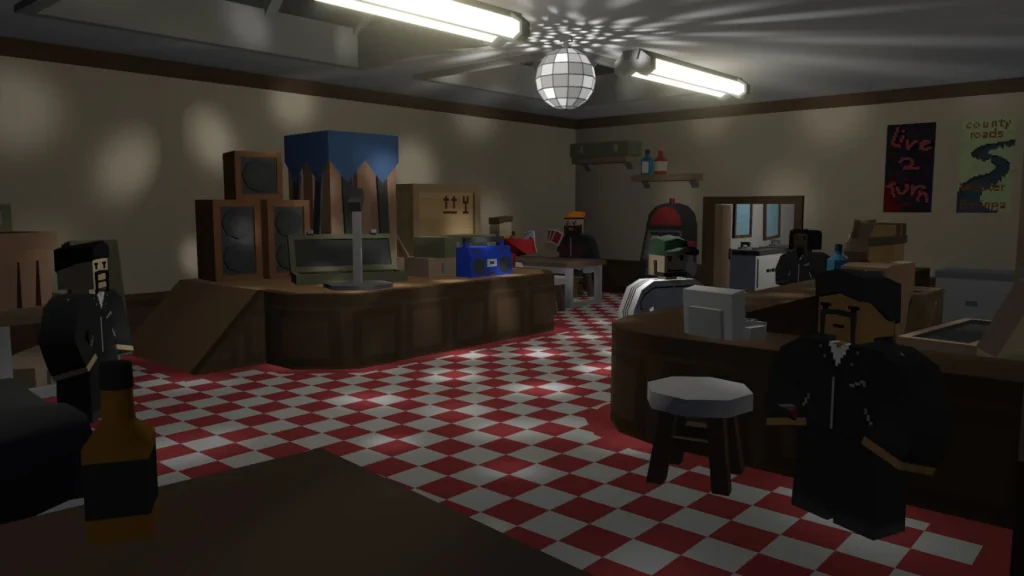
The way you grab quests in California 2 is, naturally, from talking to NPCs. These helpful friends are located inside the game's safe zones. There are three different safe zones, and each one has different NPCs to give you a collection of quests. Altogether, there are more than 100 different quests to complete. Here's a brief overview of what NPCs are available in what safe zones and what type of quests you can expect from each one.The Oasis
This safe zone is the largest and one you ought to visit immediately after starting a new game.
- Andy: Gives entry-level survivor tasks to get you started
- Cruz: Gives more introductory quests regarding the safe zone and some exploration quests
- Laura: Offers early game quests where you help her with a handful of tasks
- Mateo: Fisherman with fishing quests
- Dawson: Gives you specialized safe zone quests
- Geromy: Gives survivor quests
- Ernest: A weapons dealer who also asks for help with safe zone quests
- James: Asks you to find specific items
- Sofia: Asks you to help around the Oasis community
- Victor: Gives exploration-focused quests
- Sarah: A mechanic who sells and buys car parts and tools and gives car-specific quests
- Julia: A farmer who sells seeds and baking ingredients, but also gives farming and baking quests
- Henry: Gives gathering and exploration quests
- Frank: A hunter who buys animal hides and gives hunting quests
Bare Man
This location will offer more mid- to late-game quests.
- Piglet: The primary questgiver of Bare Man who gives progression quests and runs a unique day/night shop
- Toilet Guy: A strange NPC with strange quests
- Austy: Gives bartering and defense quests
- Warthog: A mechanic who deals with higher-tier vehicle upgrades and quests
- Domino: Gives quests that will see you exploring the surrounding area
- Victoria: Deals with narrative quests related to Bare Man
- John: Gives combat and exploration quests around the area
- Speedy Boar: Gives scouting or item-fetching quests
- Sebastian: Gives survival and trading quests
- Marty: Gives quests related to different zones
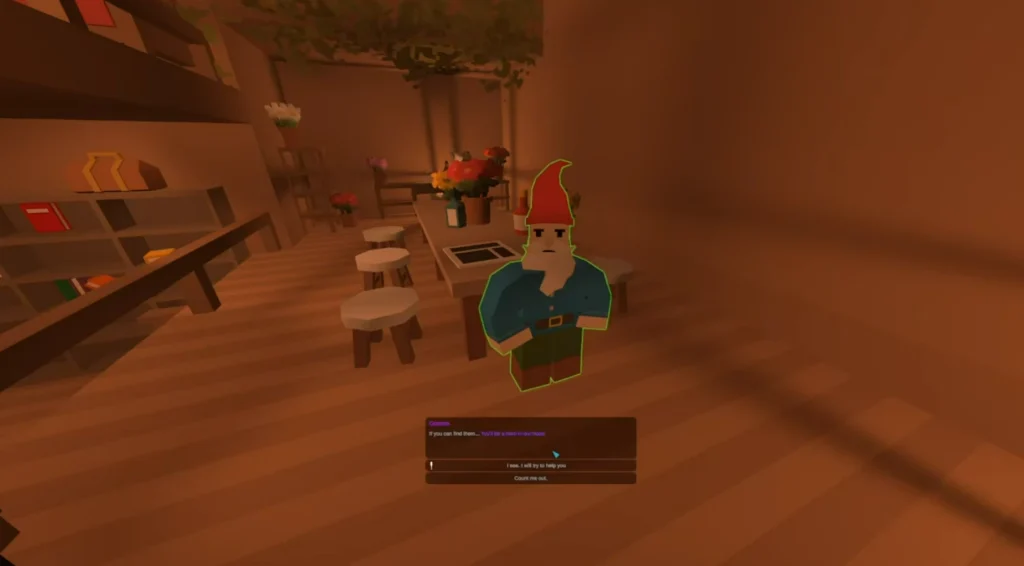
Gnomes
While these NPCs aren't located in a safe zone, they do offer a variety of new quests. Their little hideaway is located in a cave roughly in the center of the F0 square on your map.
- Gromm: This is the main NPC of the gnomes. Other gnomes can give a few side quests, but Gromm will send you out to find some missing gnomes and give more significant quest progression quests.
California 2 Map & Fast Travel Locations
With such an enormous map to explore, you might be worried about having to walk everywhere. Luckily, the creators of California 2 took this into account and implemented a fast travel system. To use this system, all you need to do is interact with a bus located at any of the bus stops scattered across the map. Find a bus, climb on board, interact with a passenger seat, and you can choose your desired destination. If you're having trouble finding a bus stop, open up your map and look for areas marked with the bus stop symbol.
If that type of fast travel isn't enough for you, you can always try to find a helicopter. These often spawn on helipads around the map in either civilian locations like cities or military bases. While they might take a bit of time and effort to acquire, they're a great way to scour the map from above and zip from one location to another.
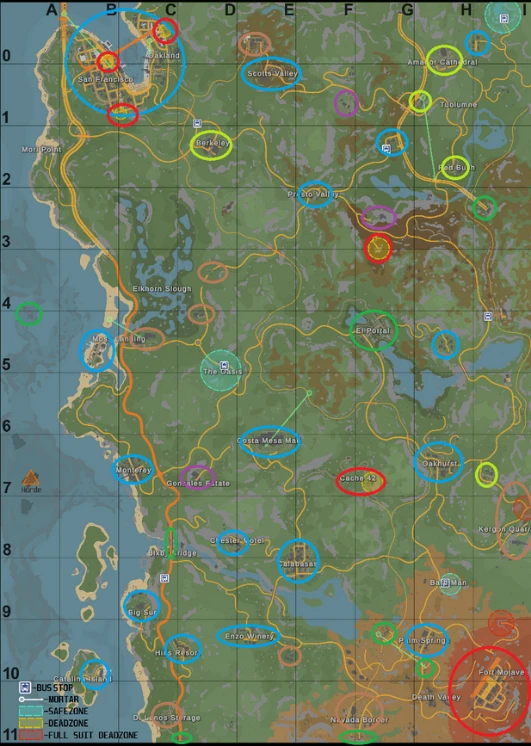
As you continue to explore California 2, your map will be your best friend. Refer to it frequently to keep track of where you are, where you've been, and to make mental notes of any interesting areas you might want to return to. In the map image above, circles have been placed around points of interest that the in-game map doesn't highlight. This should make it easier for you to find specific locales and loot.
- Blue Circles: Civilian POIs such as hospitals, fire stations, and more.
- Purple Circles: POIs with Mafia loot
- Green Circles: Military POIs
- Orange Circles: Construction POIs
- Red Circles: Deadzones
- Yellow Circles: POIs with a combination of civilian & military loot
Fishing & Construction
While you can always get food from foraging the forest floor or hunting larger game, fishing is a great way to get loads of food without too much work. Remember the NPC Mateo back at The Oasis? Complete a quest for him, and you'll receive your first fishing rod. Or you can craft your own with five sticks and two pieces of rope.
Once you have a rod, equip it and head to any body of water. Cast your line by holding down the left mouse button for a while, then releasing. Keep an eye on the end of your line for some bubbles. Don't reel in yet! You want to wait until the fish has taken the bait. Once your pole starts to bend a bit, you can click the left mouse button once more to land your catch.
Before you dig in, make sure your fish is cooked. Eat it raw, and it'll weaken your immunity. While a starting fishing rod can't catch the biggest fish, you can still acquire plenty of easy-to-access food this way. Eventually, you may want to consider upgrading your fishing rod by completing additional quests for Mateo or finding superior blueprints in the world. More advanced fishing rods can pull in more valuable fish or even a crate full of rare gear if you're lucky!
Deadzones
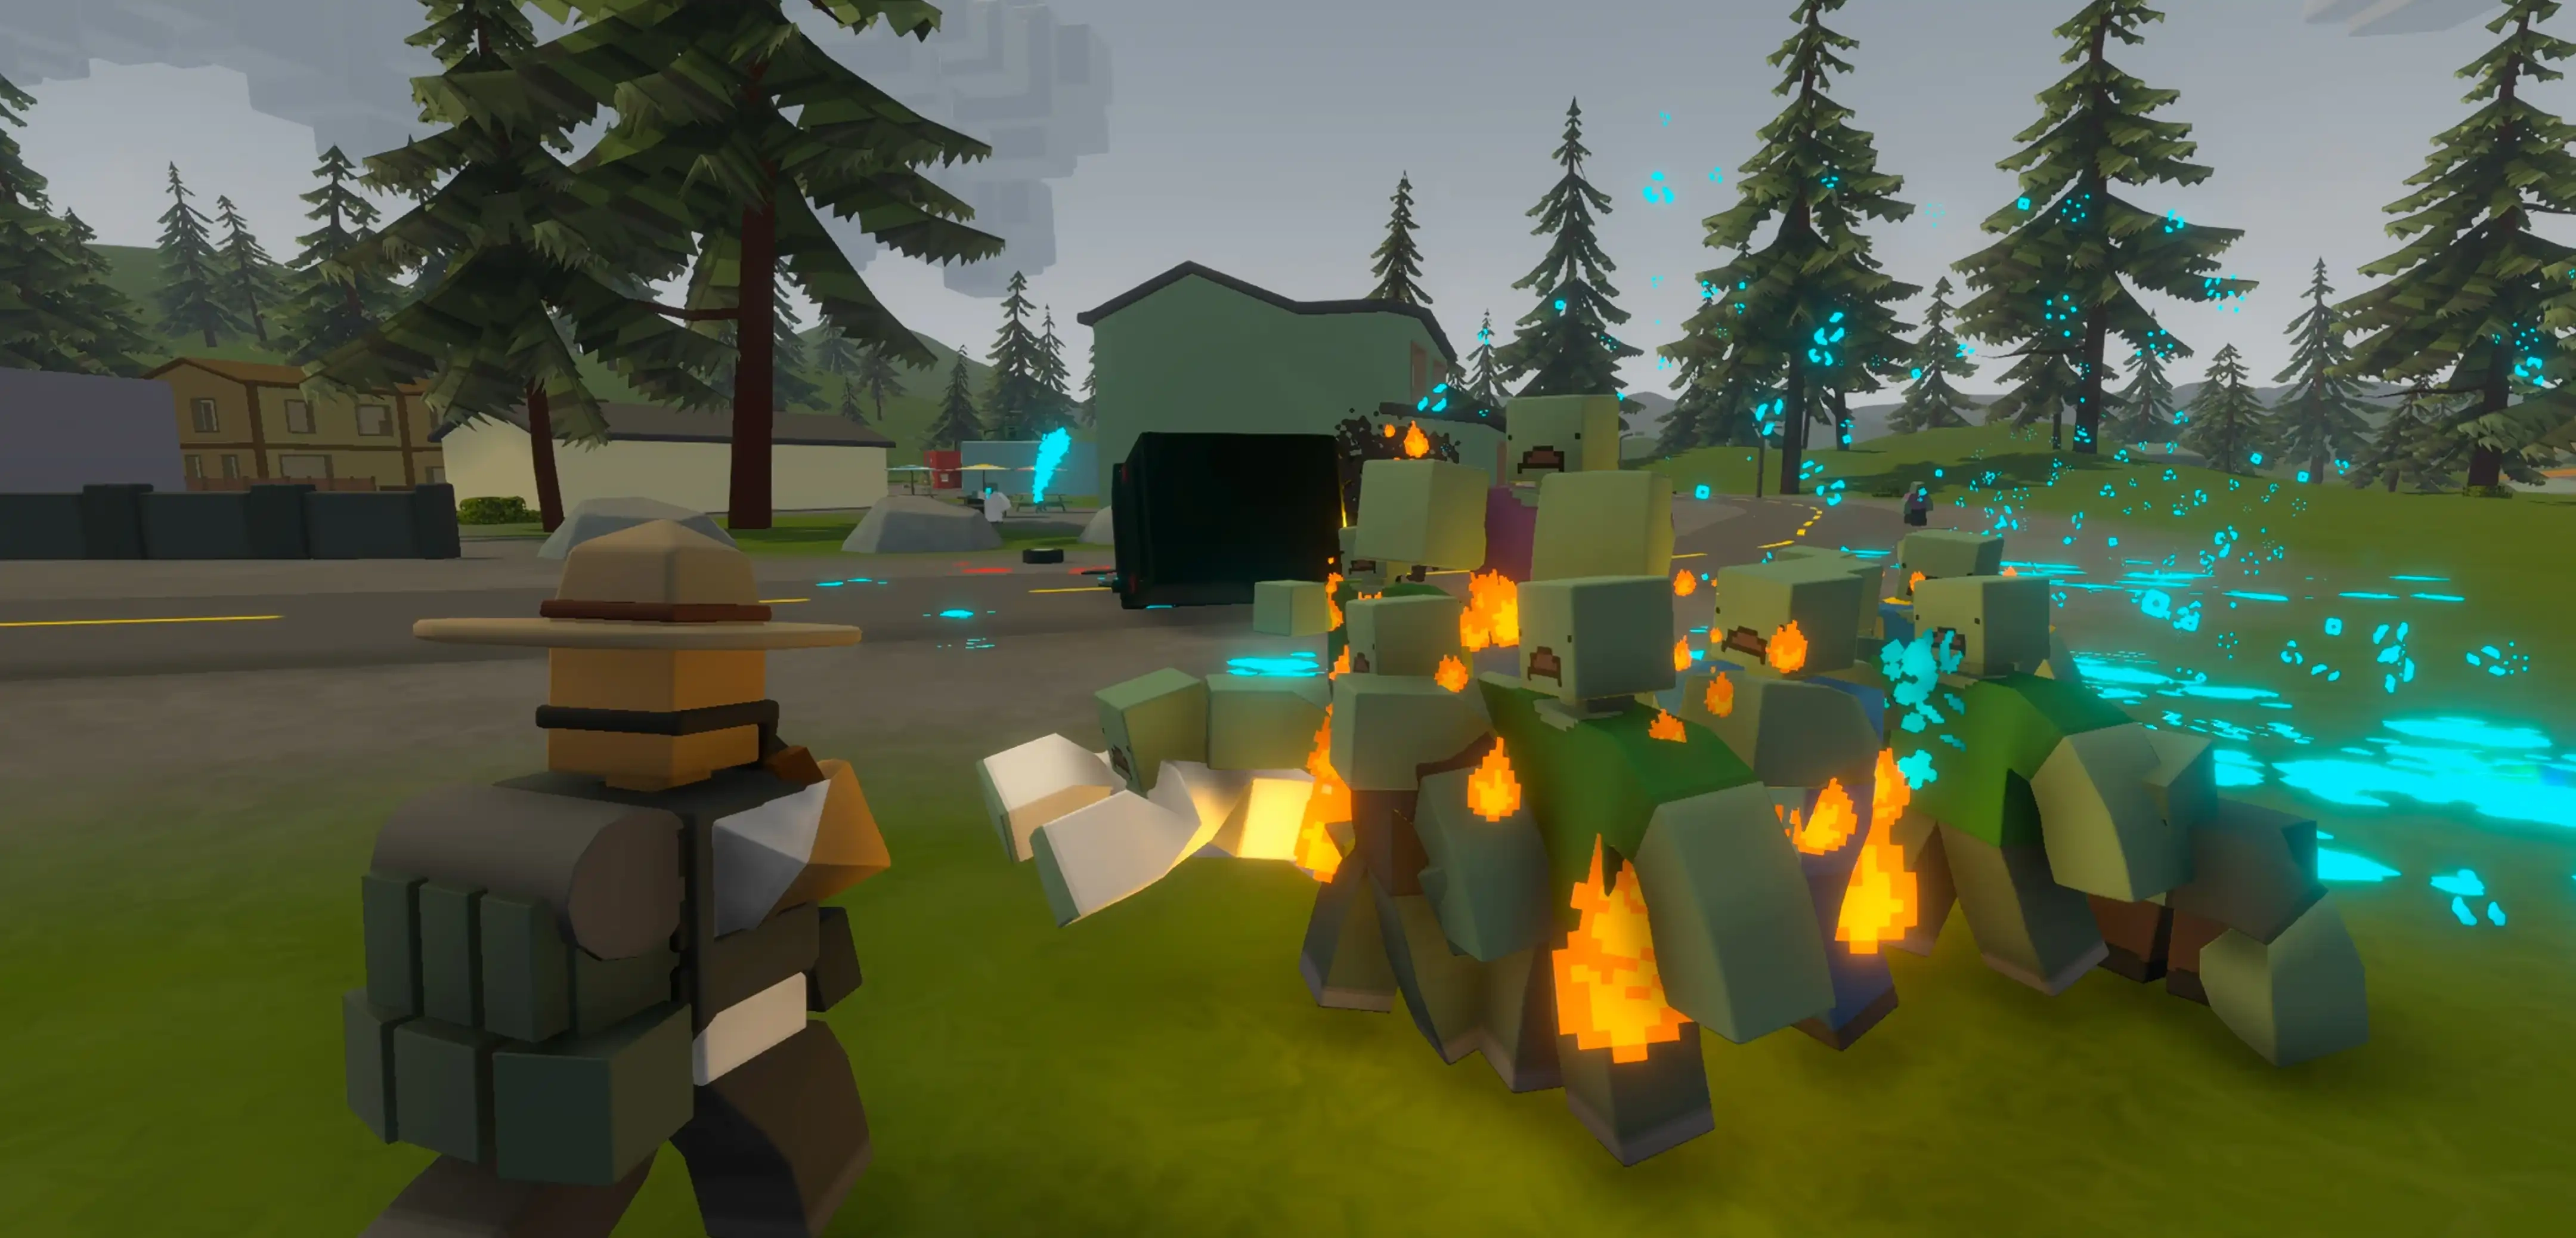
You can do pretty well for yourself in California 2 by completing quests, fishing, and slaying a few zombie hordes. However, if you want to become as strong as possible, you'll eventually need to head into the Deadzones.
These are highly dangerous irradiated zones. In California 2, there are 6 different dead zones, each segmented into tiers of difficulty and lethality. As one might be able to guess, Tier 1 deadzones are the easiest to navigate, and all you need to explore them are gasmasks and plenty of filters. If you're hoping to enter a Tier 2 or Tier 3 Deadzone, you need the required keycards to enter. You'll also need full biohazard equipment unless you want to get fried the moment you step inside.
Assemble all of the gear you need to access and explore a Deadzone, and you'll be met with challenging enemies inside. Be sure you are well-stocked with ammunition, your best weapons, and healing items before you risk entering a Deadzone. If you manage to navigate these areas without dying, congratulations! You'll be rewarded with the highest-tier weapons, resources, and loot that California 2 has to offer.
Raiding
If you're playing on an Unturned dedicated server, you likely have your friends playing alongside you. You may also have some enemy players who have set up a base of operations. What should you do about it? Carry out an enormous raid against them, of course! Yes, with the proper tools and preparation, you can turn any opposing player's home into a pile of rubble and take off with their loot.
To do so, you'll need more than a few guns. Demolition charges and rocket launchers are the tools of the raiding trade. These will cause the most damage to large player-made structures. To find them, you'll have to scrounge Deadzones, military bases, or underground bunkers. These underground bunkers are scattered throughout California 2, but they can hold plenty of valuable military-grade loot.
Of course, if you're planning a raid against players, those same players may be planning to raid you. Do your best to build your base with metal structures for more health. Of course, you will want to think carefully about your base's location. Choosing a cave or an area with natural walls will make it harder for attackers to enter. Finally, if you can find the right materials, building a handful of sentries can give your base an extra oomph in keeping pesky intruders out.
Item IDs and How to Use Them
Running around the enormous world of California 2 can take some time. If you're in a rush or simply don't feel like rooting through every possible location to find the stuff you need, you can always use item IDs to spawn anything on demand.
Of course, before you can use them, you need to ensure you've checked the "Allow Cheats" option when selecting what map you'll be playing on. That's all you need to do if you're playing alone, but if you're on a server, you also need to be a verified admin.
To do that, you'll want to follow these steps:
- Open your server files, and follow this sequence of folders:
- 'Servers' > '[Server Name]' > 'Server' > 'Commands.dat'
- Open the 'Commands.dat' file, add a new line that reads 'Cheats Enabled,' and save the file.
- Reopen your game, and enter "/admin [PlayerName]" in the chat.
- With that done, you should have full access to Item IDs. If they're still not working, try restarting your server.
Crea tu propio
servidor de Unturned
servidor de Unturned
¡Elige un plan, escoge un juego y juega con tus amigos!
Suscríbete a nuestro boletín
¡Suscríbete para recibir las últimas novedades sobre todo lo relacionado con videojuegos!
Únete a nuestro Discord
¡Forma parte de nuestra comunidad de más de 20 000 miembros con los mismos intereses!
¿Cómo calificarías este blog?
¡Comparte tu opinión y ayúdanos a mejorar aún más nuestros blogs!
No me gustó
Neutral
Me gustó
¿Necesitas un servidor de juegos?
Alquila un servidor de juego donde tú y tus amigos podáis jugar en privado con baja latencia y ajustes personalizados. Elige entre 100+ juegos, invita a gente de todo el mundo y disfruta de partidas privadas, o crea tu propia comunidad en línea con tus propias reglas.

Blogs relevantes


¡ENTÉRATE DE TODO!
Suscríbete a nuestro boletín para recibir las novedades sobre nuestros juegos alojados, noticias de la empresa y ofertas exclusivas. ¡Mantente al tanto de todo!