Minecraft Frostbite Zombie Farm Guide (Ice Balls): How to Build, Components, Use & more
Veröffentlicht am von

Teilen:

Auf X teilen

Auf Facebook teilen

Auf Threads teilen

Auf Bluesky teilen

In die Zwischenablage kopieren

Per E-Mail teilen
Ice balls are a very useful item to have, but they are often used far quicker than they are naturally obtained. So today, we'll explain, step by step, how to build a frostbite zombie farm in Minecraft to gather all the ice balls and XP you might need!
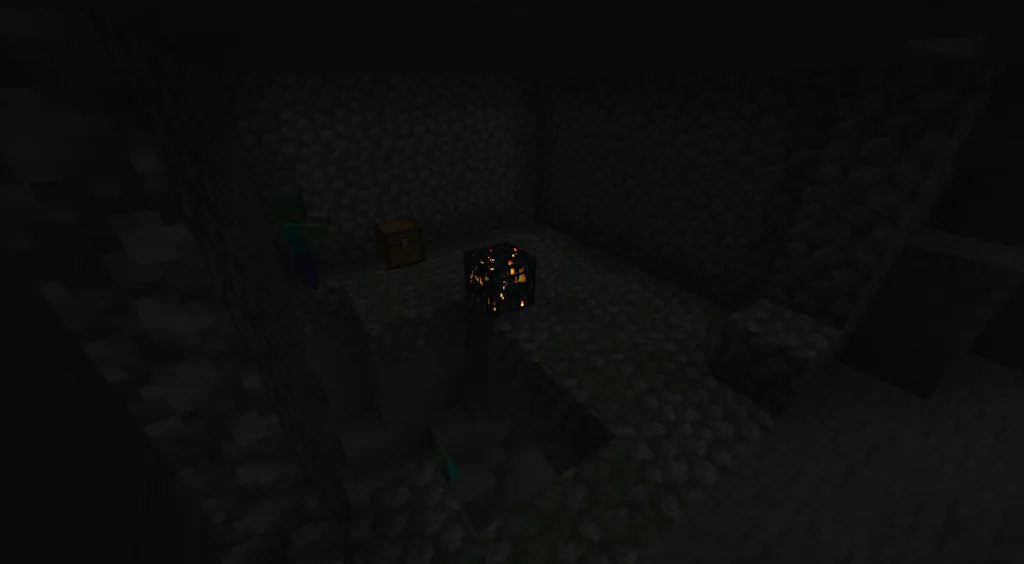 The key component of this farm is a zombie spawner. To find one, search for monster rooms (previously dungeons) underground. They are the structures made of cobblestone with some chests and a single spawner. The spawner must be for zombies, not skeletons or spiders, which monster rooms can contain as well. Seed maps are a great tool for speeding up this process and combating bad luck.
Once the zombie spawner has been found, place torches on it to temporarily prevent zombies from spawning.
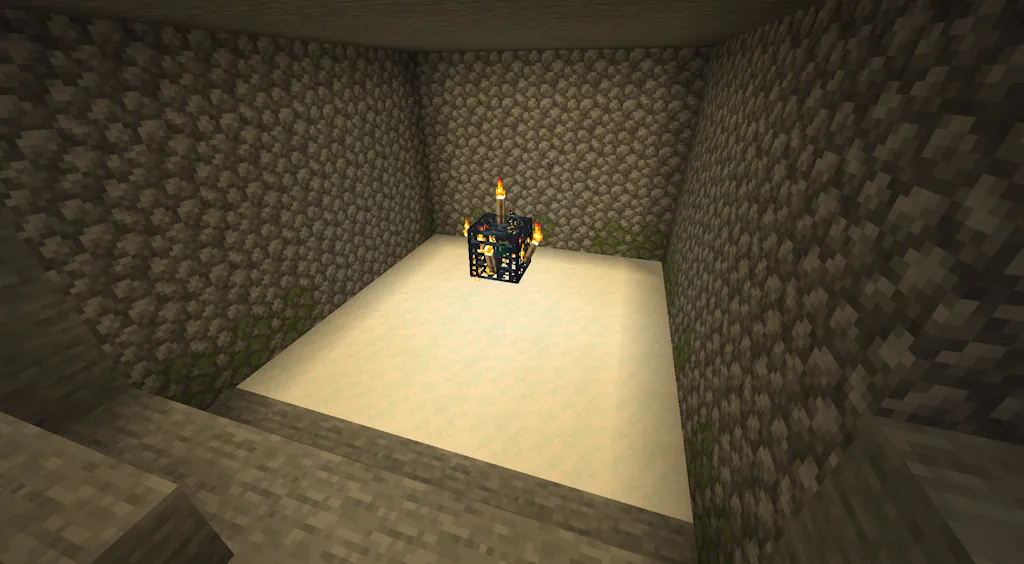 Zombies are transformed into Frostbite Zombies when standing inside powder snow. This makes the next step lowering the floor of the monster room by two blocks, then placing a layer of powder snow. The final result should be a full floor of powder snow with exactly one block layer of empty space between the powder snow and the zombie spawner floating above.
Powder snow can be gathered from snow biomes with buckets and placed as desired. Wearing leather boots will help prevent damage to yourself during this process.
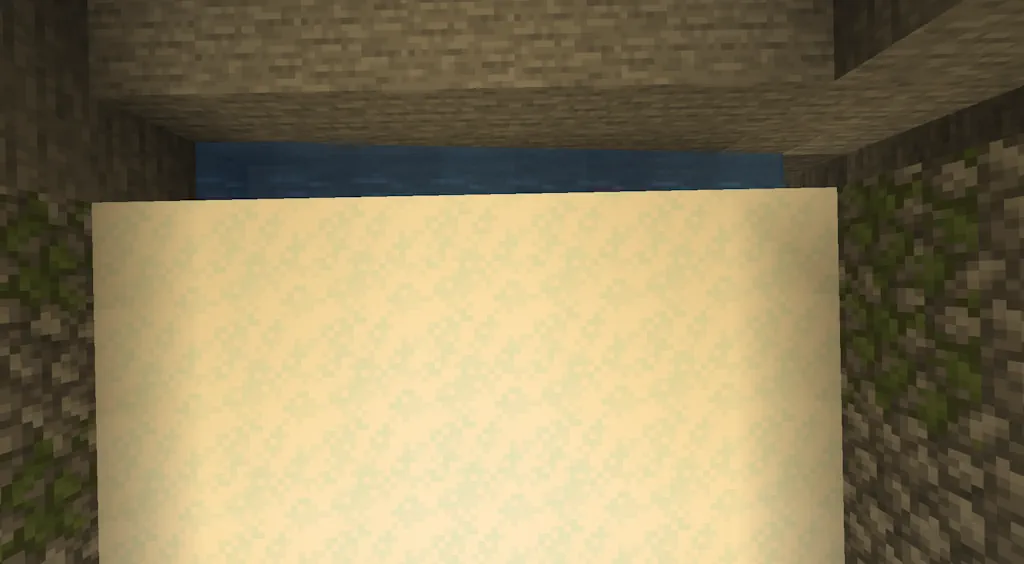 The next step is to create the waterway that frostbite zombies will eventually float down. Begin by removing one of the monster room’s walls. Once done, mine downward along the former wall until the trench is three blocks lower than the monster spawner. If standing atop the powder snow with leather boots, the trench should appear two blocks deep.
When complete, mine the trench two blocks further into the wall before adding water to the opposite side. The flowing water should end with exactly one dry block to spare.
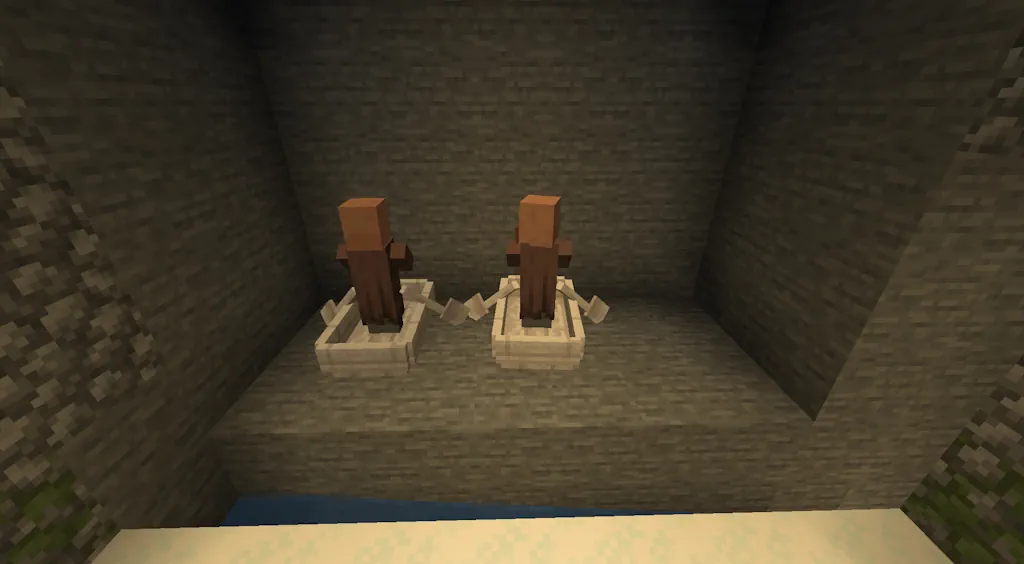 On the other side of the previously dug trench, create a ledge that is level with the powder snow. It needs to be large enough to hold two villagers in boats, so a ledge three blocks wide and the same length as the room works well. Once done, the most tedious part of the setup begins. Two villagers, stuck in boats, must be brought to act as bait. Using boats and leads is recommended to speed up the transport process. Upon arrival, place the boat villagers on the ledge.
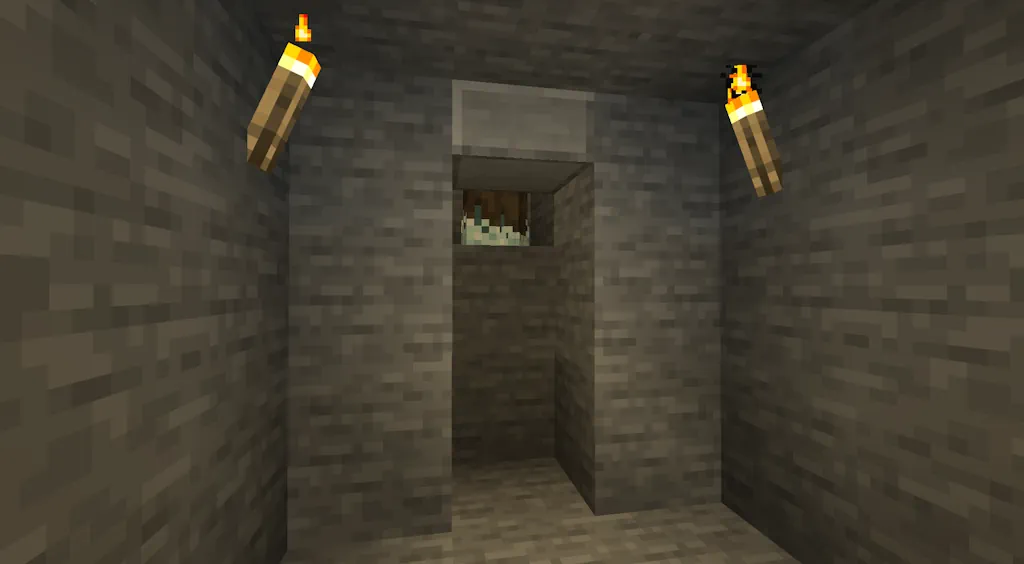 The farm is nearly complete! All that’s left is the space where zombies will fall before being slain. Jump into the waterway and head to the single dry block at its end before digging downward a few blocks. The spawner requires players to be within 16 blocks, so it can’t be too deep. At the bottom, dig out a small room next to the pit and create a wall with a single open block between yourself and the space where frostbite zombies will fall. To provide context for the design, the goal is to be able to safely slash at the zombie’s feet.
It is recommended to use the setup in the image above with a half slab to prevent baby zombies from escaping while maintaining the ability to attack their feet.
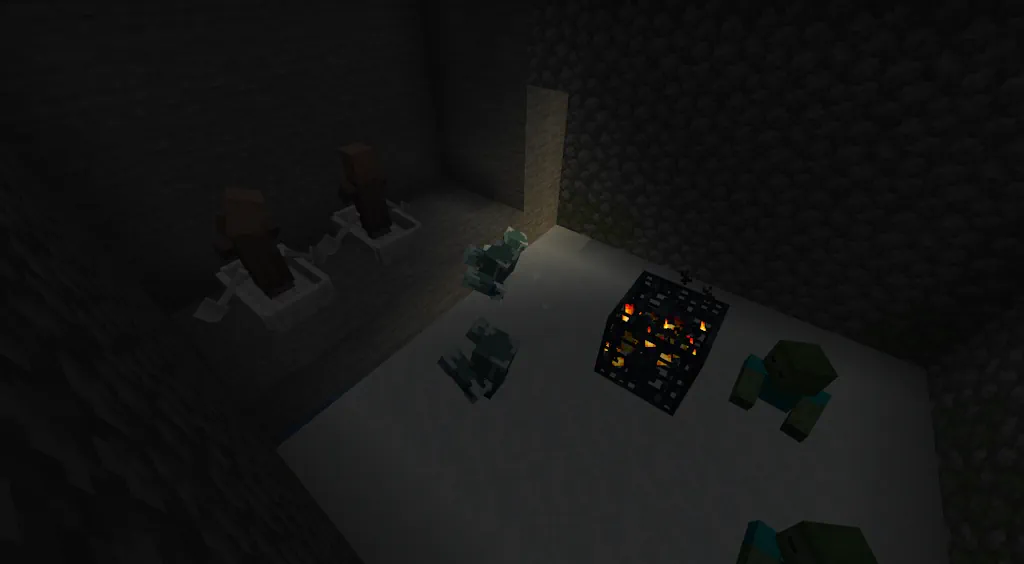 With everything prepared, all that remains is removing the torches from the zombie spawner. Zombies will immediately begin to spawn, get stuck in the powder snow, transform into frostbite zombies, and then walk towards the villagers, falling into the waterway. From that point, they are carried right down to you in the slaying room, where the farming can begin. Your frostbite zombie farm is now complete, and you can gather as many Ice Balls as you'd like!
How to Make a Frostbite Zombie Farm in Minecraft for Ice Balls
1: Find a Zombie Spawner
The key component of this farm is a zombie spawner. To find one, search for monster rooms (previously dungeons) underground. They are the structures made of cobblestone with some chests and a single spawner. The spawner must be for zombies, not skeletons or spiders, which monster rooms can contain as well. Seed maps are a great tool for speeding up this process and combating bad luck.
Once the zombie spawner has been found, place torches on it to temporarily prevent zombies from spawning.
2: Prepare Powder Snow
Zombies are transformed into Frostbite Zombies when standing inside powder snow. This makes the next step lowering the floor of the monster room by two blocks, then placing a layer of powder snow. The final result should be a full floor of powder snow with exactly one block layer of empty space between the powder snow and the zombie spawner floating above.
Powder snow can be gathered from snow biomes with buckets and placed as desired. Wearing leather boots will help prevent damage to yourself during this process.
3: Create a Waterway
The next step is to create the waterway that frostbite zombies will eventually float down. Begin by removing one of the monster room’s walls. Once done, mine downward along the former wall until the trench is three blocks lower than the monster spawner. If standing atop the powder snow with leather boots, the trench should appear two blocks deep.
When complete, mine the trench two blocks further into the wall before adding water to the opposite side. The flowing water should end with exactly one dry block to spare.
4: Prepare the Villager Ledge
On the other side of the previously dug trench, create a ledge that is level with the powder snow. It needs to be large enough to hold two villagers in boats, so a ledge three blocks wide and the same length as the room works well. Once done, the most tedious part of the setup begins. Two villagers, stuck in boats, must be brought to act as bait. Using boats and leads is recommended to speed up the transport process. Upon arrival, place the boat villagers on the ledge.
5: The Slaying Room
The farm is nearly complete! All that’s left is the space where zombies will fall before being slain. Jump into the waterway and head to the single dry block at its end before digging downward a few blocks. The spawner requires players to be within 16 blocks, so it can’t be too deep. At the bottom, dig out a small room next to the pit and create a wall with a single open block between yourself and the space where frostbite zombies will fall. To provide context for the design, the goal is to be able to safely slash at the zombie’s feet.
It is recommended to use the setup in the image above with a half slab to prevent baby zombies from escaping while maintaining the ability to attack their feet.
6: Remove the Torches
With everything prepared, all that remains is removing the torches from the zombie spawner. Zombies will immediately begin to spawn, get stuck in the powder snow, transform into frostbite zombies, and then walk towards the villagers, falling into the waterway. From that point, they are carried right down to you in the slaying room, where the farming can begin. Your frostbite zombie farm is now complete, and you can gather as many Ice Balls as you'd like!Erstelle deinen eigenen
Minecraft-Server
Minecraft-Server
Wähle einen Tarif, such dir ein Spiel aus und spiele mit deinen Freunden!
Abonniere unseren Newsletter
Abonniere für die neuesten Updates rund ums Gaming!

Tritt unserem Discord bei
Werde Teil unserer Community von über 20.000 gleichgesinnten Mitgliedern!
Wie würdest du diesen Blog bewerten?
Teile deine Meinung und hilf uns, unsere Blogs noch besser zu machen!
Hat mir nicht gefallen
Neutral
Hat mir gefallen

Brauchst du einen Spielserver?
Miete einen Spielserver, auf dem du und deine Freunde privat mit niedriger Latenz und benutzerdefinierten Einstellungen spielen könnt. Wähle aus 110+ Spielen, lade Leute aus der ganzen Welt ein und genieße private Matches oder baue deine eigene Online-Community mit deinen eigenen Regeln auf.

Relevante Blogs







HOL DIR DIE INSIDER-INFOS!
Melde dich für unsere E-Mails an, um Updates zu unseren gehosteten Spielen, Unternehmensnachrichten und exklusiven Angeboten zu erhalten. Bleib auf dem Laufenden!