
Minecraft Permissions Guide
发布于 ,作者

分享:

分享至 X

分享至 Facebook

分享至 Threads

分享至 Bluesky

复制到剪贴板

通过电子邮件分享
Permissions are an essential part of nearly every Minecraft server, especially on those that intend to sell ranks and perks! However, for all the benefits permissions provide, they can feel rather daunting to a new comers’ eyes. Thankfully BisectHosting is always by your side! Today, we provide an introduction to server permissions in our Minecraft permissions guide.
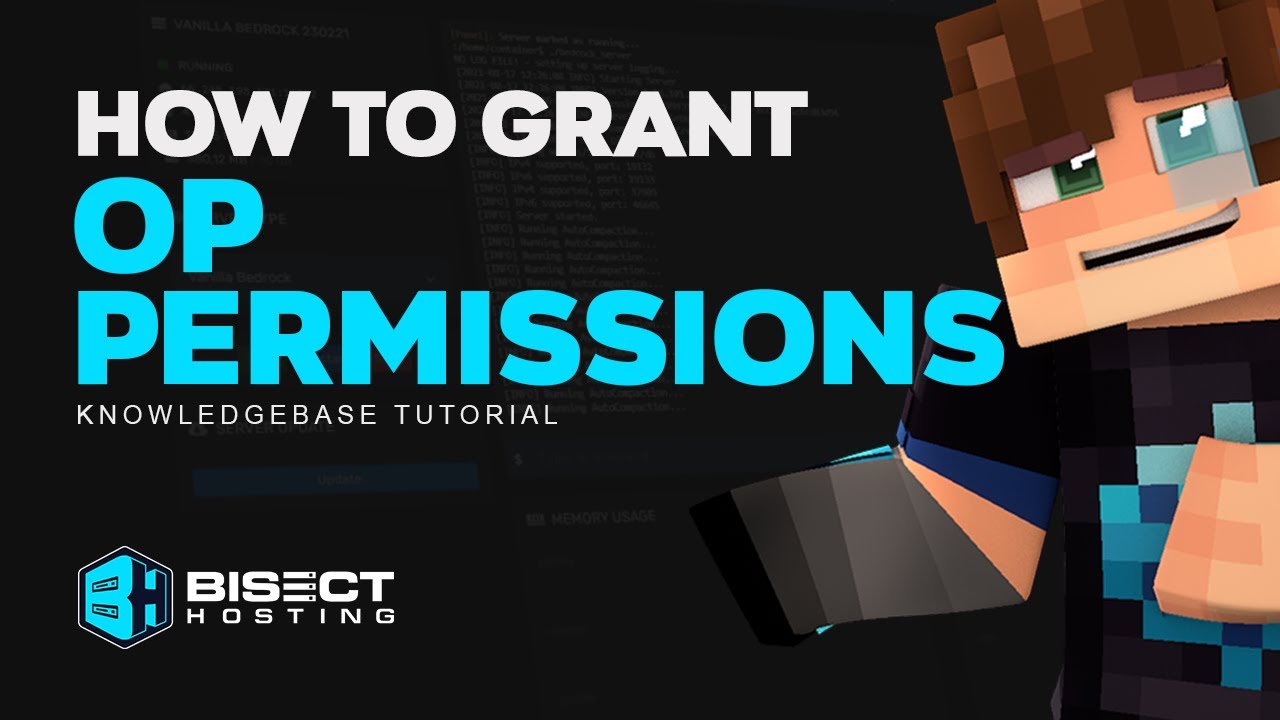
 By default, players cannot access most commands on a Minecraft server. The only exception to this is players given “OP,” which means operator. OPed players are granted all permission nodes allowing them to use every command, including cheats!
Those on smaller vanilla servers can get away with only the server owner using OP, but it is not ideal for anything larger or public. Instead, a permissions plugin is what we recommend. This will allow you to create mods, admins, and even purchasable VIP ranks.
By default, players cannot access most commands on a Minecraft server. The only exception to this is players given “OP,” which means operator. OPed players are granted all permission nodes allowing them to use every command, including cheats!
Those on smaller vanilla servers can get away with only the server owner using OP, but it is not ideal for anything larger or public. Instead, a permissions plugin is what we recommend. This will allow you to create mods, admins, and even purchasable VIP ranks.
 There are many permission plugins out there, and the choice is always yours, but we personally suggest Luck Perms for its ease of use, beginner-friendly graphical user interface, and in-game generated links directly to the editor. This plugin also allows changes to be made with a simple server reload!
For help with installing plugins, we offer a knowledgebase guide here, complete with a step-by-step video! Please note that not all server jars support plugins. Bukkit, Spigot, or Paper are generally required.
There are many permission plugins out there, and the choice is always yours, but we personally suggest Luck Perms for its ease of use, beginner-friendly graphical user interface, and in-game generated links directly to the editor. This plugin also allows changes to be made with a simple server reload!
For help with installing plugins, we offer a knowledgebase guide here, complete with a step-by-step video! Please note that not all server jars support plugins. Bukkit, Spigot, or Paper are generally required.
Granting All Permissions
Diving Deeper With a Permissions Plugin
There are many permission plugins out there, and the choice is always yours, but we personally suggest Luck Perms for its ease of use, beginner-friendly graphical user interface, and in-game generated links directly to the editor. This plugin also allows changes to be made with a simple server reload!
For help with installing plugins, we offer a knowledgebase guide here, complete with a step-by-step video! Please note that not all server jars support plugins. Bukkit, Spigot, or Paper are generally required.
Understanding Permission Nodes
Permission nodes are a method of defining what commands/abilities a player can perform on the server. Different permission nodes are assigned to different commands and actions by the plugin developer. For example, permission node bukkit.command.kick allows a player to use Craftbukkit /kick command. Some examples of permission nodes:- guard.region.bypass - Allows players to bypass WorldGuard protection.
- back - Allows access to the /back command
- ban - Allows access to the /ban command
- command.kill - Allows access to the /kill command
Editing Permission Nodes
LuckPerms has a very easy-to-use GUI which allows server owners to add, remove, and edit permission nodes for a specific player or group. Once LuckPerms is installed on your server, run /lp editor to access the panel, and then use the following tutorials to edit permission nodes: How to ADD permission nodes to players/groups:- Open the editor with /lp editor
- Select a user or group from the left-hand panel.
- Type in the permission node under Add Permissions.
- Press Enter then click the + button on the far right.
- Click Save and paste the command into the console.
- Open the editor with /lp editor
- Select a user or group from the left-hand panel.
- Hover over the node you wish to remove and click the X on the far right.
- Click Save and paste the command into the console.
Editing Permission Groups:
Instead of individually editing each player’s permission nodes, server owners can just as easily create and assign players to groups. Groups (like players) will have a set of permission nodes that apply only to those assigned to the group. The following tutorials can be used to create groups and assign players to them: How to CREATE a permission group:- Open the editor with /lp editor
- On the left-hand bar, click the + next to Groups(0).
- Enter the following information:
- Group Name - Namespace of group when assigning to members (Ex: “Admin”, “Player”, etc.)
- Weight - Numerical value used when assigning groups to tracks. (If you’re not sure what this is, set it to 100)
- Display name - The name displayed on LuckPerms editor and command output.
- Prefix (Optional) - Prefix given to players who are assigned to this group (Ex: “<[Admin] Steve> Hello”)
- Suffix (Optional) - Suffix given to players who are assigned to this group (Ex: “<Steve[Helper]> Hello”)
- Click Add group.
- Click Save and paste the command into the console.
- Open the editor with /lp editor
- On the left-hand bar, select the user you wish to add under Users.
- Click the + button next to Parent groups
- Select the group you wish to assign.
- Click Save and paste the command into the console.
Minecraft Permissions Guide
The world of permissions is vast, and even with just the basics, there is so much you can do! But don’t let yourself get overwhelmed on your first read-through. Should a question arise, our support is always standing by. Until Next Time, BisectHosting =) Looking to setup permissions on a server of your very own? We here at BisectHosting offer affordable options for just that! Your Minecraft server is only a few steps away.
您对这篇博客有何评价?
分享您的看法,帮助我们将博客做得更好!
不喜欢
一般
喜欢

需要游戏服务器吗?
租用一台游戏服务器,您可以和朋友们在极低延迟和自定义设置下私密游玩。从 110+ 款游戏中挑选您的最爱,邀请全球玩家,享受私密对战,或者按照您自己的规则建立属于您的在线社区。






获取第一手独家资讯!
订阅我们的电子邮件,获取有关我们托管游戏、公司新闻和独家优惠的最新动态。随时掌握一手资讯!