Hytale Teleporter Guide: How to Build & Use Teleporters
Opublikowano przez

Udostępnij:

Udostępnij na X

Udostępnij na Facebooku

Udostępnij na Threads

Udostępnij na Bluesky

Skopiuj do schowka

Udostępnij przez e-mail
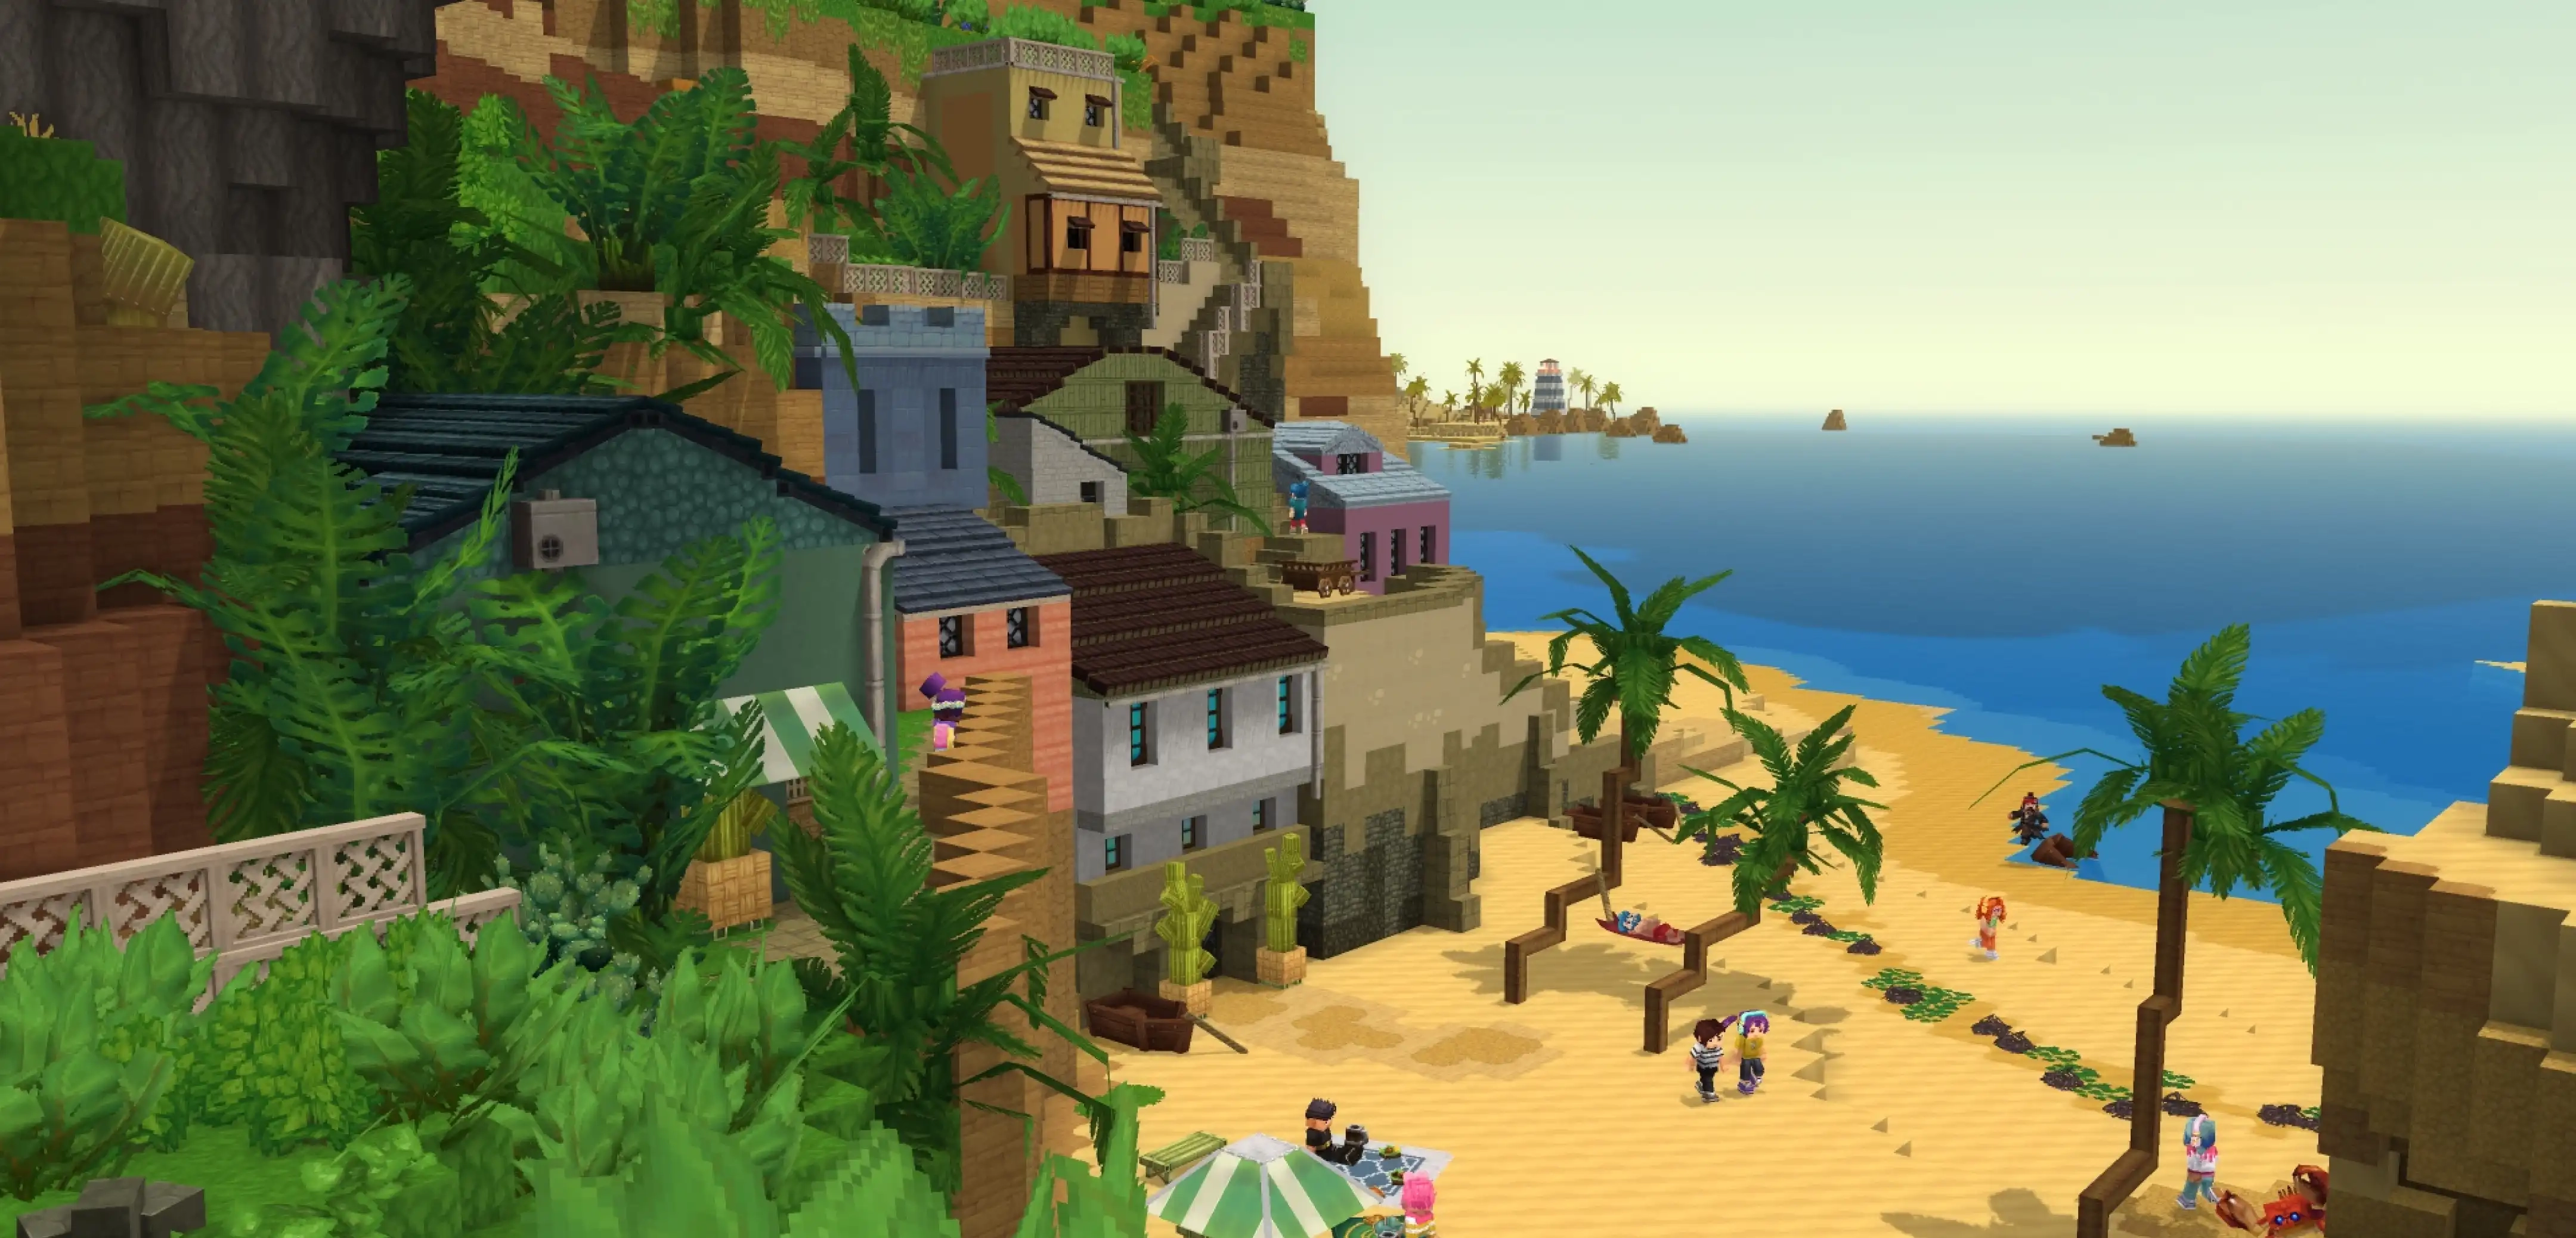
There's more than one way to zip around the world of Hytale. You can use a glider, you can (kind of) tromp around on mounts, and you can also use teleporters. Here we'll tell you everything you need to know about how to build and use teleporters in Hytale so you can spend more time adventuring than walking!
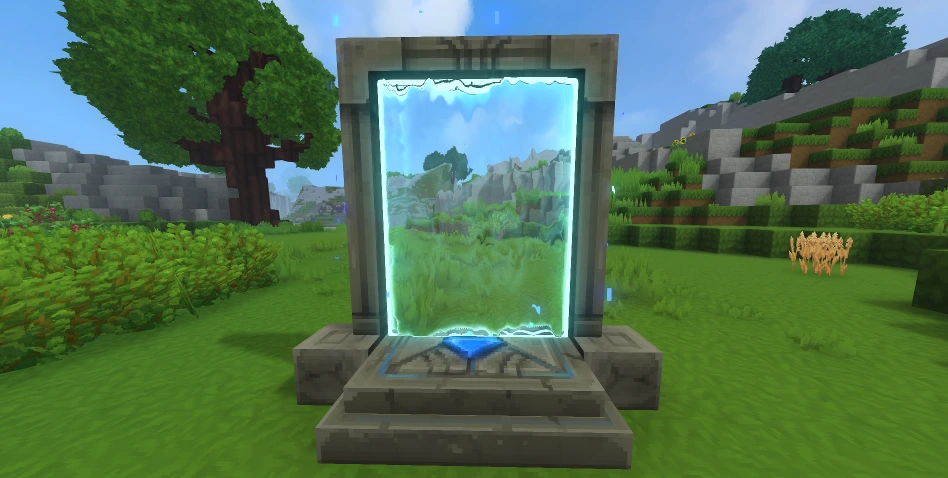 First things first: you need a teleporter before you can use a teleporter. Some of the materials you'll need are fairly rare. As a result, don't expect to hop in and start crafting teleporters right away. Before you can bend the fabric of space to your will, you'll need an Arcanist's Workbench.
First, you need to upgrade a standard Workbench to Tier 2 with the following:
First things first: you need a teleporter before you can use a teleporter. Some of the materials you'll need are fairly rare. As a result, don't expect to hop in and start crafting teleporters right away. Before you can bend the fabric of space to your will, you'll need an Arcanist's Workbench.
First, you need to upgrade a standard Workbench to Tier 2 with the following:
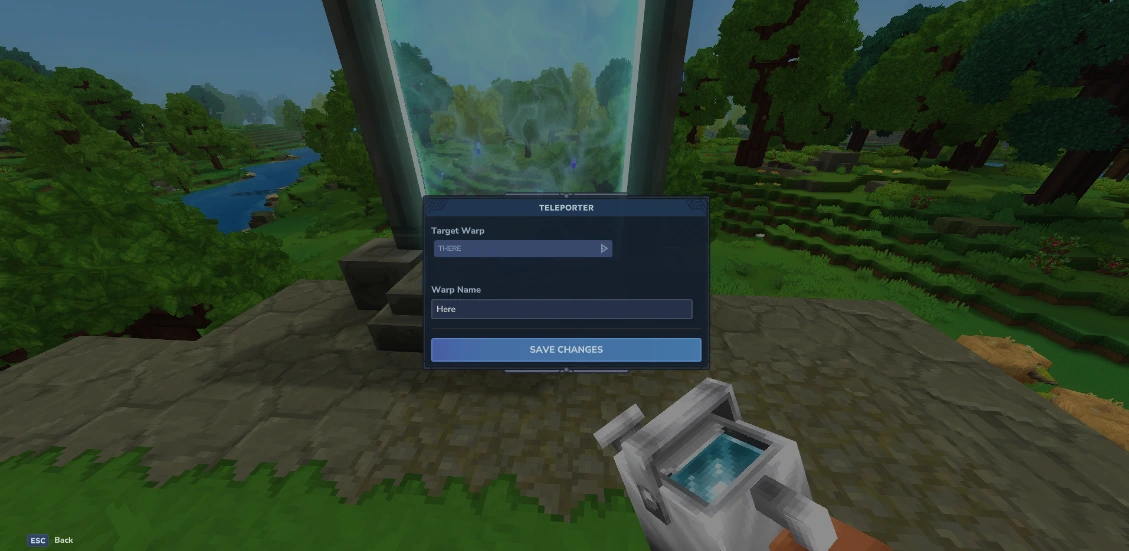 Once you've crafted your teleporter, you're still not ready to zip around. You need at least two teleporters planted in the world before you can use one. Once you have your teleporters planted, simply interact with them. Then, a small teleporter menu will open. Here you can set the name of the current teleporter you're using in the bar labeled "Warp Name," and you can choose the teleporter you'll travel to from the drop-down menu labeled "Target Warp."
Having a drop-down menu for only two teleporters might seem strange, but that's because you can place up to eight teleporters once you meet the right conditions. To earn the ability to place more teleporters, you need to gather memories using the Forgotten Temple.
This is how many memories you need to unlock more teleporters:
Once you've crafted your teleporter, you're still not ready to zip around. You need at least two teleporters planted in the world before you can use one. Once you have your teleporters planted, simply interact with them. Then, a small teleporter menu will open. Here you can set the name of the current teleporter you're using in the bar labeled "Warp Name," and you can choose the teleporter you'll travel to from the drop-down menu labeled "Target Warp."
Having a drop-down menu for only two teleporters might seem strange, but that's because you can place up to eight teleporters once you meet the right conditions. To earn the ability to place more teleporters, you need to gather memories using the Forgotten Temple.
This is how many memories you need to unlock more teleporters:
How to Build Hytale Teleporters
First things first: you need a teleporter before you can use a teleporter. Some of the materials you'll need are fairly rare. As a result, don't expect to hop in and start crafting teleporters right away. Before you can bend the fabric of space to your will, you'll need an Arcanist's Workbench.
First, you need to upgrade a standard Workbench to Tier 2 with the following:
- Copper Ingot: 30
- Iron Ingot: 20
- Linen Scraps: 20
- Thorium Ingot: 10
- Linen Scraps: 30
- Essence of Void: 20
- Azure Kelp: 2
- Azure Logs: 8
- Stone of Any Kind: 10
How to Use Hytale Teleporters
Once you've crafted your teleporter, you're still not ready to zip around. You need at least two teleporters planted in the world before you can use one. Once you have your teleporters planted, simply interact with them. Then, a small teleporter menu will open. Here you can set the name of the current teleporter you're using in the bar labeled "Warp Name," and you can choose the teleporter you'll travel to from the drop-down menu labeled "Target Warp."
Having a drop-down menu for only two teleporters might seem strange, but that's because you can place up to eight teleporters once you meet the right conditions. To earn the ability to place more teleporters, you need to gather memories using the Forgotten Temple.
This is how many memories you need to unlock more teleporters:
- 2 Teleporters: 0 Memories
- 3 Teleporters: 25 Memories
- 4 Teleporters: 50 Memories
- 6 Teleporters: 100 Memories
- 8 Teleporters: 200 Memories
Zapisz się do newslettera
Subskrybuj, aby otrzymywać najnowsze informacje ze świata gier!

Dołącz do naszego Discorda
Zostań częścią naszej społeczności ponad 20,000 podobnie myślących członków!
Jak oceniasz ten wpis?
Podziel się swoją opinią i pomóż nam tworzyć jeszcze lepsze artykuły!
Nie podobał mi się
Neutralnie
Podobał mi się

Potrzebujesz serwera do gry?
Wynajmij serwer gier, na którym Ty i Twoi znajomi możecie grać prywatnie z niskim opóźnieniem i własnymi ustawieniami. Wybieraj spośród 110+ gier, zaproś ludzi z całego świata i ciesz się prywatnymi rozgrywkami lub zbuduj własną społeczność online z własnymi zasadami.

Powiązane wpisy







BĄDŹ NA BIEŻĄCO!
Dołącz do naszego newslettera, aby otrzymywać informacje o naszych hostowanych grach, nowościach firmowych i ekskluzywnych ofertach. Bądź na bieżąco!